
A long time ago in the mid 90’s, I found I had a desire to sail. I have always liked the ocean and have fond memories of a year spent in Victoria BC when I was 10. Maybe this was an underlying motivator that unconsciously grew into a passion over the decades. While living in Australia during the 2000’s I had the opportunity to spend time on sailboats in the Whitsunday Islands. This reinforced and secured the idea that one day I would be on the water.
Time flies by as life does and after another decade of roller coaster events, to later be described in other posts, I found myself with a family and in a position to sort out a floating home. There were many choices to be made about what boat to build/buy, where to start, how much to spend and of course, is this actually the right choice?
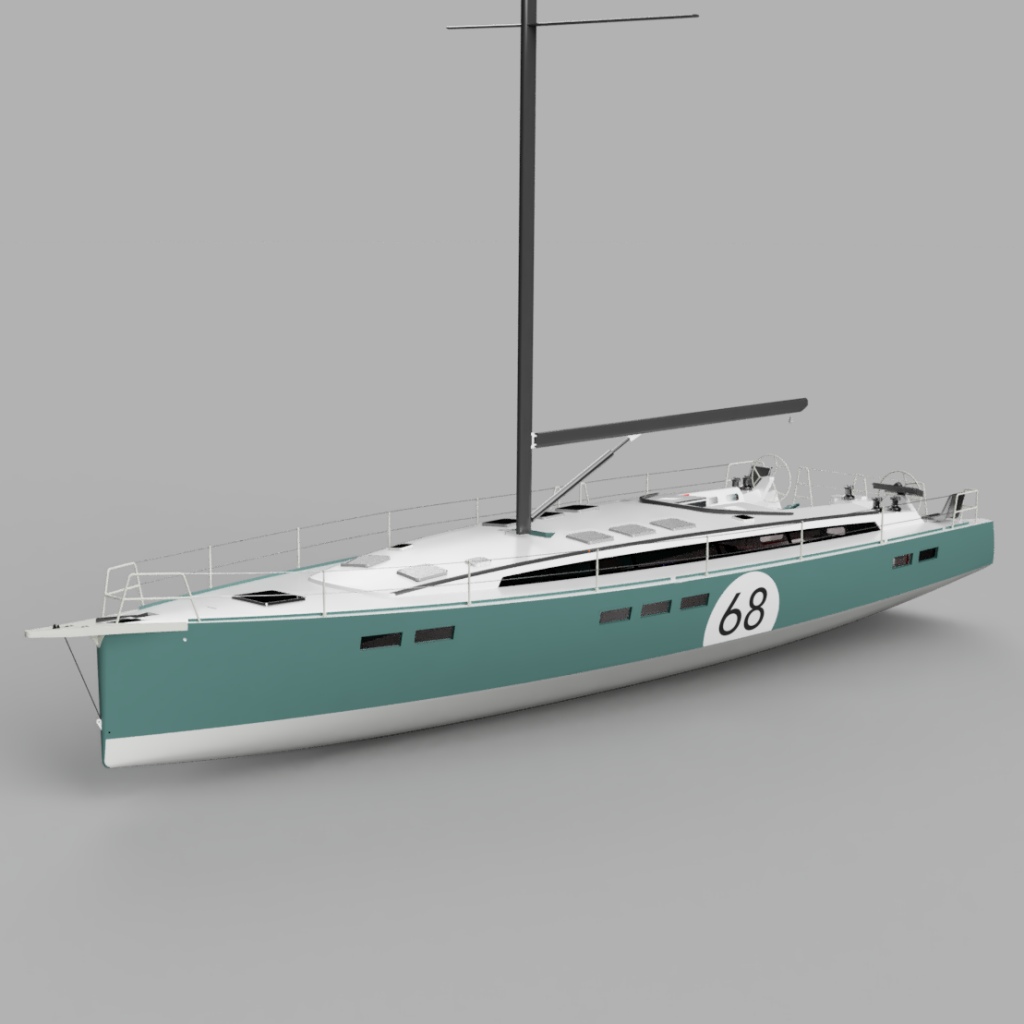
For sailors, they know there is no one perfect boat. It all depends on who you are and what you want to do with the boat. For us and our family, we wanted something that was capable of comfortable living, yet fun and fast allowing us to circumnavigate the globe. We settled on a Marc Lombard monohull design.
I researched and found that Turkey was a country that built many boats every year of different sizes and materials. Given that our design was an aluminium hull, there was special expertise required in order to ensure the pieces were welded together properly. It is said that 9 out of 10 aluminium welders fail the ‘interview’ test for new jobs so the right team is very important. We found the right guys in Tuzla to build the hull of our boat.
Raw aluminium plates
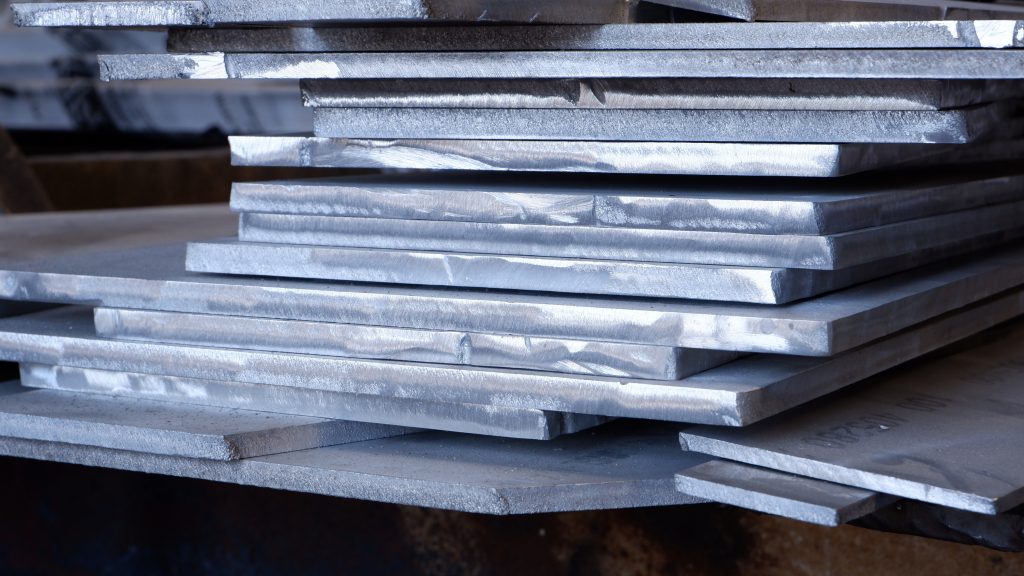
The majority of us only get to see the finished product or maybe a step before the finished product like something unpainted. Well when building a custom, aluminium sailboat from the ground up, we had the opportunity to see it as its raw material. The design is first created in 3D and then broken into all its parts. Parts are flattened and grouped into thicknesses which are then arranged like a jigsaw puzzle on plates to minimize waste when cutting.
Plasma cutter
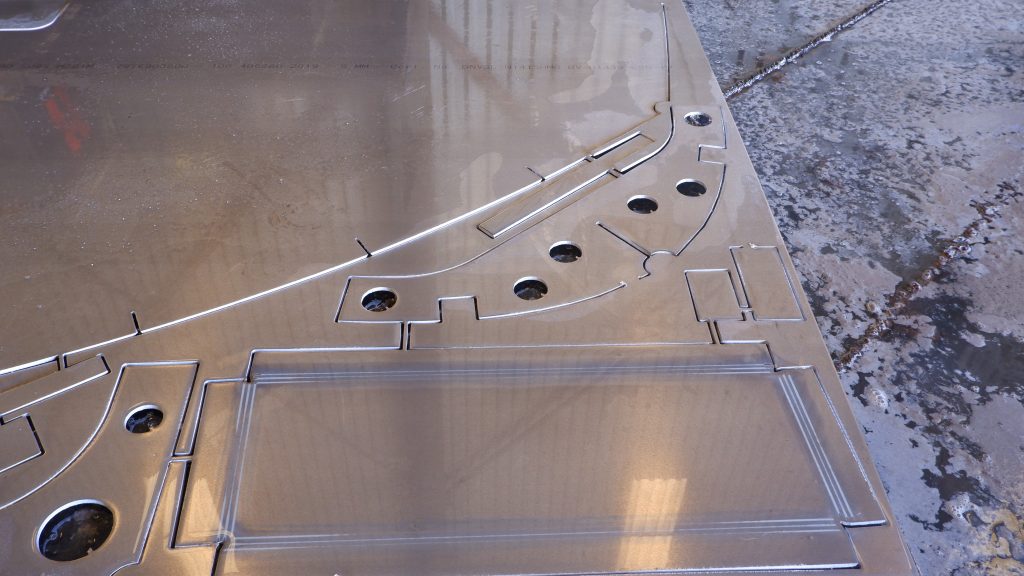
It took a little over a week for all the plates to be cut. They were cut and marked using a plasma cutter. This creates a larger gap between cuts, but costs slightly less than using a laser or water jet cutter. Marks are done on the plates allowing welders to know where things are bent and/or where frames are lined up on other flat parts. This allows for reduced time spent measuring and marking manually. More importantly, when frames are placed in the right places, things line up better resulting in a smoother finished product.
Formation of parts
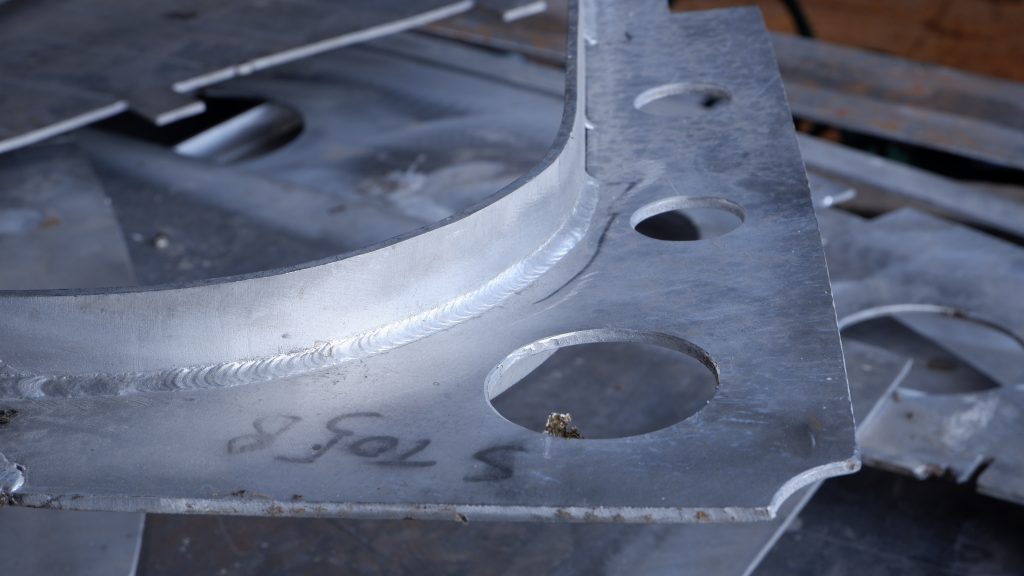
Once all flat items are cut to dimension, then the formation of parts begins. Flat bars are curved and welded to other flat items to create the necessary parts to construct the hull of the boat. The interesting thing with our aluminium sailboat is the balance between weight and strength. Over the years naval architects have created the most weight-effective method for building hulls. This has stemmed from the last decades’ desire to create performance-based designs. The result is a masterpiece of structural engineering.
Parts assembly
So many parts to assemble just like little kids putting together a great big lego model. Precise measurements and squaring the parts up are key in making the end product. The more exact the parts are placed and welded, means a straighter outer surface and less work in the next stage. This is a really important key point in the overall quality of the yacht. If outer plates have great variance in-depth and do not result in a flat surface, it results in added filler in order to make the smooth eggshell finish visible from the boat next door. This is a reason why production boats are built using fibreglass in moulds. Fibreglass moulds can create the same shape and weight boat after boat. Of course, there are costs in doing so, primarily weight. In some cases, a fibreglass hull can be twice the weight of its aluminium counterpart.
Covering plates
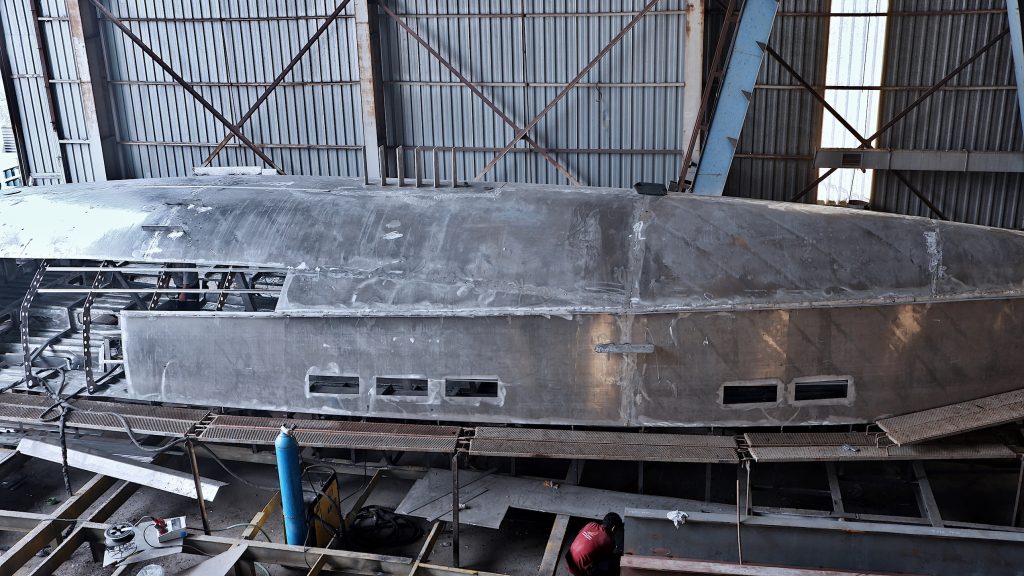
With frames in place and the time-consuming alignment of frames done, the plates are put on. This is a great thing to see. In the case of a spectator to the boat building process, this is the stage that really makes things happen. The 6mm aluminium plates cover the bottom while 5mm are placed on the sides. The speed at which these 6m slabs of aluminum are put on really makes it look like the boat is coming together. With all of these plates put in place covering the frames, it’s not long now until the entire hull gets to turn right side up.
The boat turn
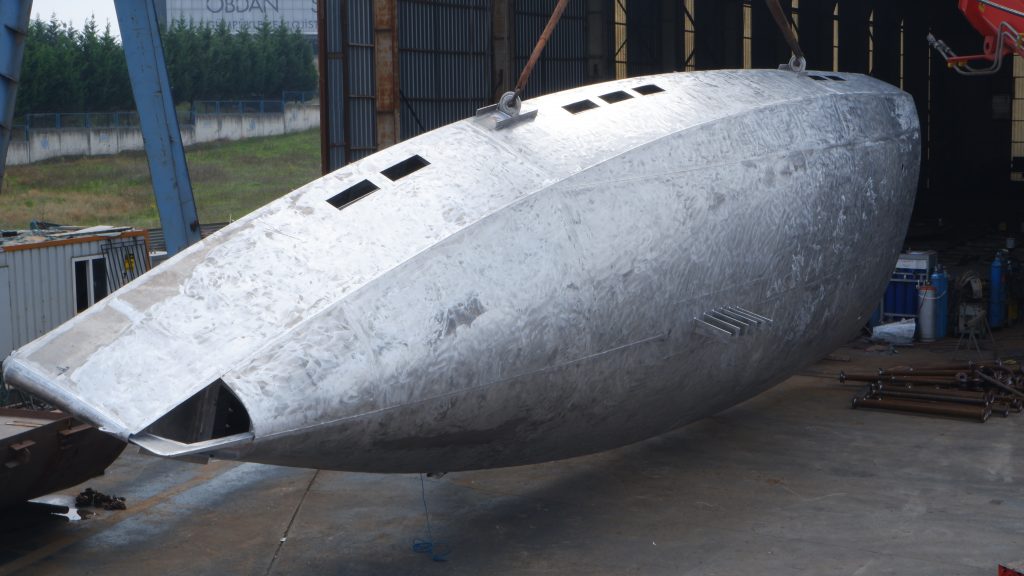
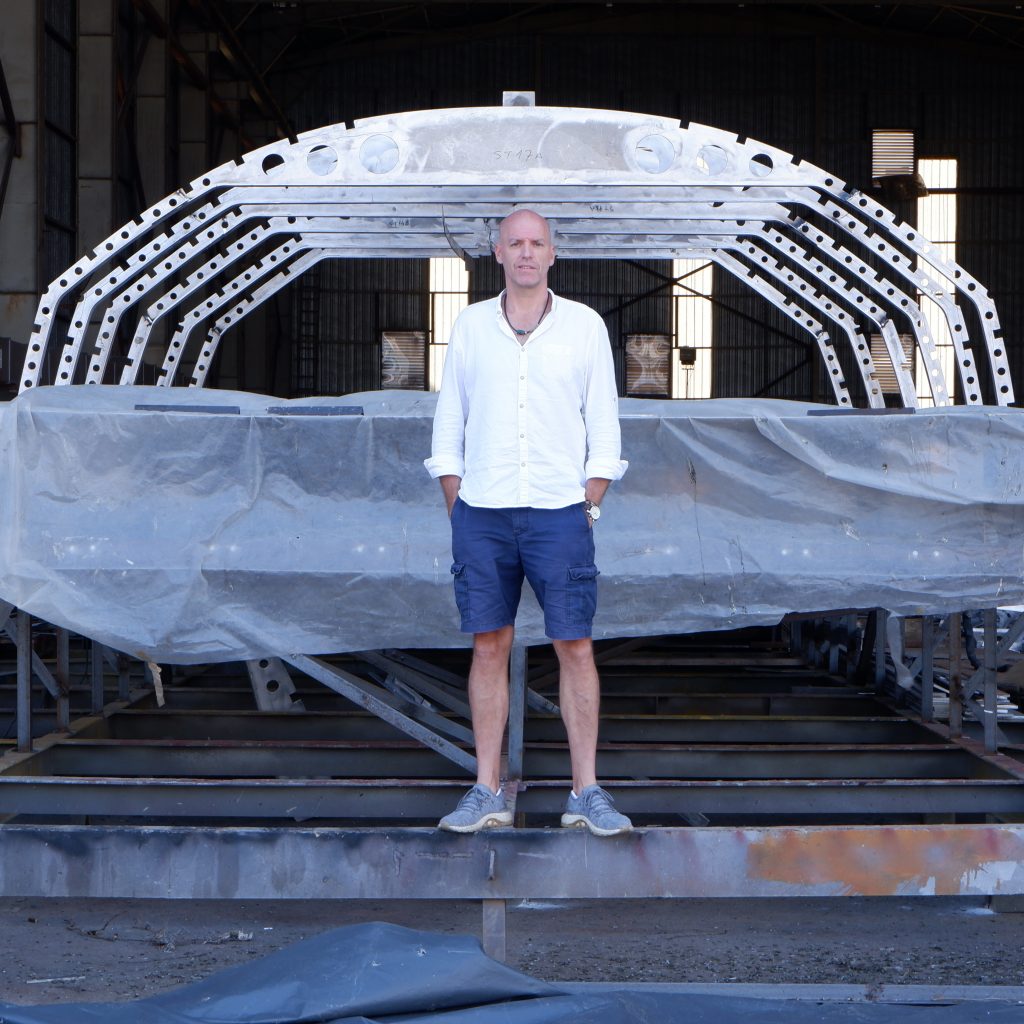
Many custom boats are built upside down. In the case of aluminium boats, a lot has to do with the position for welding. Think about welding. MIG welding essentially melts two pieces of metal and adds additional metal in the process. Starting in the upside-down position allows all that molten aluminium during the welding process to be pulled down by gravity. The opposite is possible but it is much more difficult and can result in a less effective weld. At this turn stage, our hull roughly weighs about 6,000kg. The turn was well organized with two cranes and a well-thought-out process.
The cradle seat
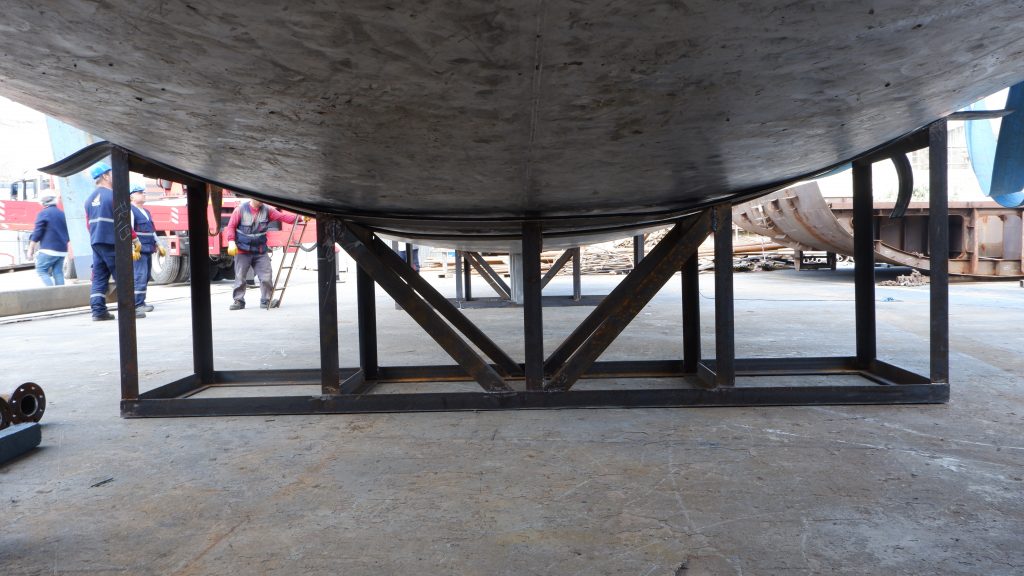
Once turned, the hull is set down on a cradle made specifically to match the shape of the hull. This is where she will sit for the next year while getting the rest of the work done inside and out. The cradle is designed so straps can be placed between it in order to lift it on and off the truck for shipping. It’s a wide load down the road but required for the after works and fit-out stage.
The next step, move the boat for the next stage.