Summary
Let me do the learning for you;) If you have any question or hesitation about making vs buying…then its really easy…call Jefa and have them make rudders for you.
Costs
| Item | Cost | USD* | |
| Rudder stocks | 5000TL | $833 | |
| Cost to reshelve 316L version | 200TL | $33 | |
| Conic shaping of the rudder stock | 2700TL | $450 | |
| Plastic stock for testing | 500TL | $83 | |
| Welding of wings | 500TL | $83 | |
| 250kg m3 PVC Foam | 800EUR | $840 | |
| Fiberglass and epoxy | 800EUR | $840 | |
| New keyholes | 800TL | $133 | |
| Epoxy halves around stock | 3000TL | $500 | |
| Shaping Template | 500TL | $83 | |
| Shaping | 2000TL | $300 | |
| Glassing and faring | 2000EUR | $2100 | |
| Cutting, epoxy together, hollowing out | Dennis Labour | Free | |
| Total | $6278 |
In The Beginning
It all started with thinking that maybe, just maybe, it would be better to make sailboat rudders made from scratch based on the design supplied by Marc Lombard. Well after being through the process in Turkey, it would have been a much better idea to scratch the idea of making them from scratch and have someone like Jefa create the moulds and make the rudders. Maybe in a different country making them would have been ok, but certainly not based on my experience in Turkey.

Options Search
Before actually making the rudders myself, I wanted to see what options there were for purchasing them premade. There seems to be a very limited number of companies that produce rudders. Since I was already in talks with Jefa about other steering components I spoke to them about rudders. I sent them the drawings of the rudders that were included in the boat’s design. Jefa has been producing for a long time, but they didn’t have any that fit the dimensions of the design. As it turned out, the rudders on INDININI are long and skinny, which is not historically common but I assume it helps to give the incredible steering ability she has. I explored options of using their existing design and making a few modifications but they didn’t work out as needed. Jefa offered their services to create a custom mould for the needed shape but this added cost was not seen as favourable at the time. Little did I know it would have been a much better option than making them myself.
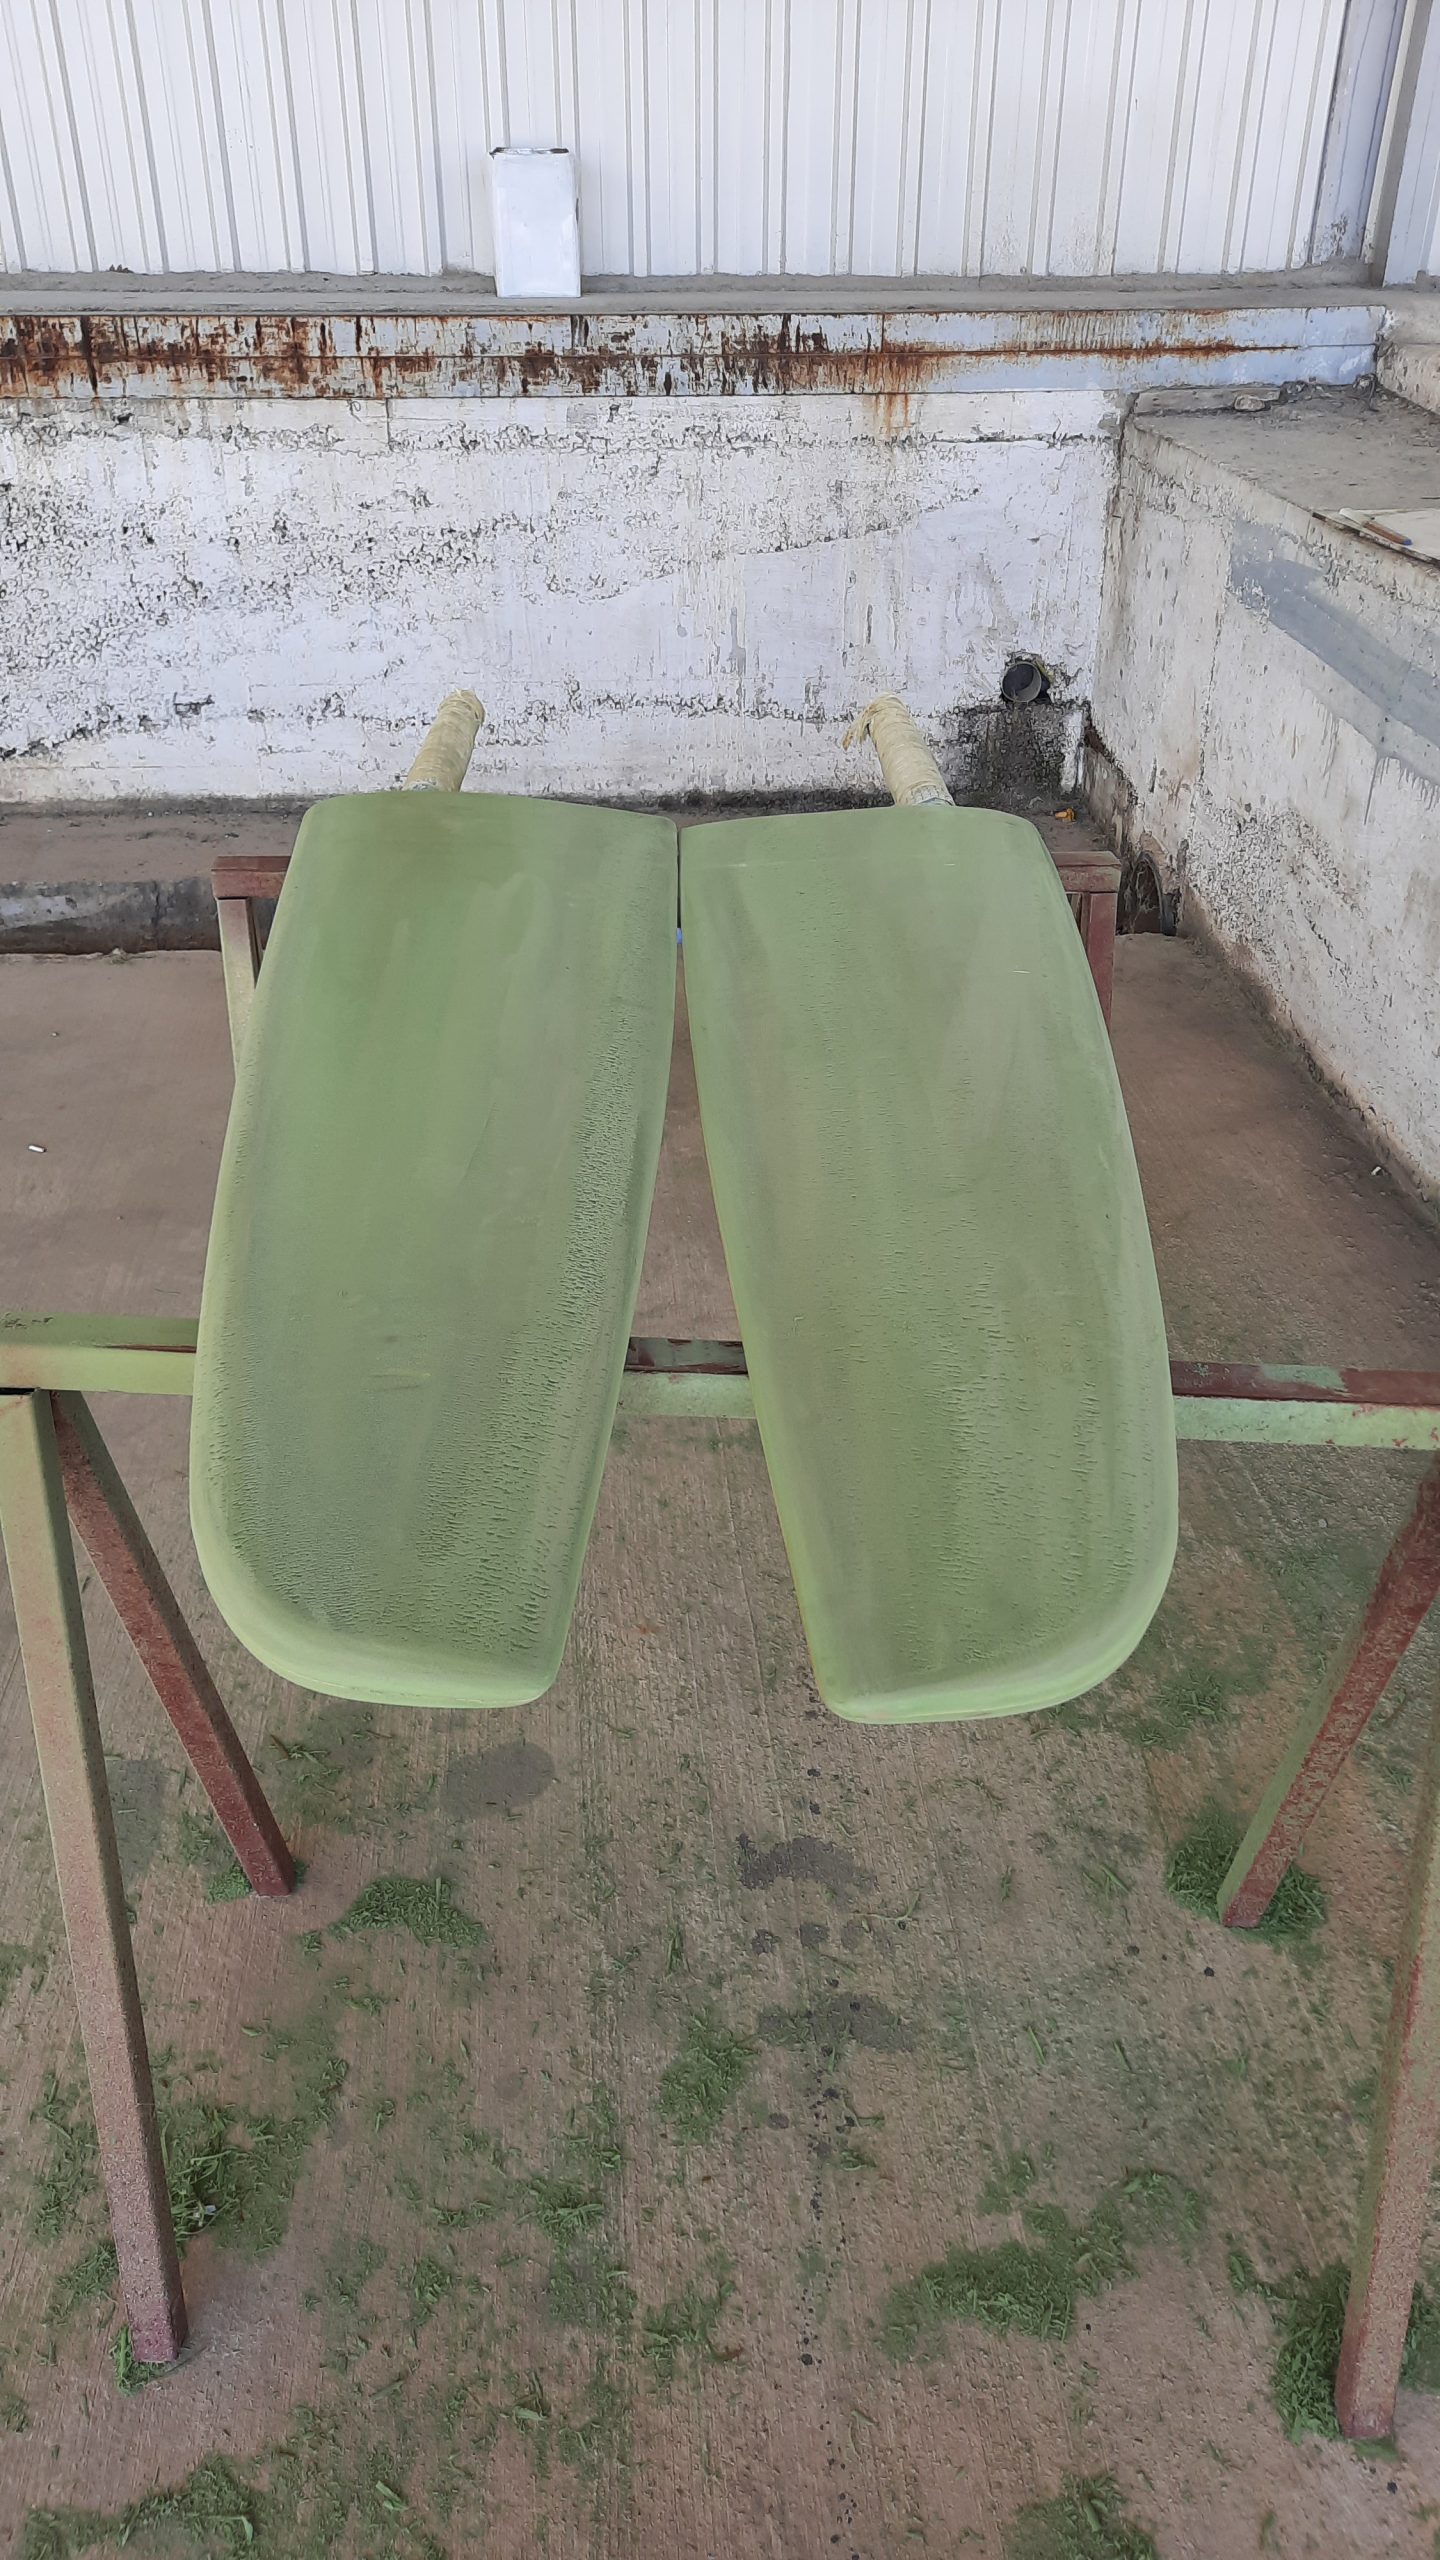
Thin Design
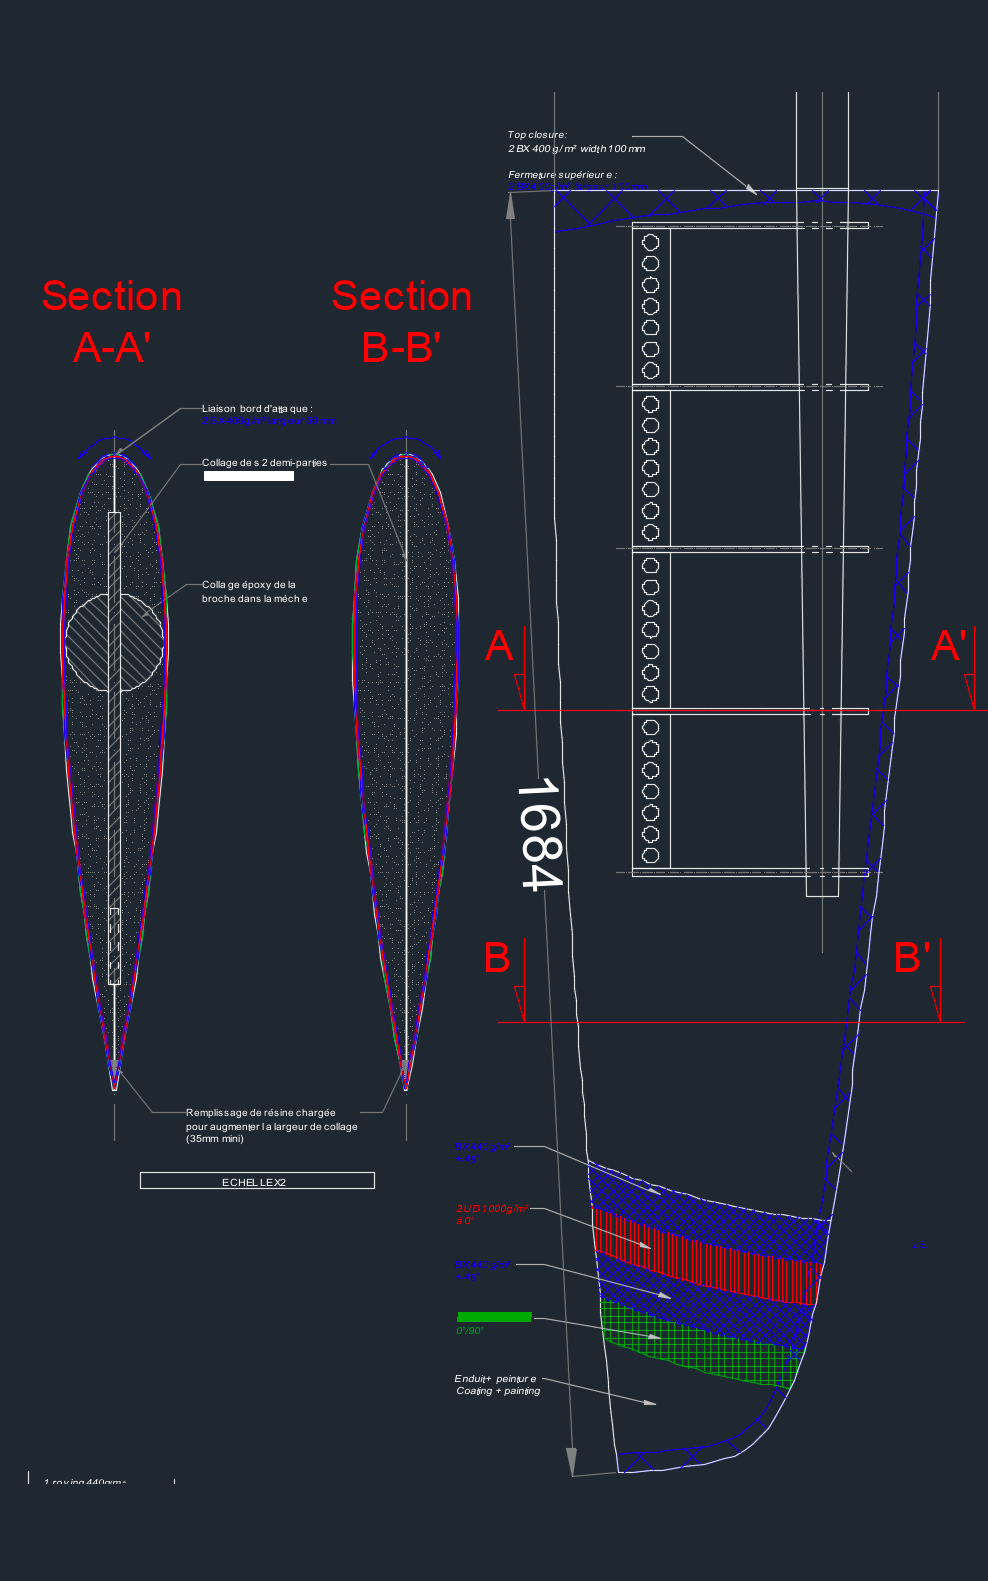
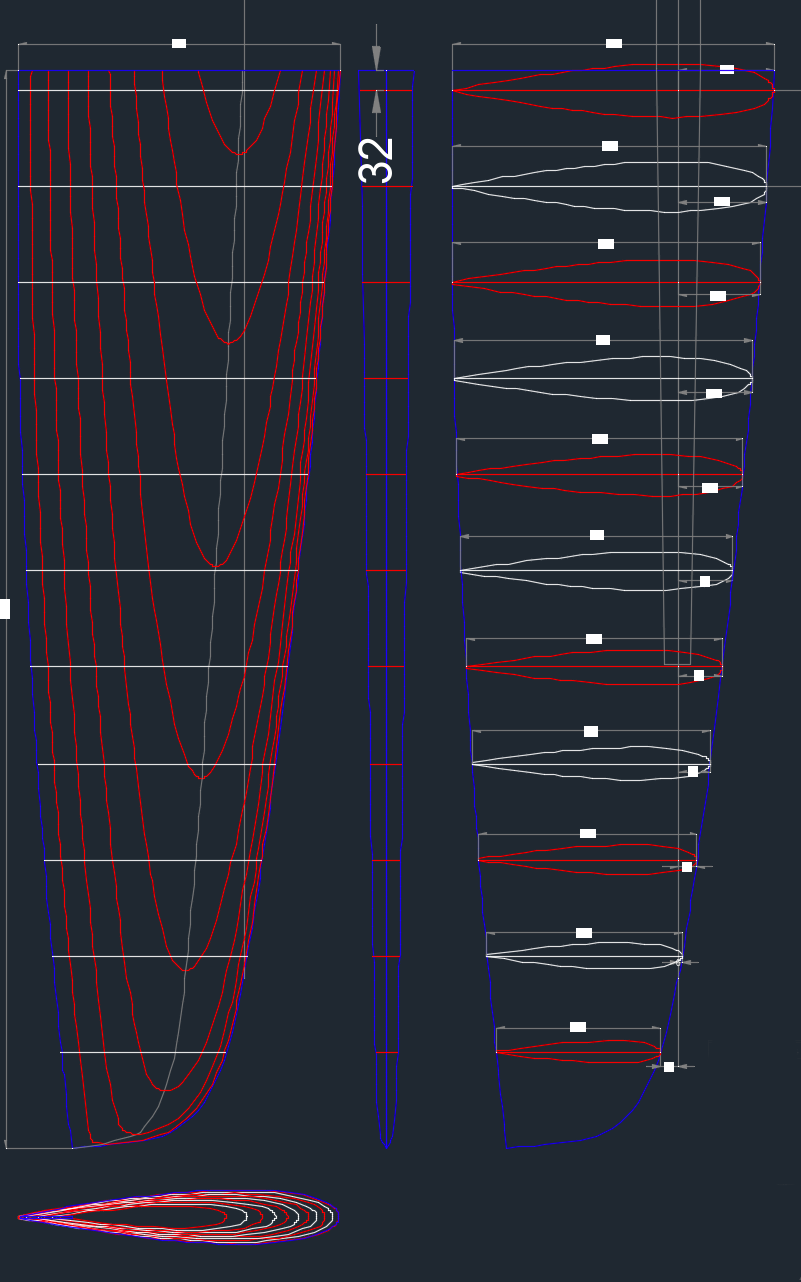
Regarding the size, the key aspects are the height, width and depth which make up the volume of the rudder. This design is classified as a ‘thin’ rudder. Given this thinness, they also need to be strong. Making a thicker rudder allows for a thicker rudder stock on the inside, as well as the composite strength benefits from the skins being farther apart. Starting back in 2003, I was making kiteboards from glass and carbon in differing weights, using different thicknesses of closed-cell PVC foam such as dyvinicell, so I understood how vacuum bagging and composite construction worked.
So off we go. Let’s make some rudders! The first step lets get the rudder stocks. We had hired a boat-building consultant for this project, Mr. Blackwater, so naturally, we handed things off to him, one being the procurement of goods and materials. I gave him the detailed drawings for the rudders. He went to the local industrial area, or Sanayi as it’s called in Turkey, and ordered the material from Demmak Metal. Melih Istanbullu is in the family business there and he is one of the few people I dealt with in Turkey that I will keep in contact with. A few days later the 70mm thick solid 316L stainless steel stocks show up cut in our requested lengths. A couple of days before picking up the rudder stocks I had a call with Marc Lombard in France to discuss a few items. During this conversation, I brought up the recent purchase of the stainless 316L stocks. It was certainly a good thing I did because he pointed out that the 316 stainless was the wrong stuff. If I was to describe his reaction on the phone, it would have been like someone jumping through the roof. And rightly so. Using the wrong material on such an important aspect of the boat is a VERY big concern. The correct steel to be used, and the one that is noted on most of the rudder documents is f16PH. 3 times as hard. It would have been a potentially deadly mistake to make the rudders from the softer 316 stainless as it would have likely bent during normal use. So back to Demmak to request a replacement and unfortunately time to start questioning and double-checking everything Mr. Blackwater said and did.
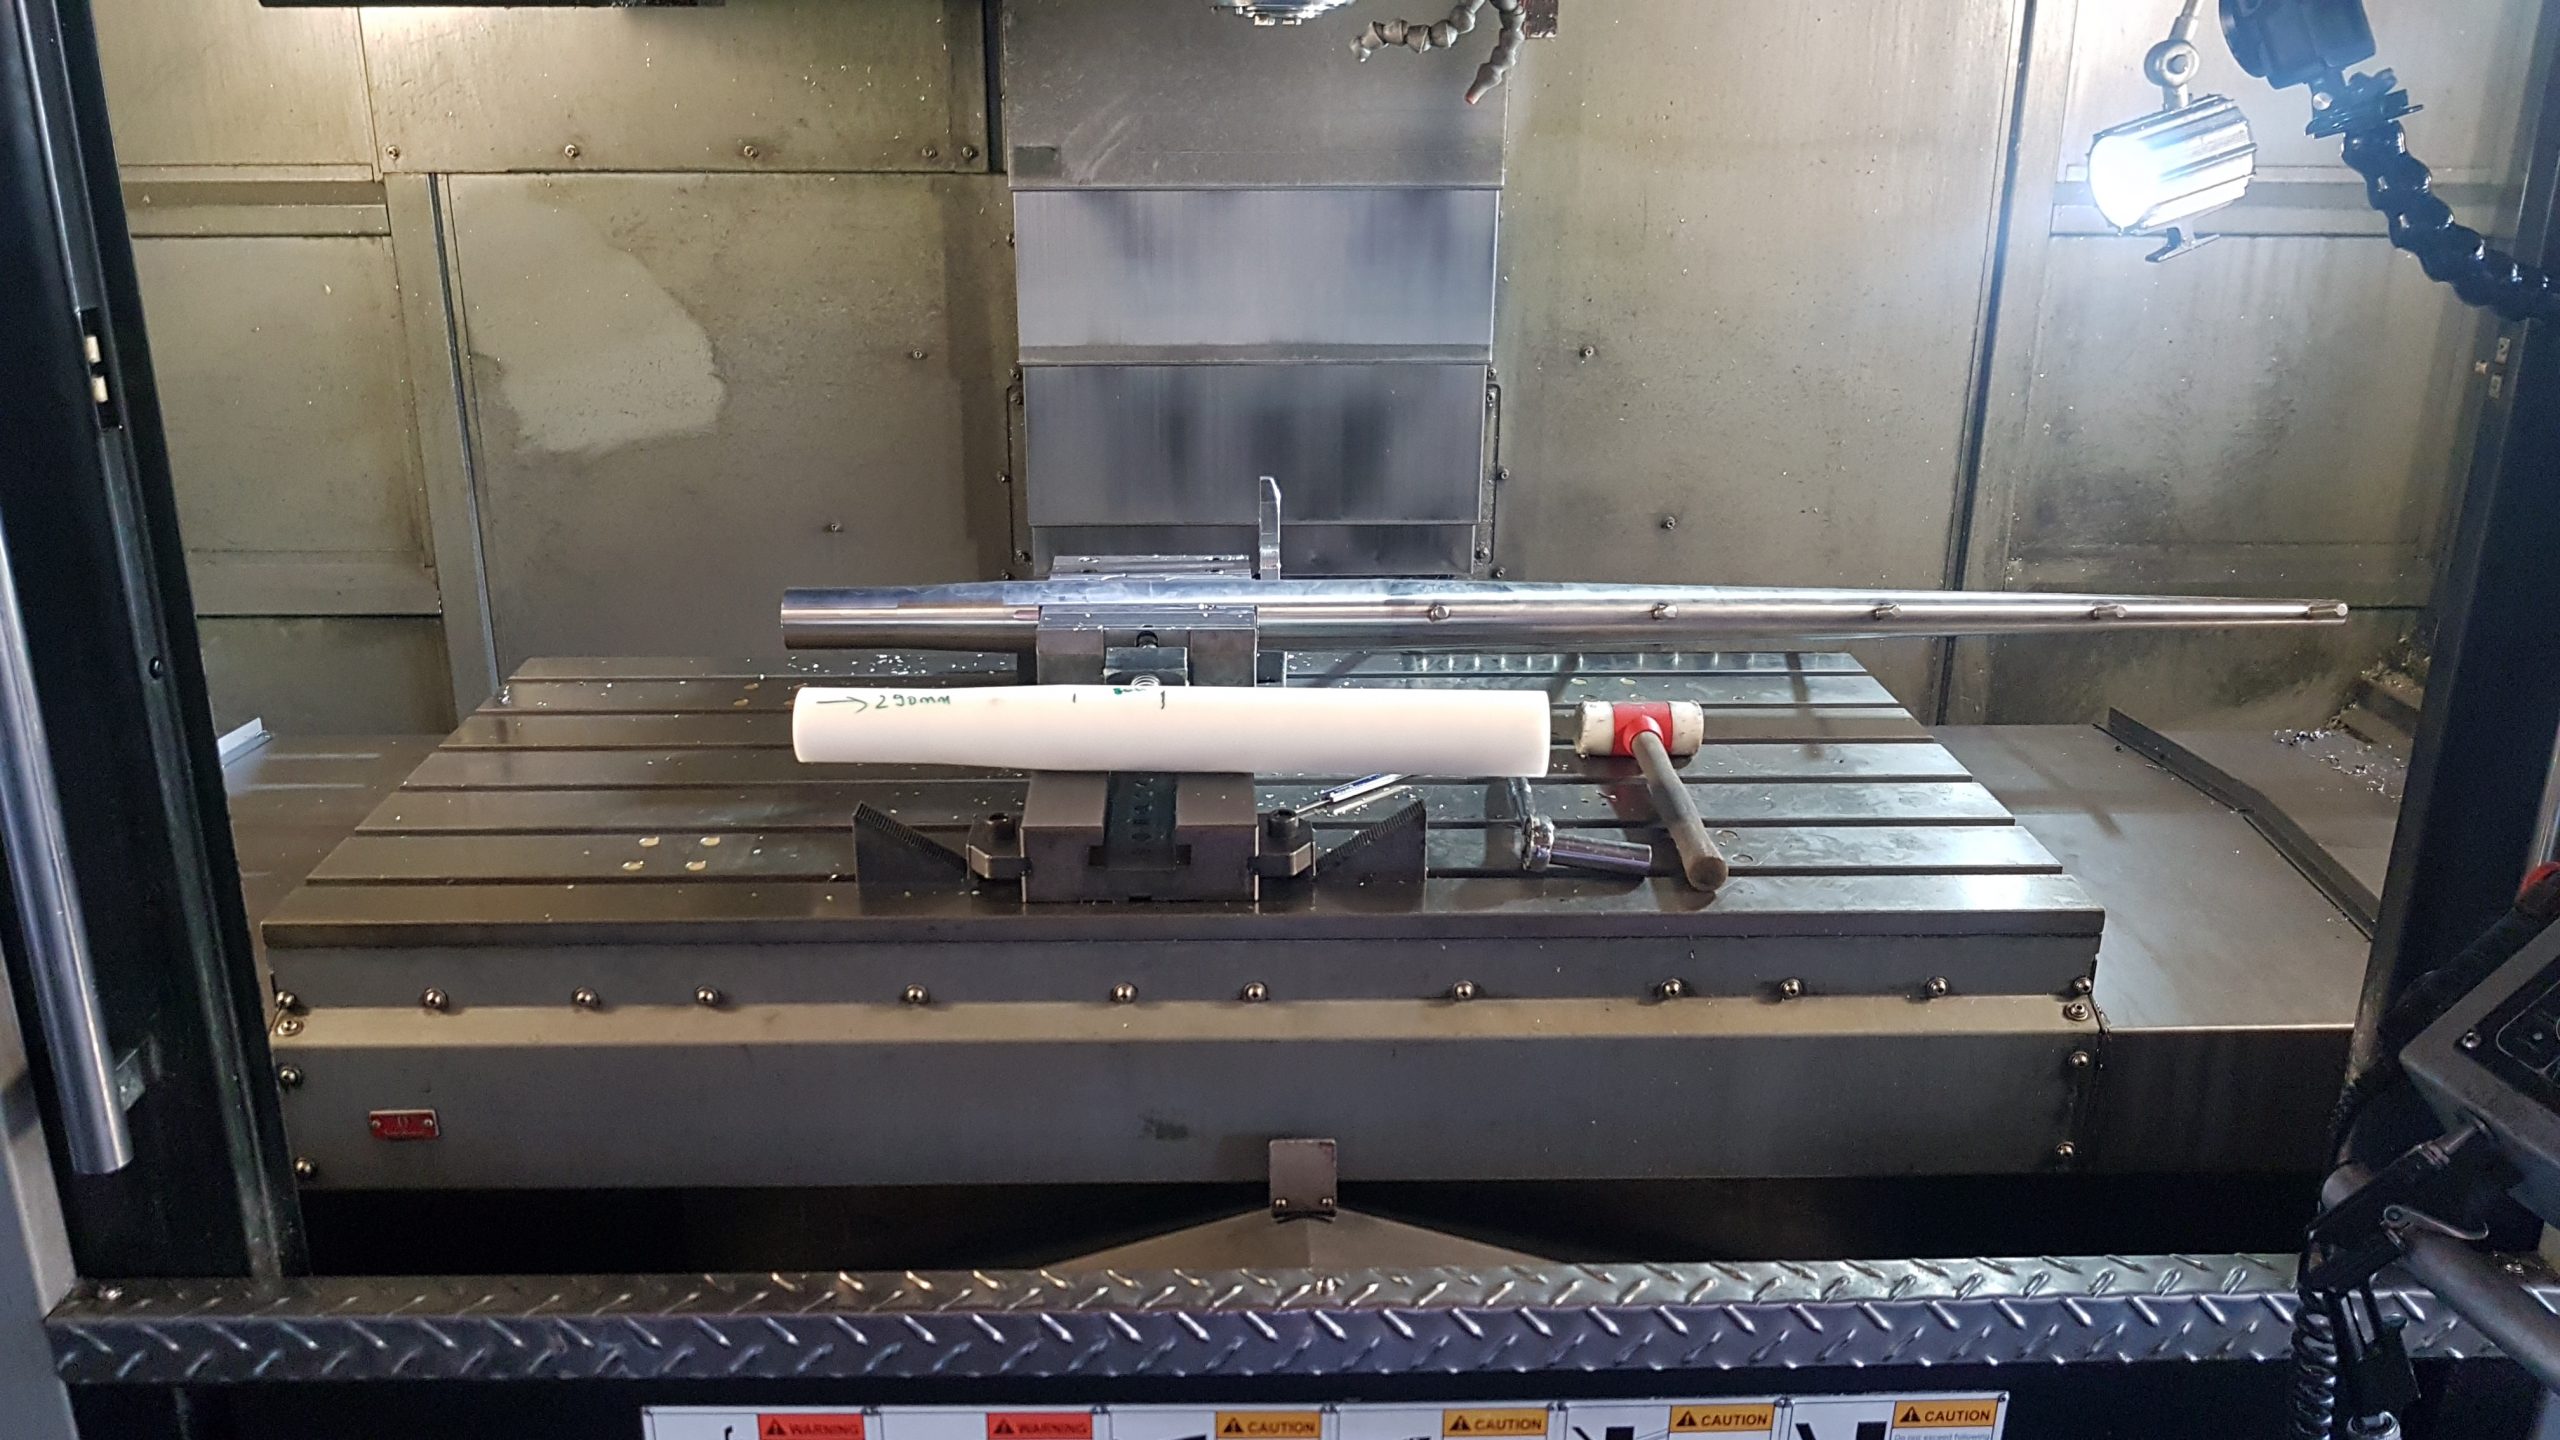
Shaping the rudder stock
As the design calls for and of course due to the narrowing shape of the rudder at the end, the stainless steel stocks needed to be made into a conical shape. With today’s CNC lathes, this is a pretty straightforward process. It involves putting the round stainless bar on the lathe, entering the dimensions into the computer and pressing go. In the Sanayi, I found that the standard rate for CNC time was EUR15/hour. Mr. Blackwater had found a company and said the quote was 350TL which in 2019 equates to ~35 euros TOTAL. This seemed like a low price but I was new to Turkey and knowing the minimum wage was about EUR350/month maybe this was the going rate. And of course, I had only been here for less than 6 months so I was still finding my way around. A week later we were notified that the rudder stocks were done so we went to pick them up. When we got there the price had gone up to 2700TL. Big difference from the quoted price. I tried to fight back against this, but given that I didn’t speak Turkish all conversations went through Mr. Blackwater. His only response was that I needed to pay or I could not get the rudder stocks back. Way to hire a consultant that fights for you eh! It was at this point that I suspected and understood that the consultant, regardless of the fact of receiving payment from me, is most likely receiving payment from everyone else he recommended and that I had to deal with.
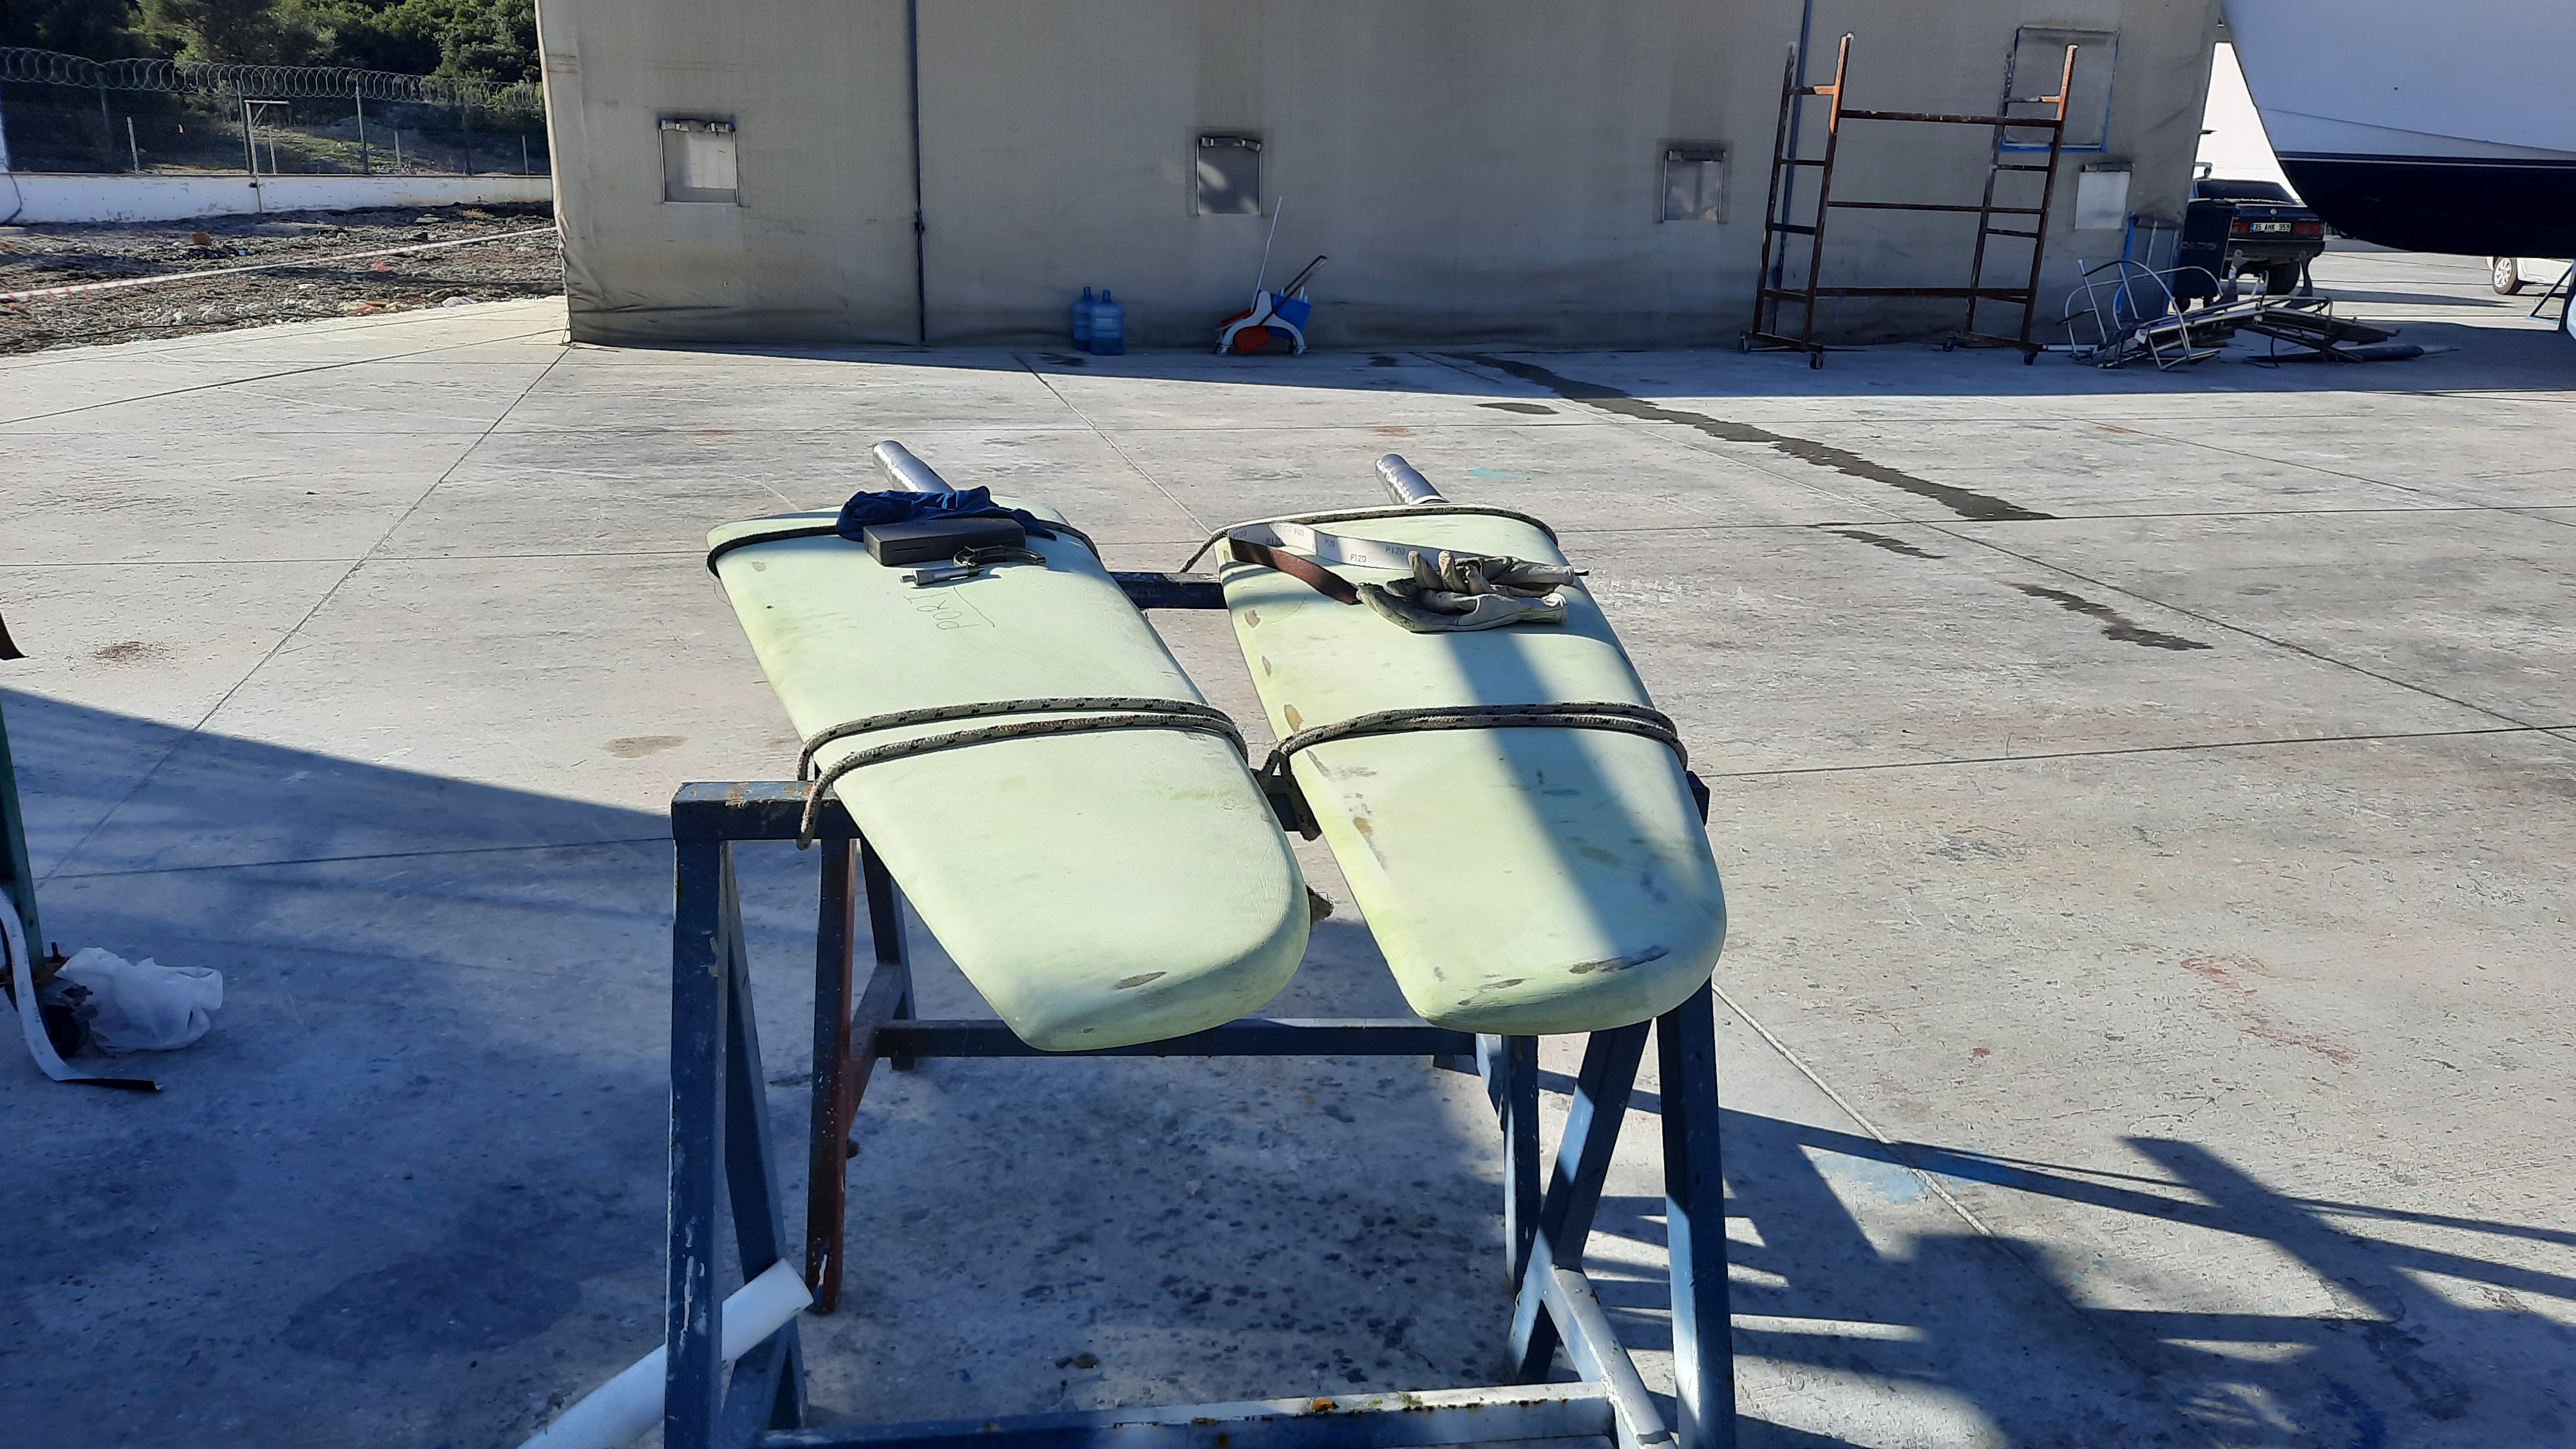
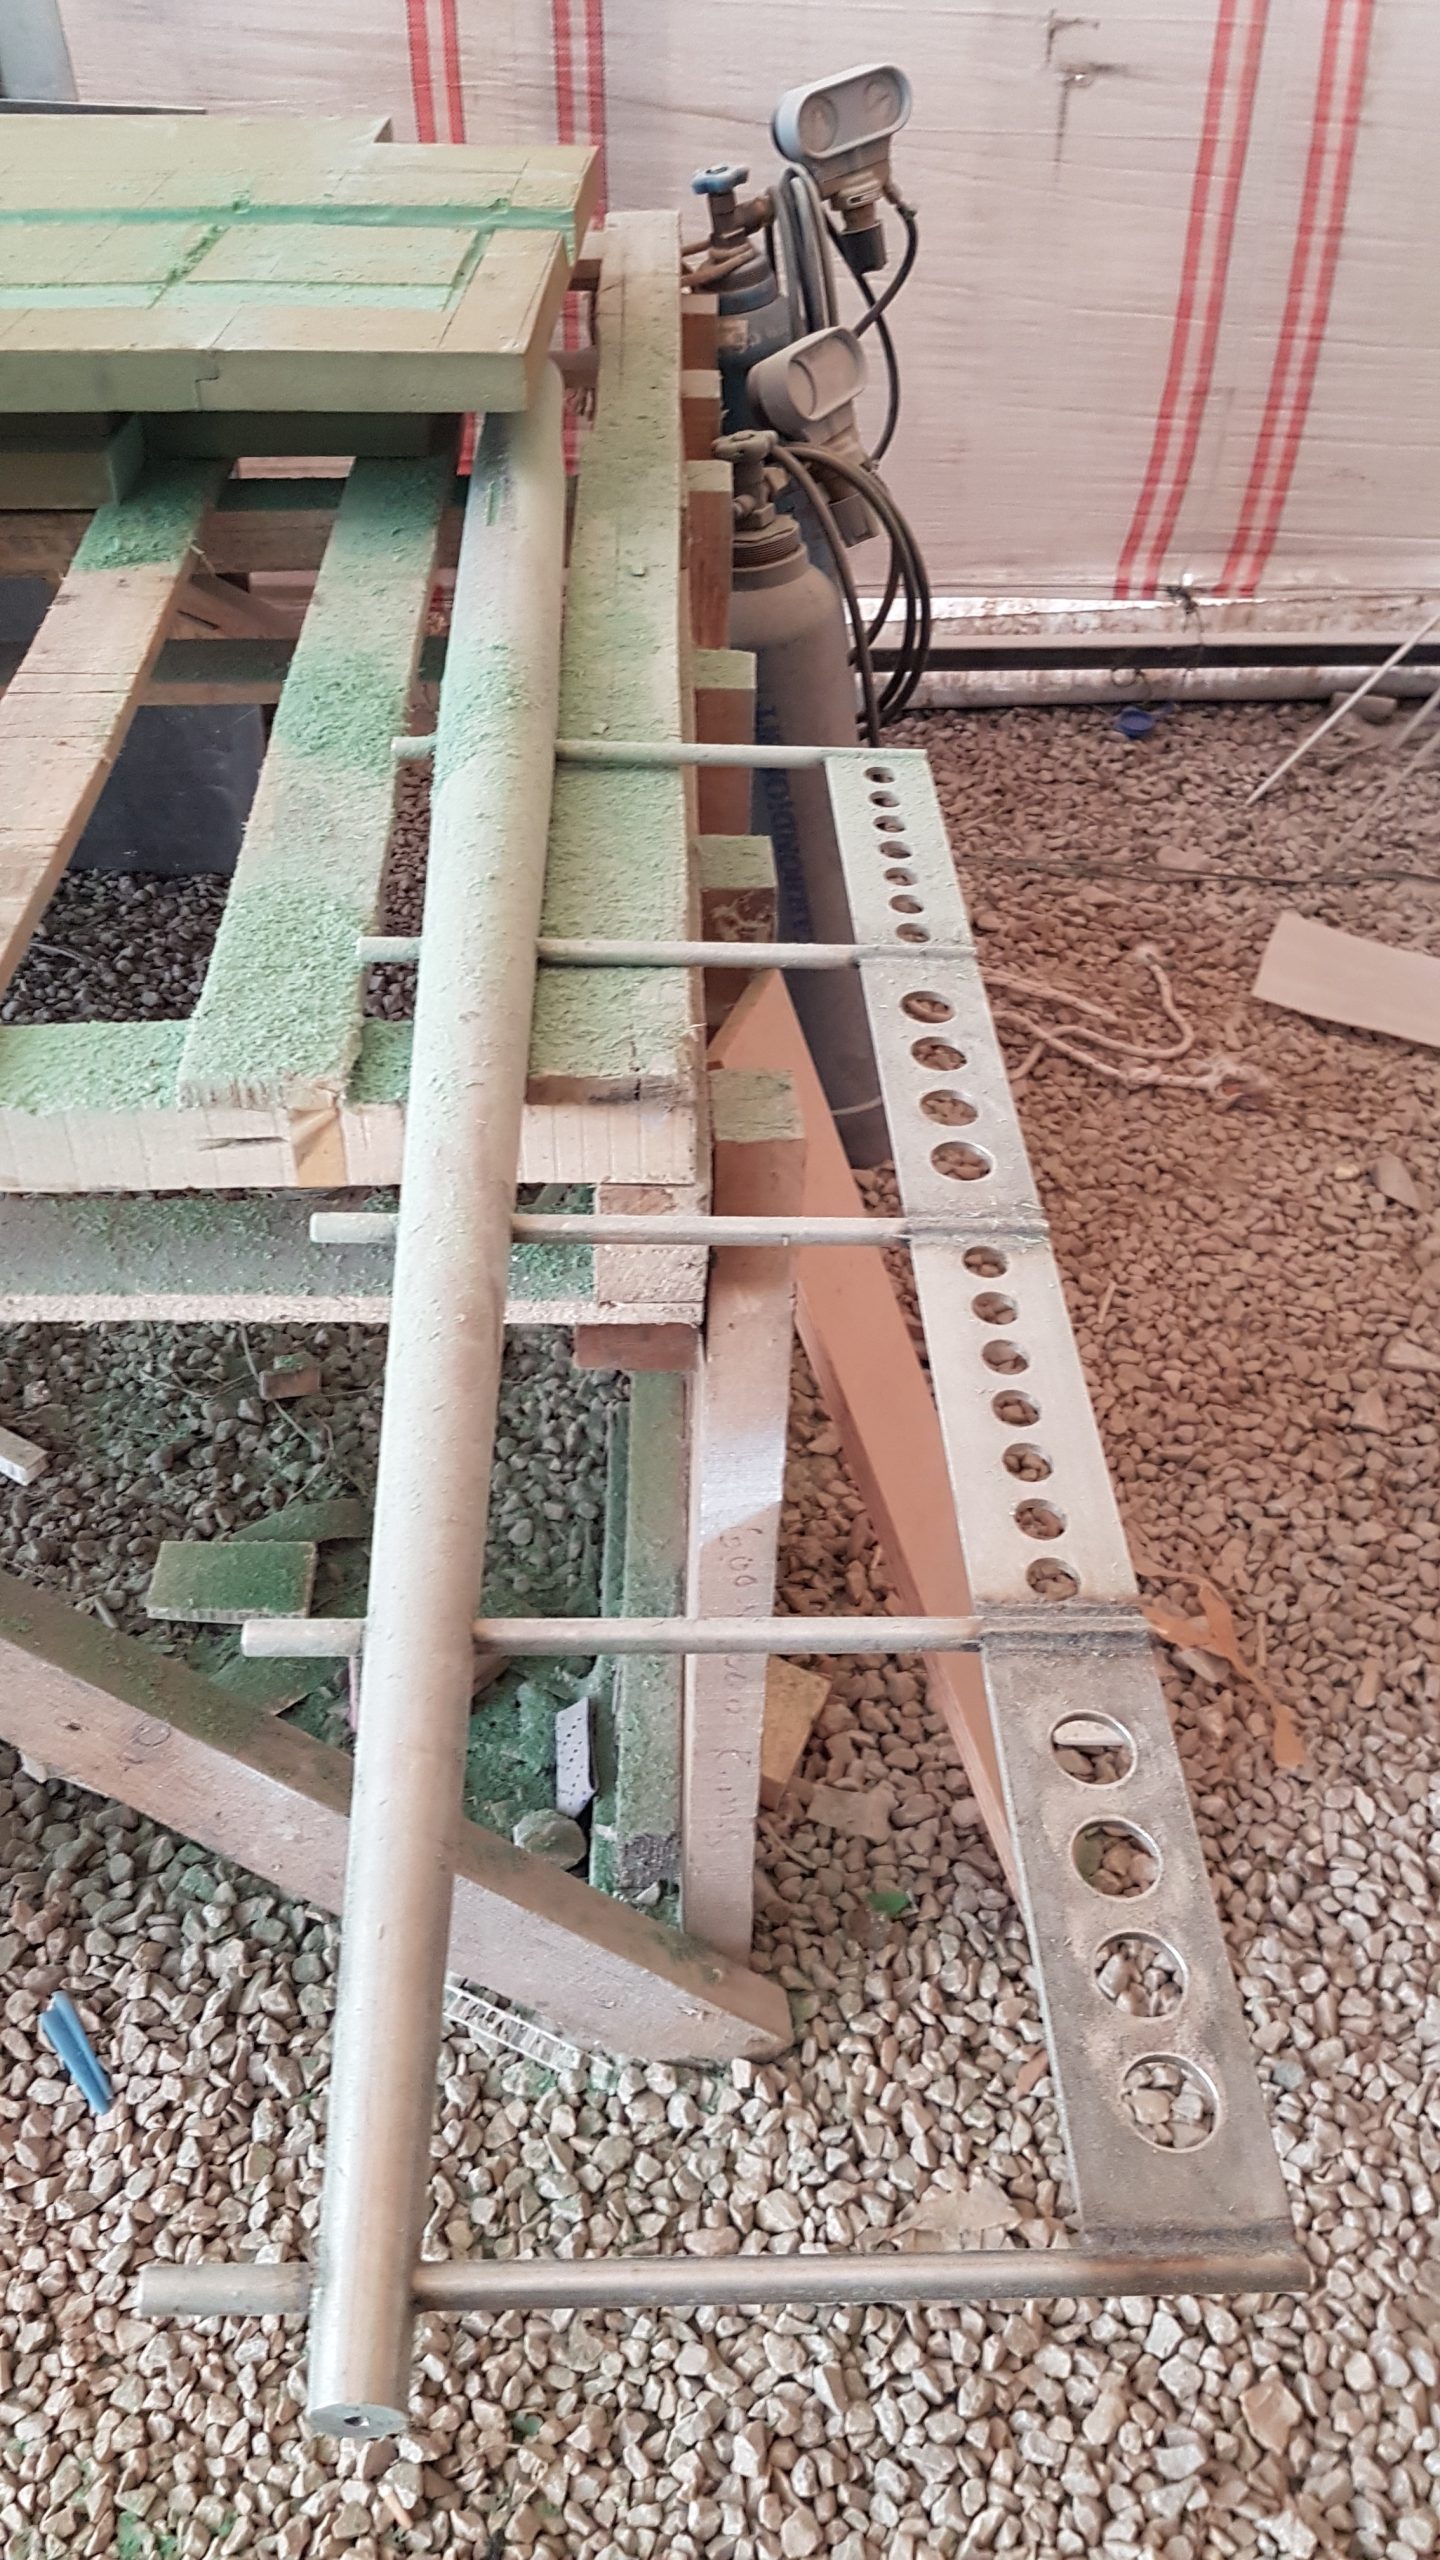
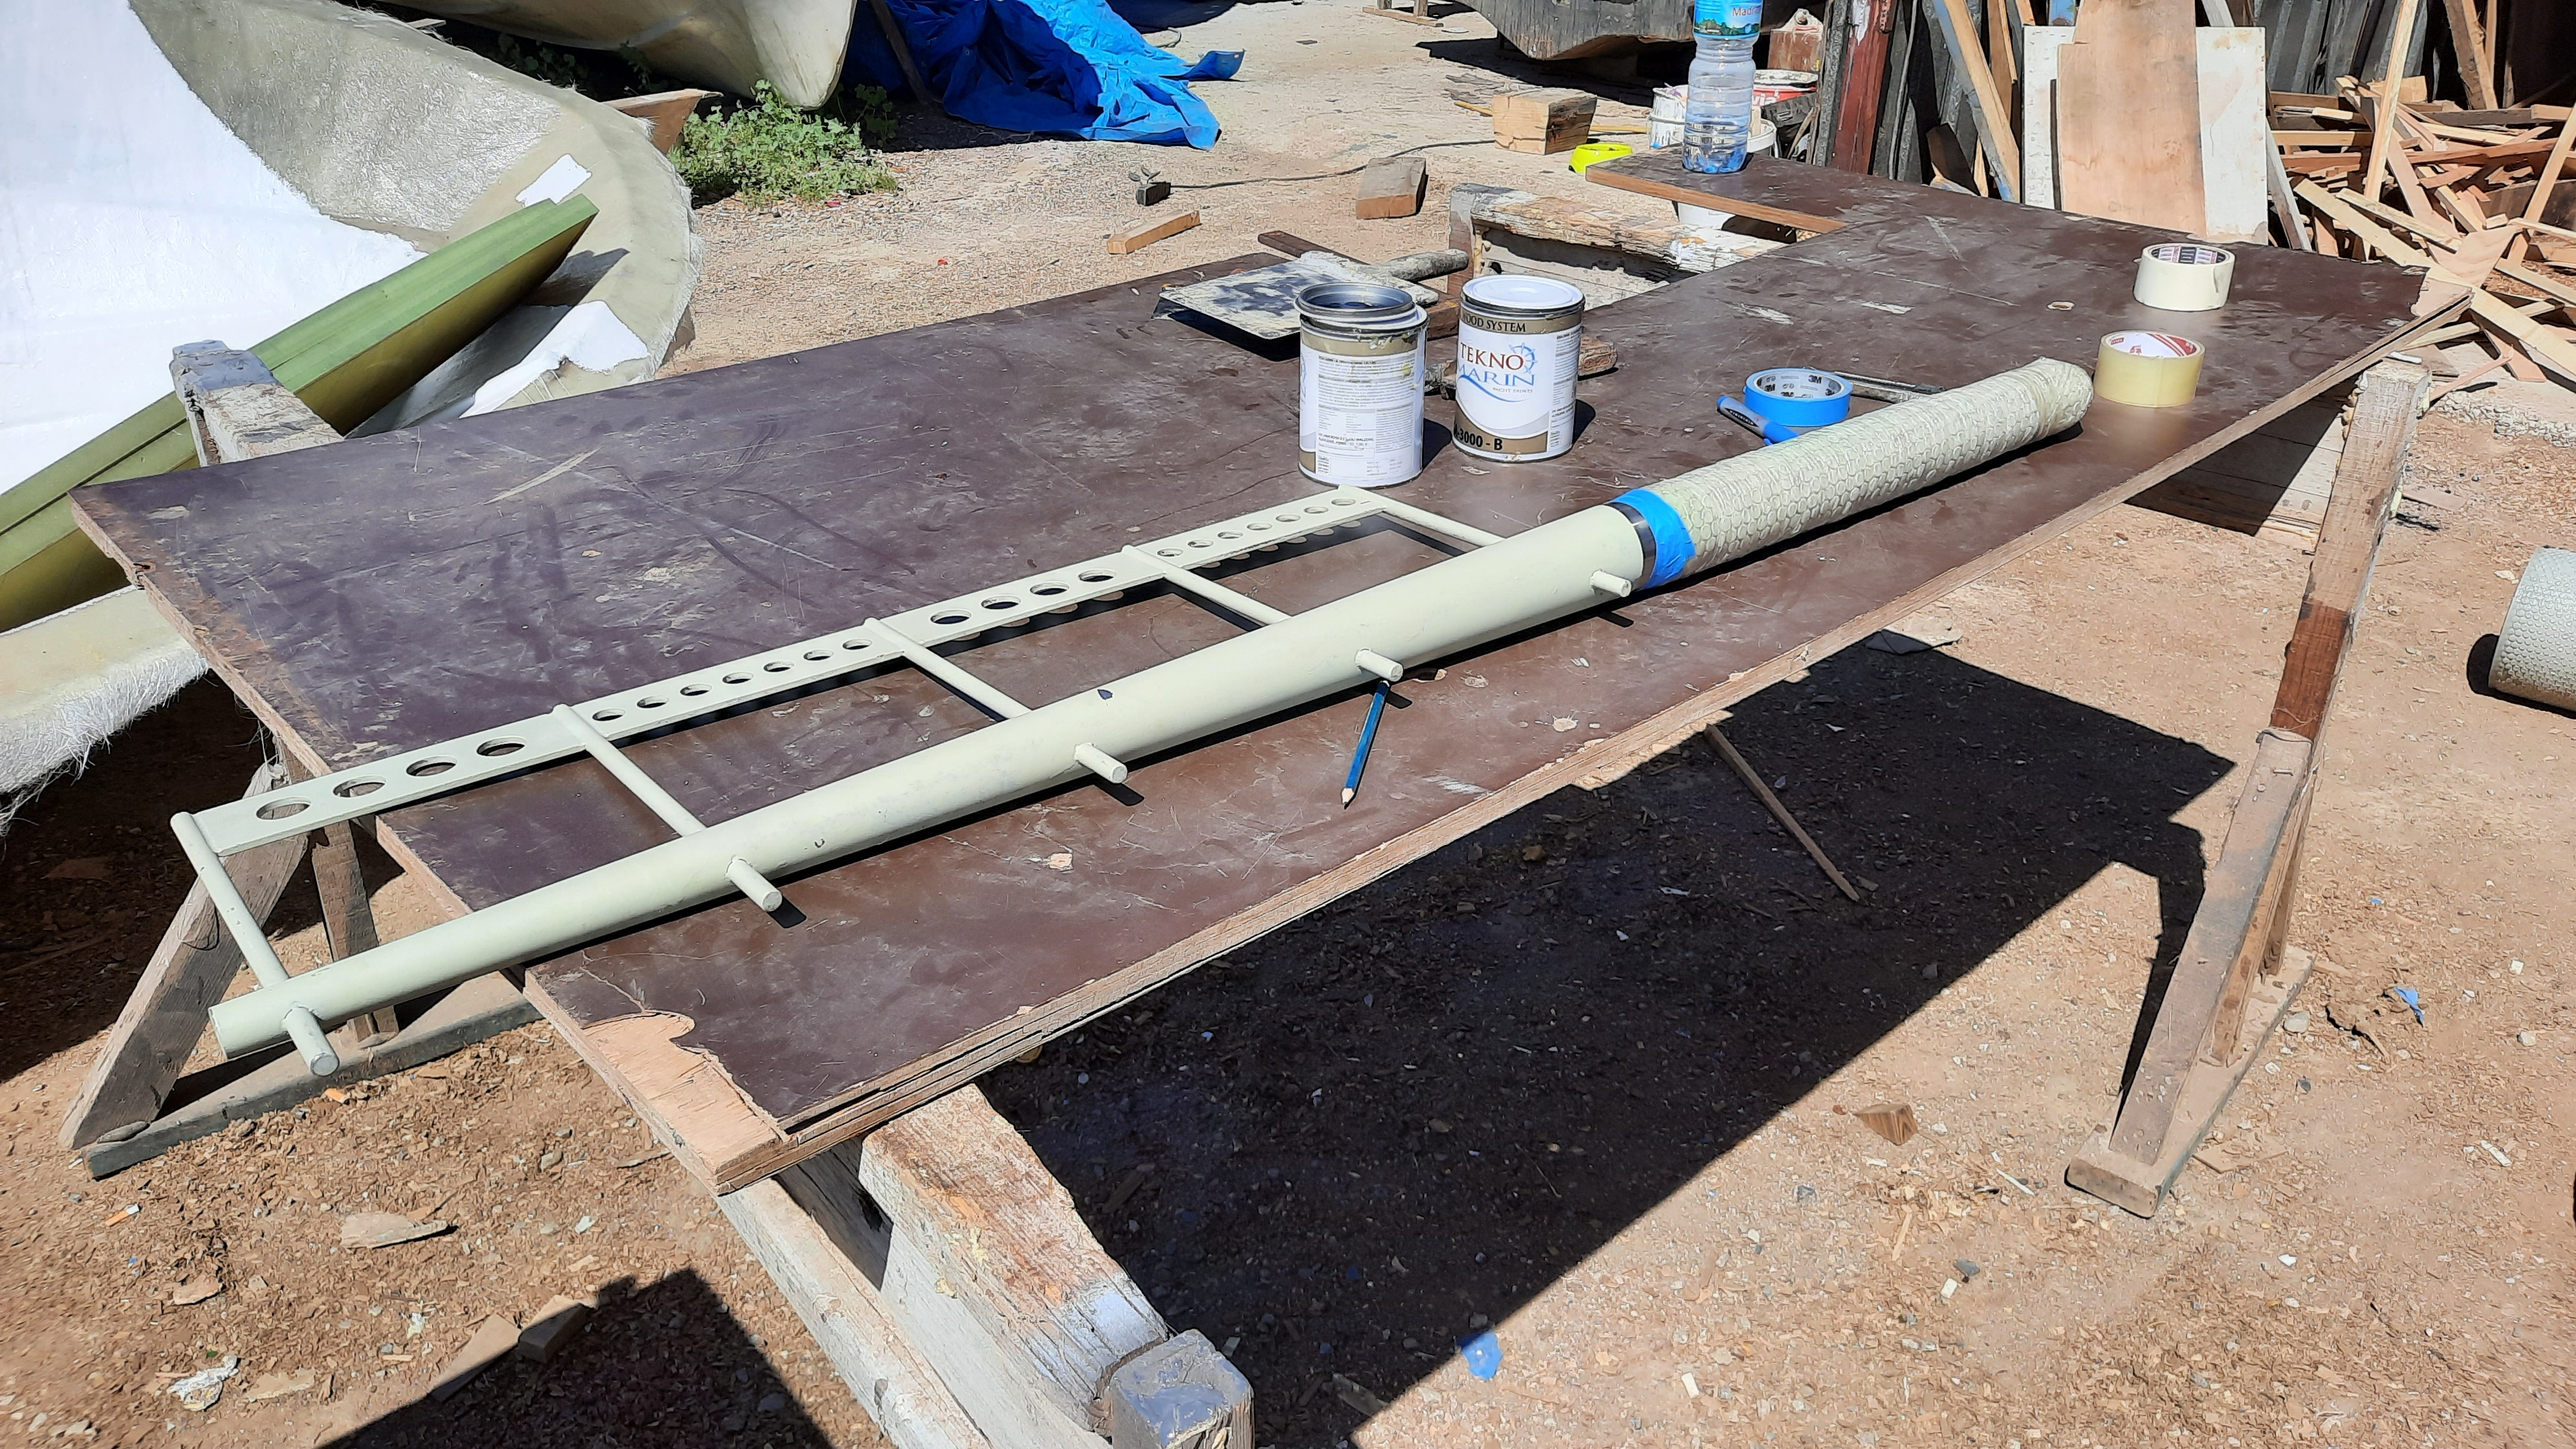
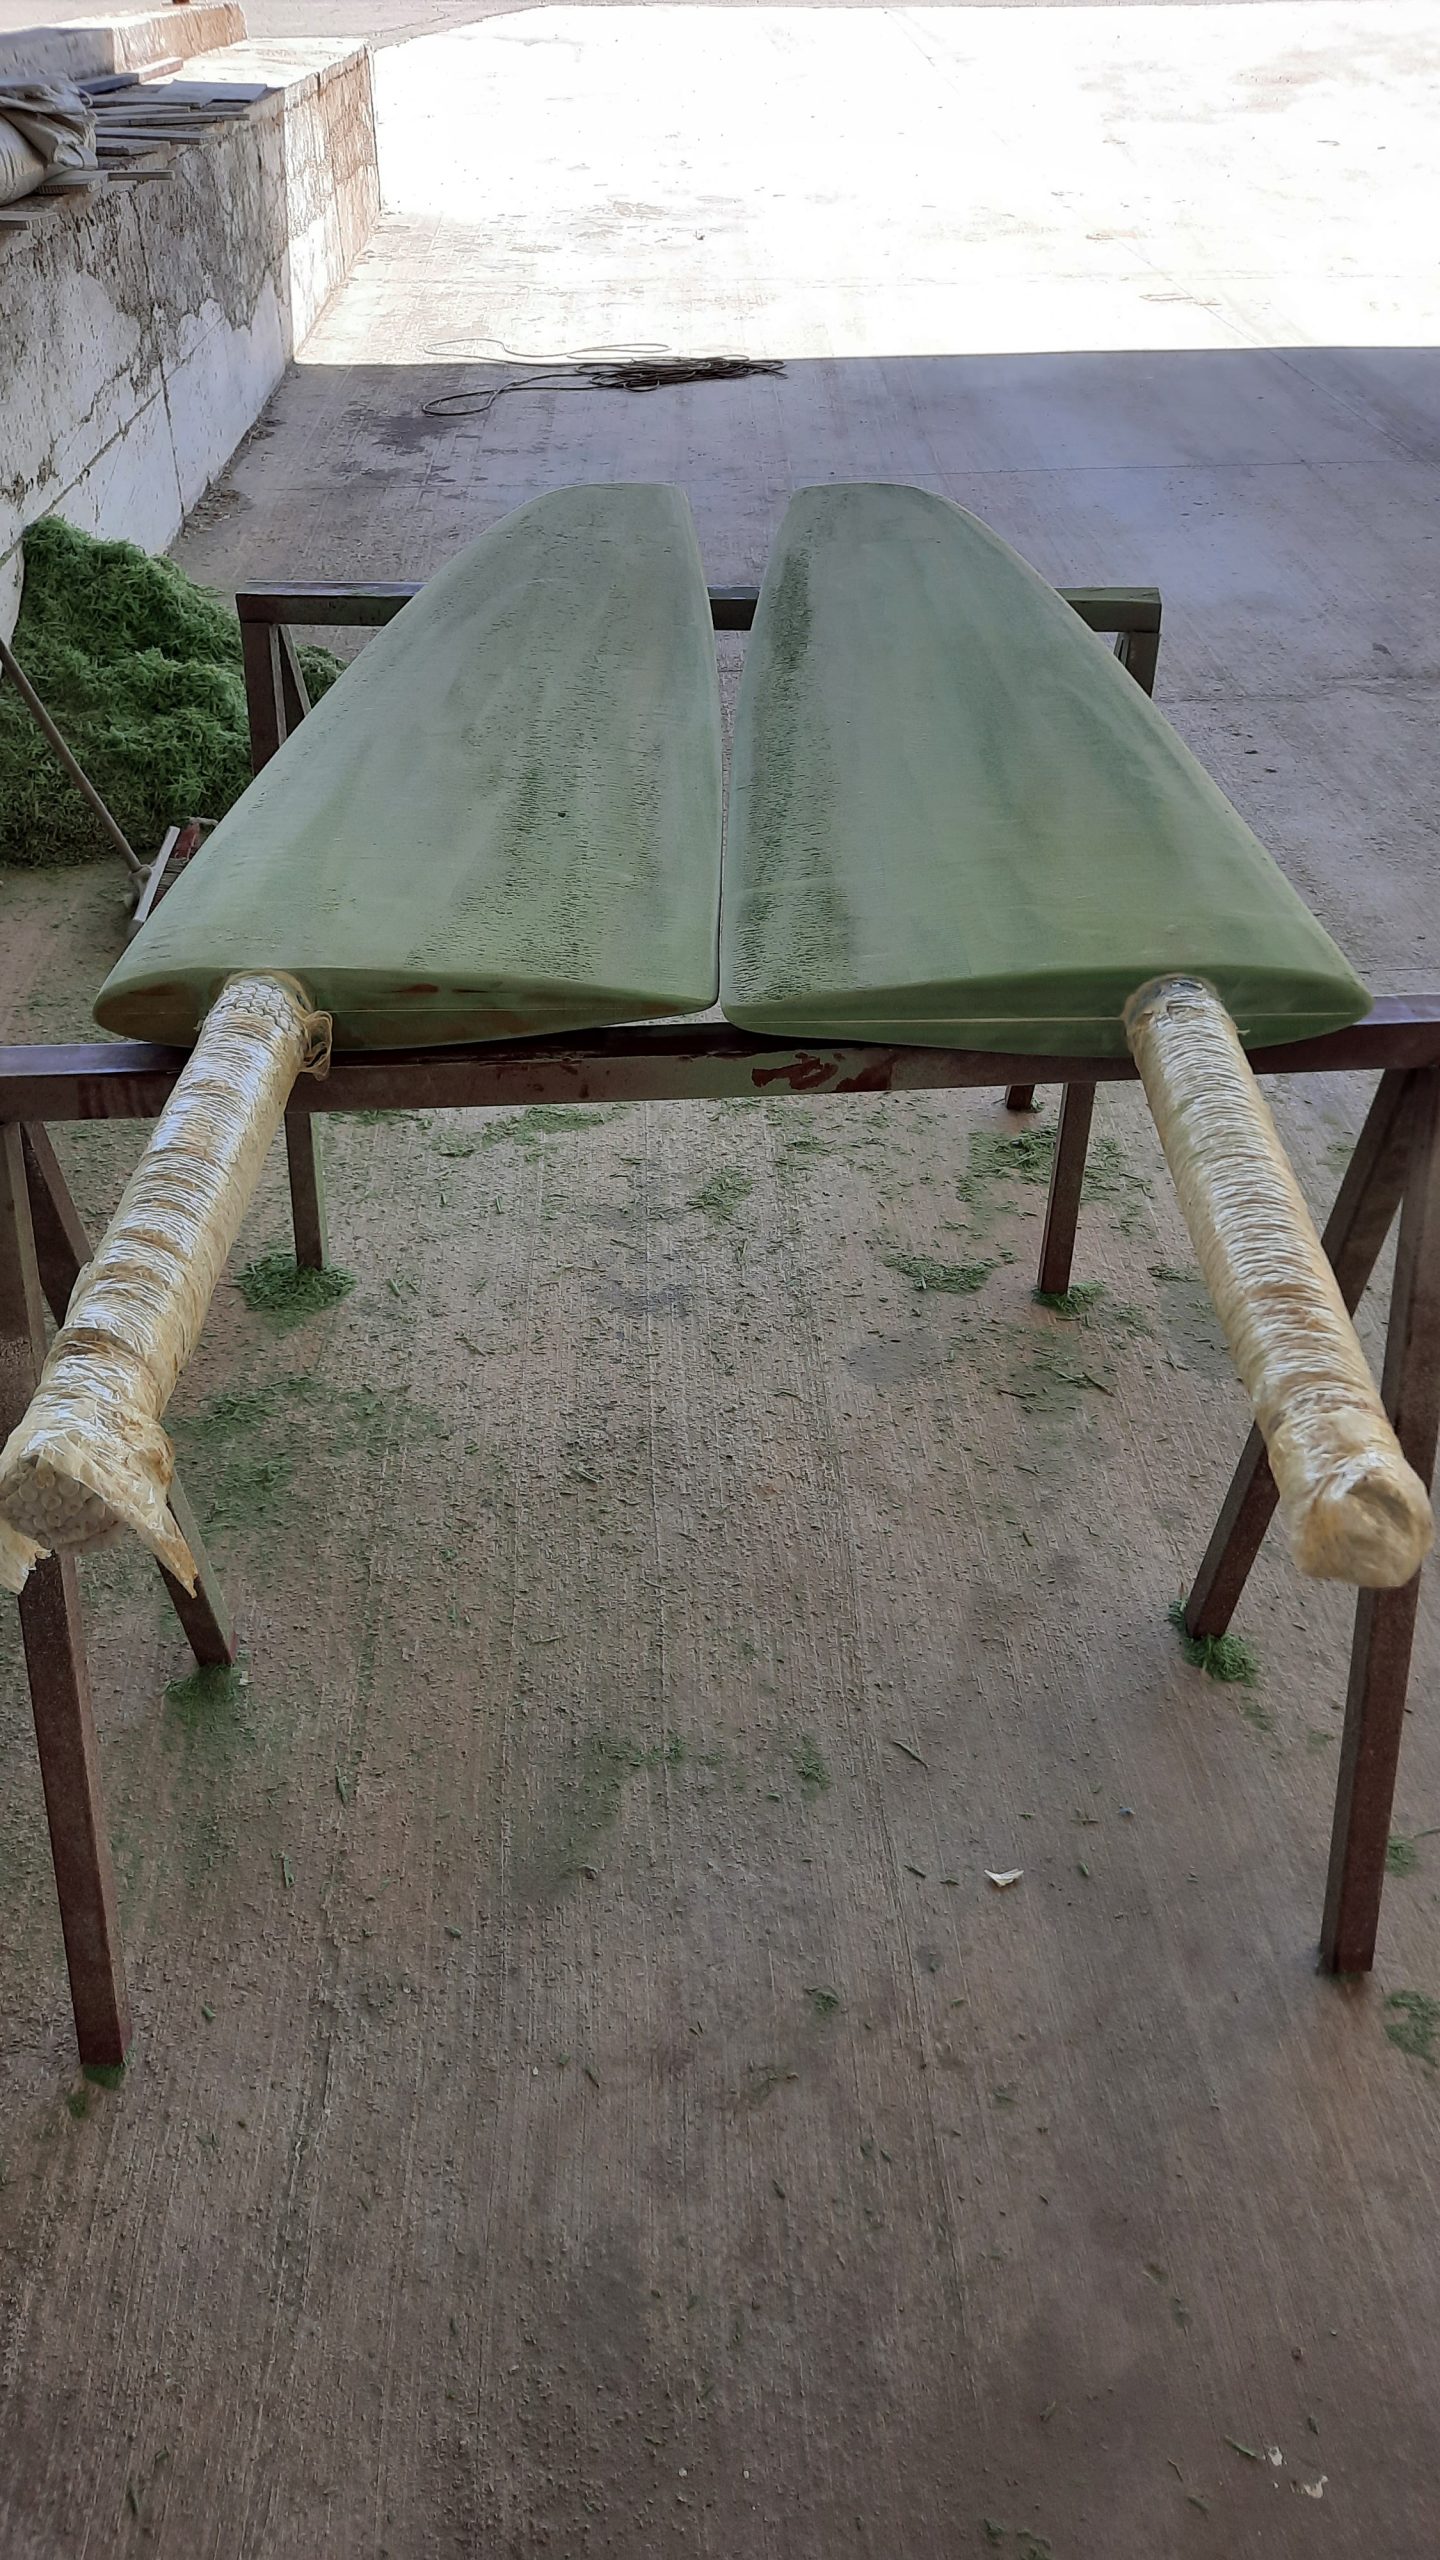
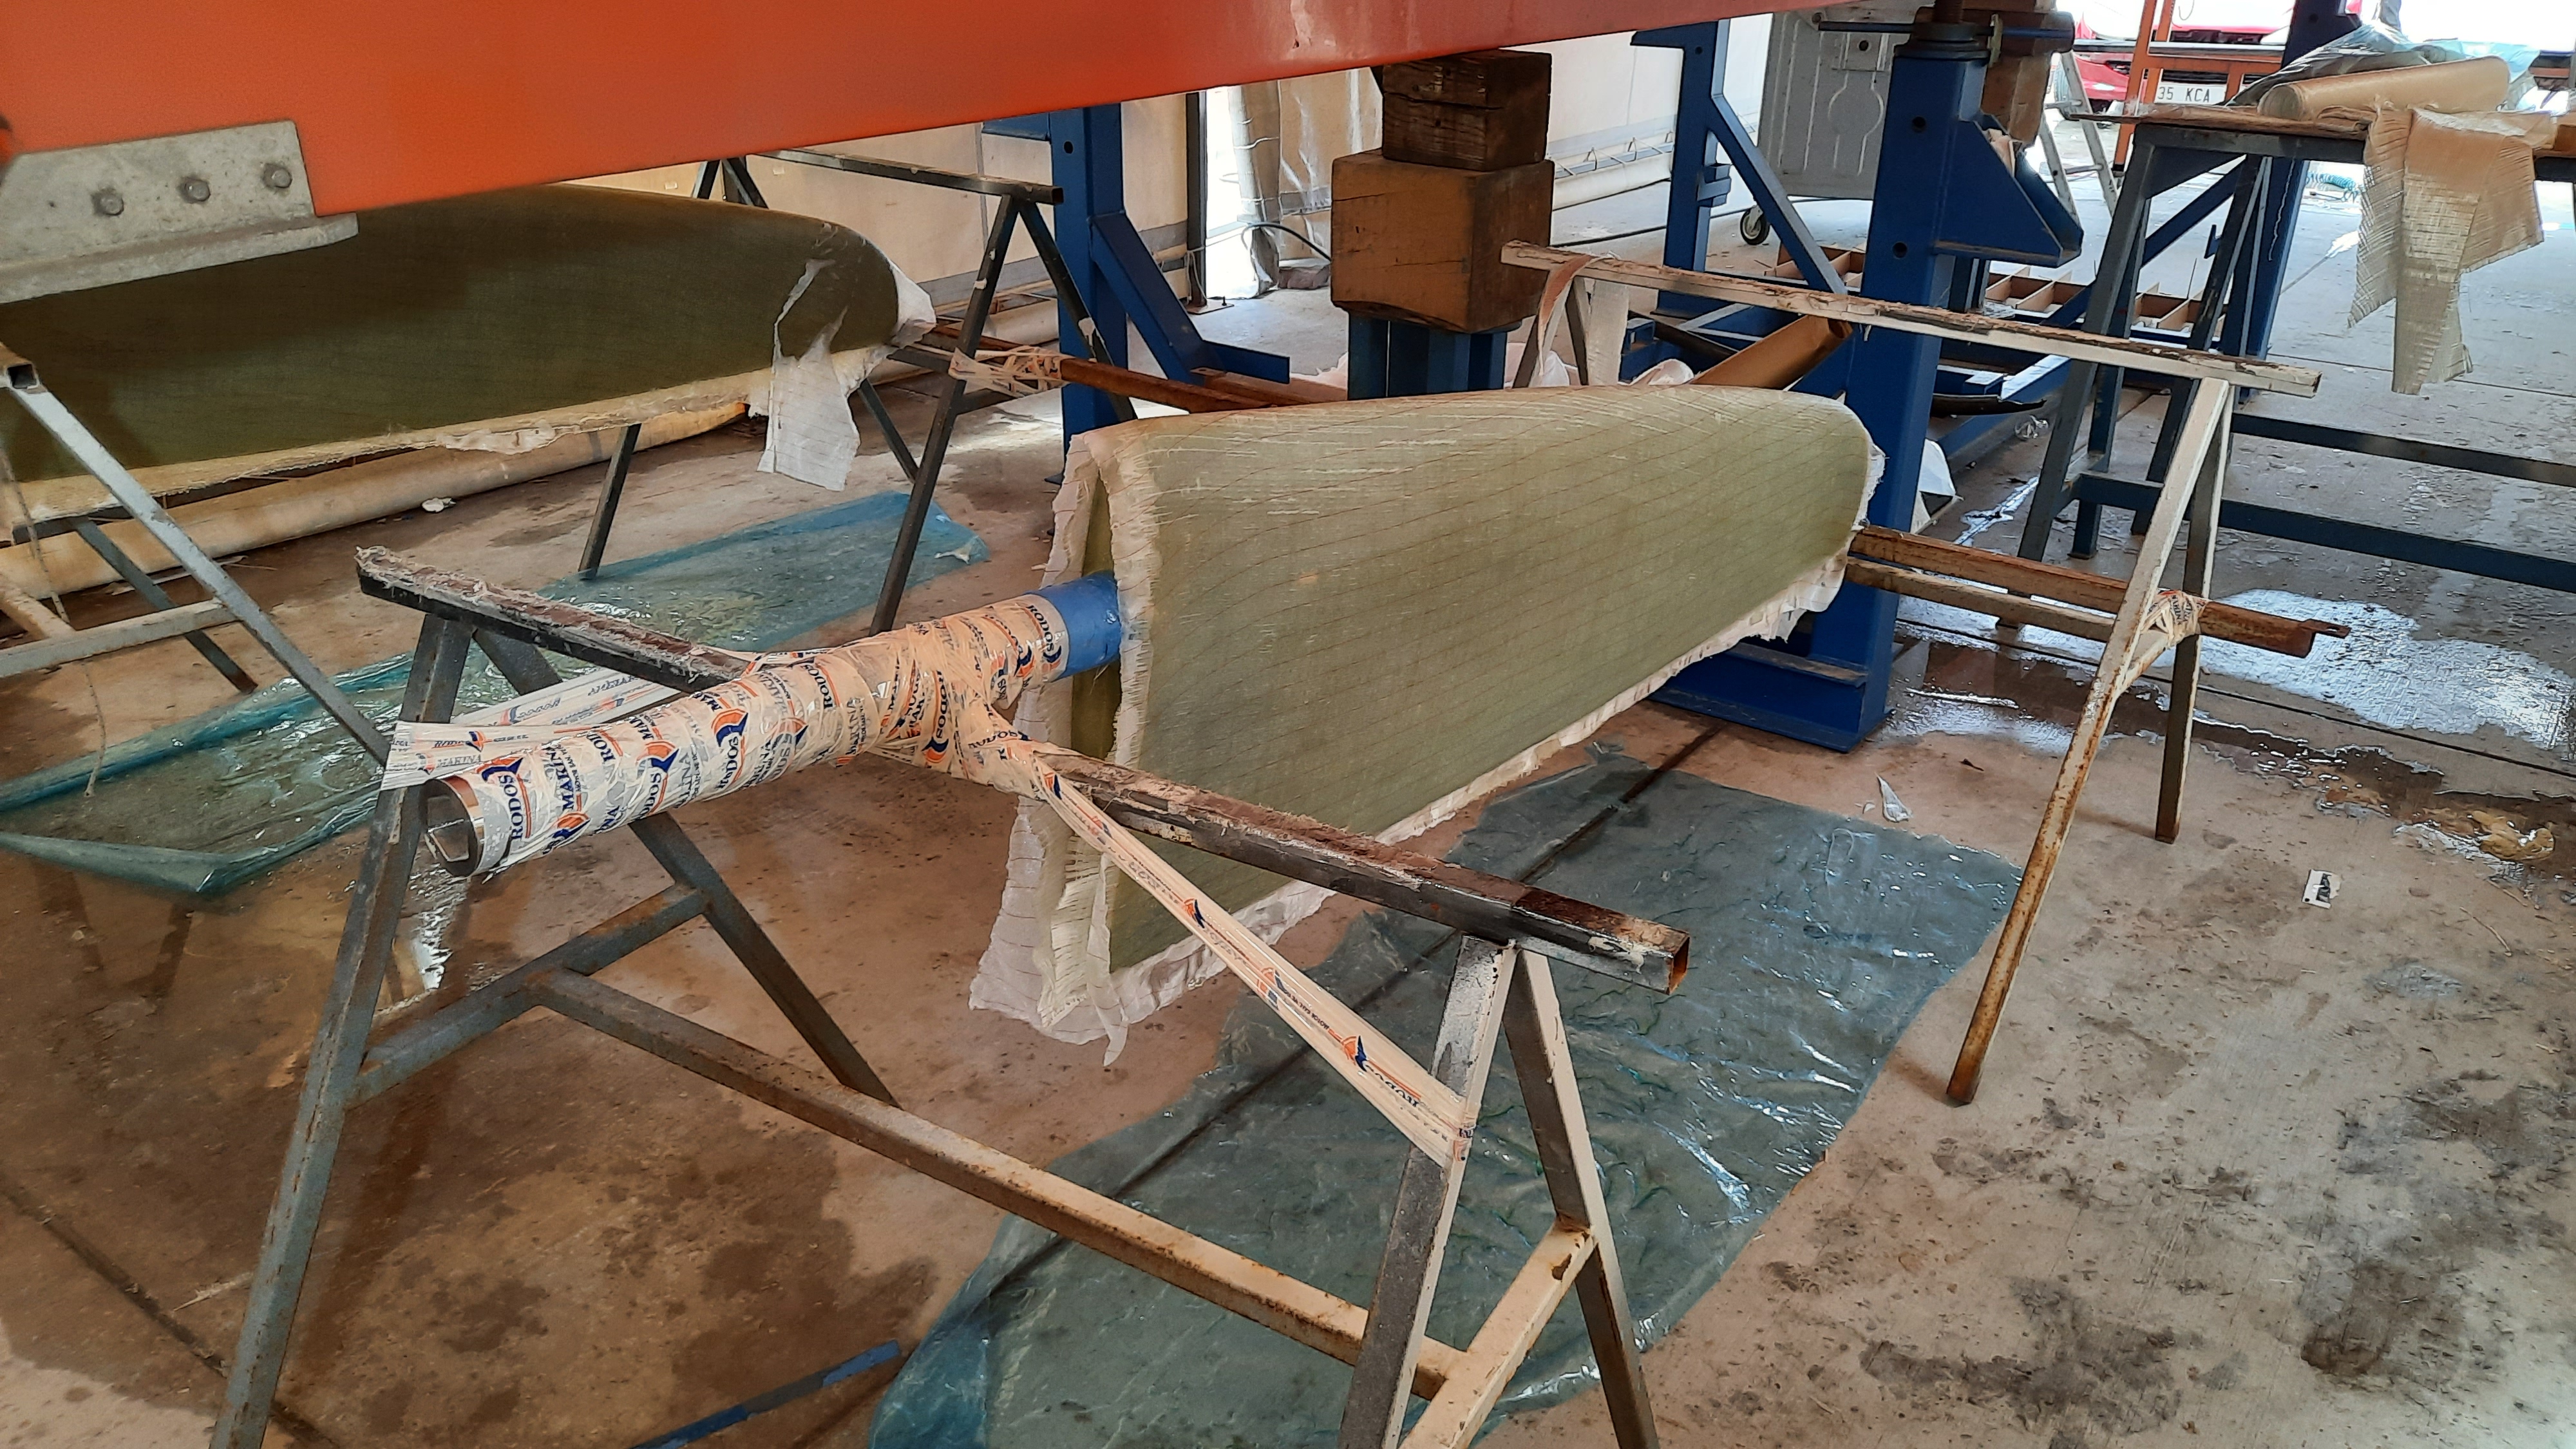
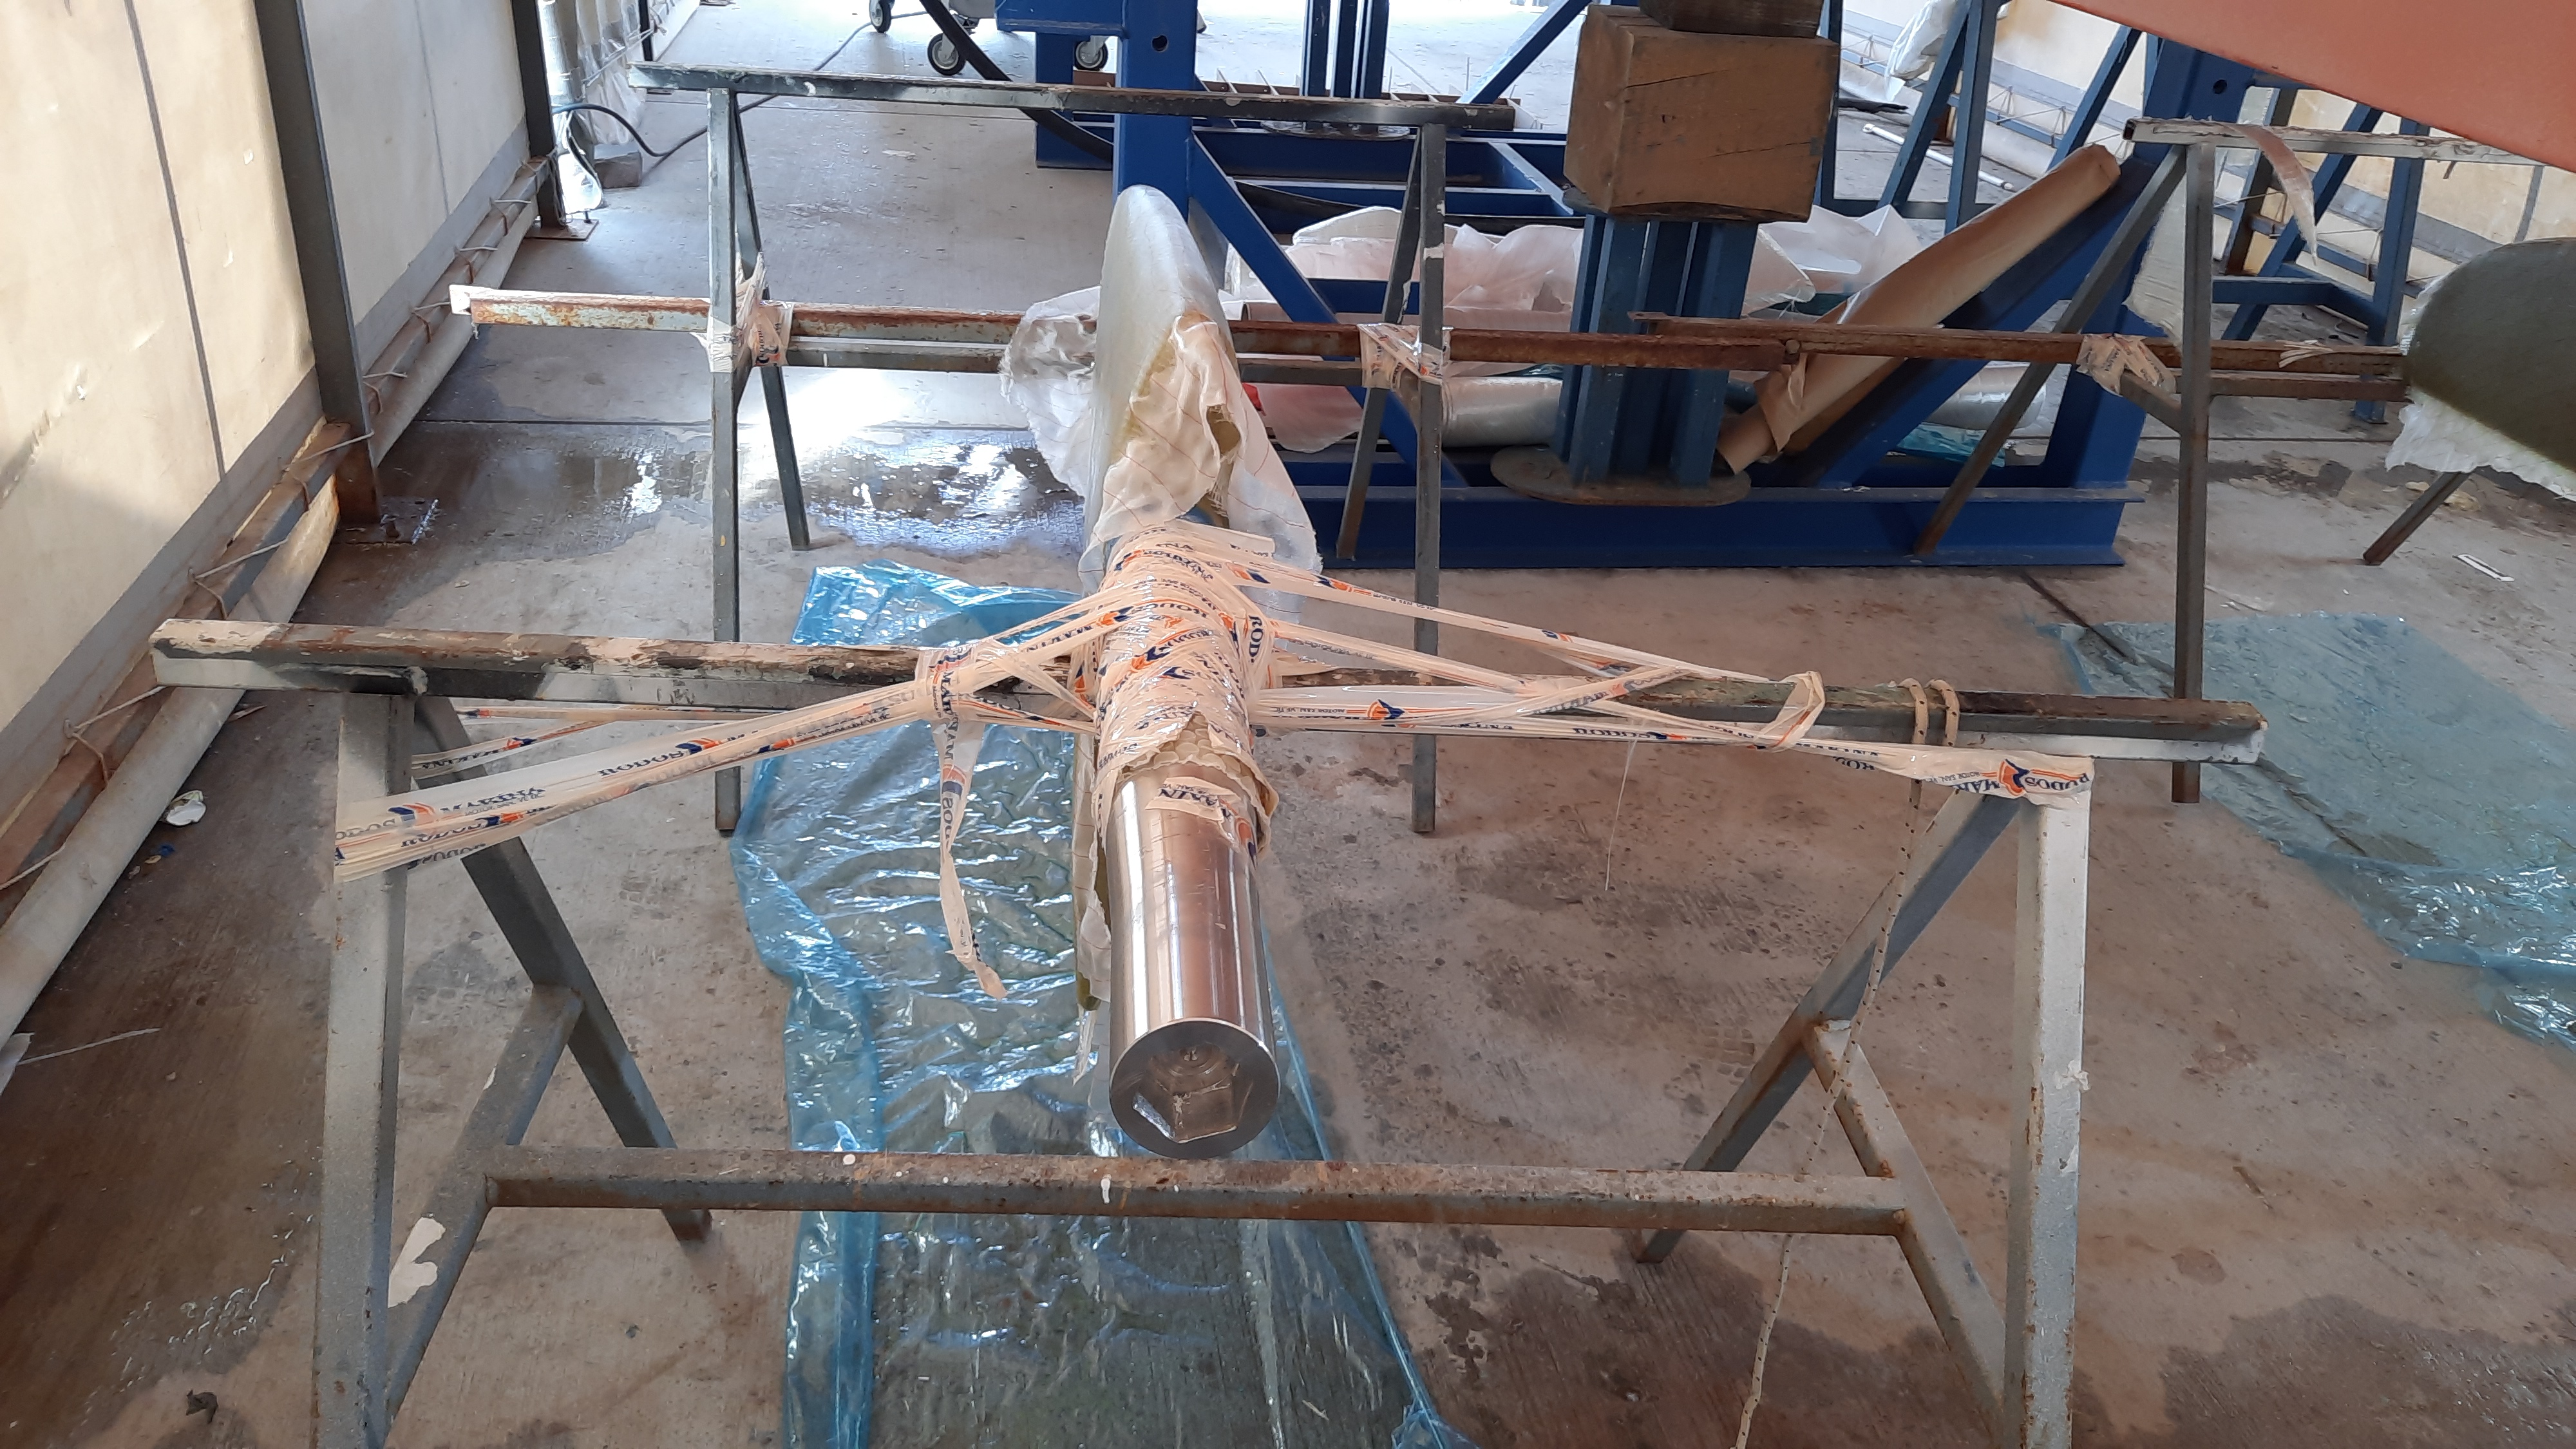
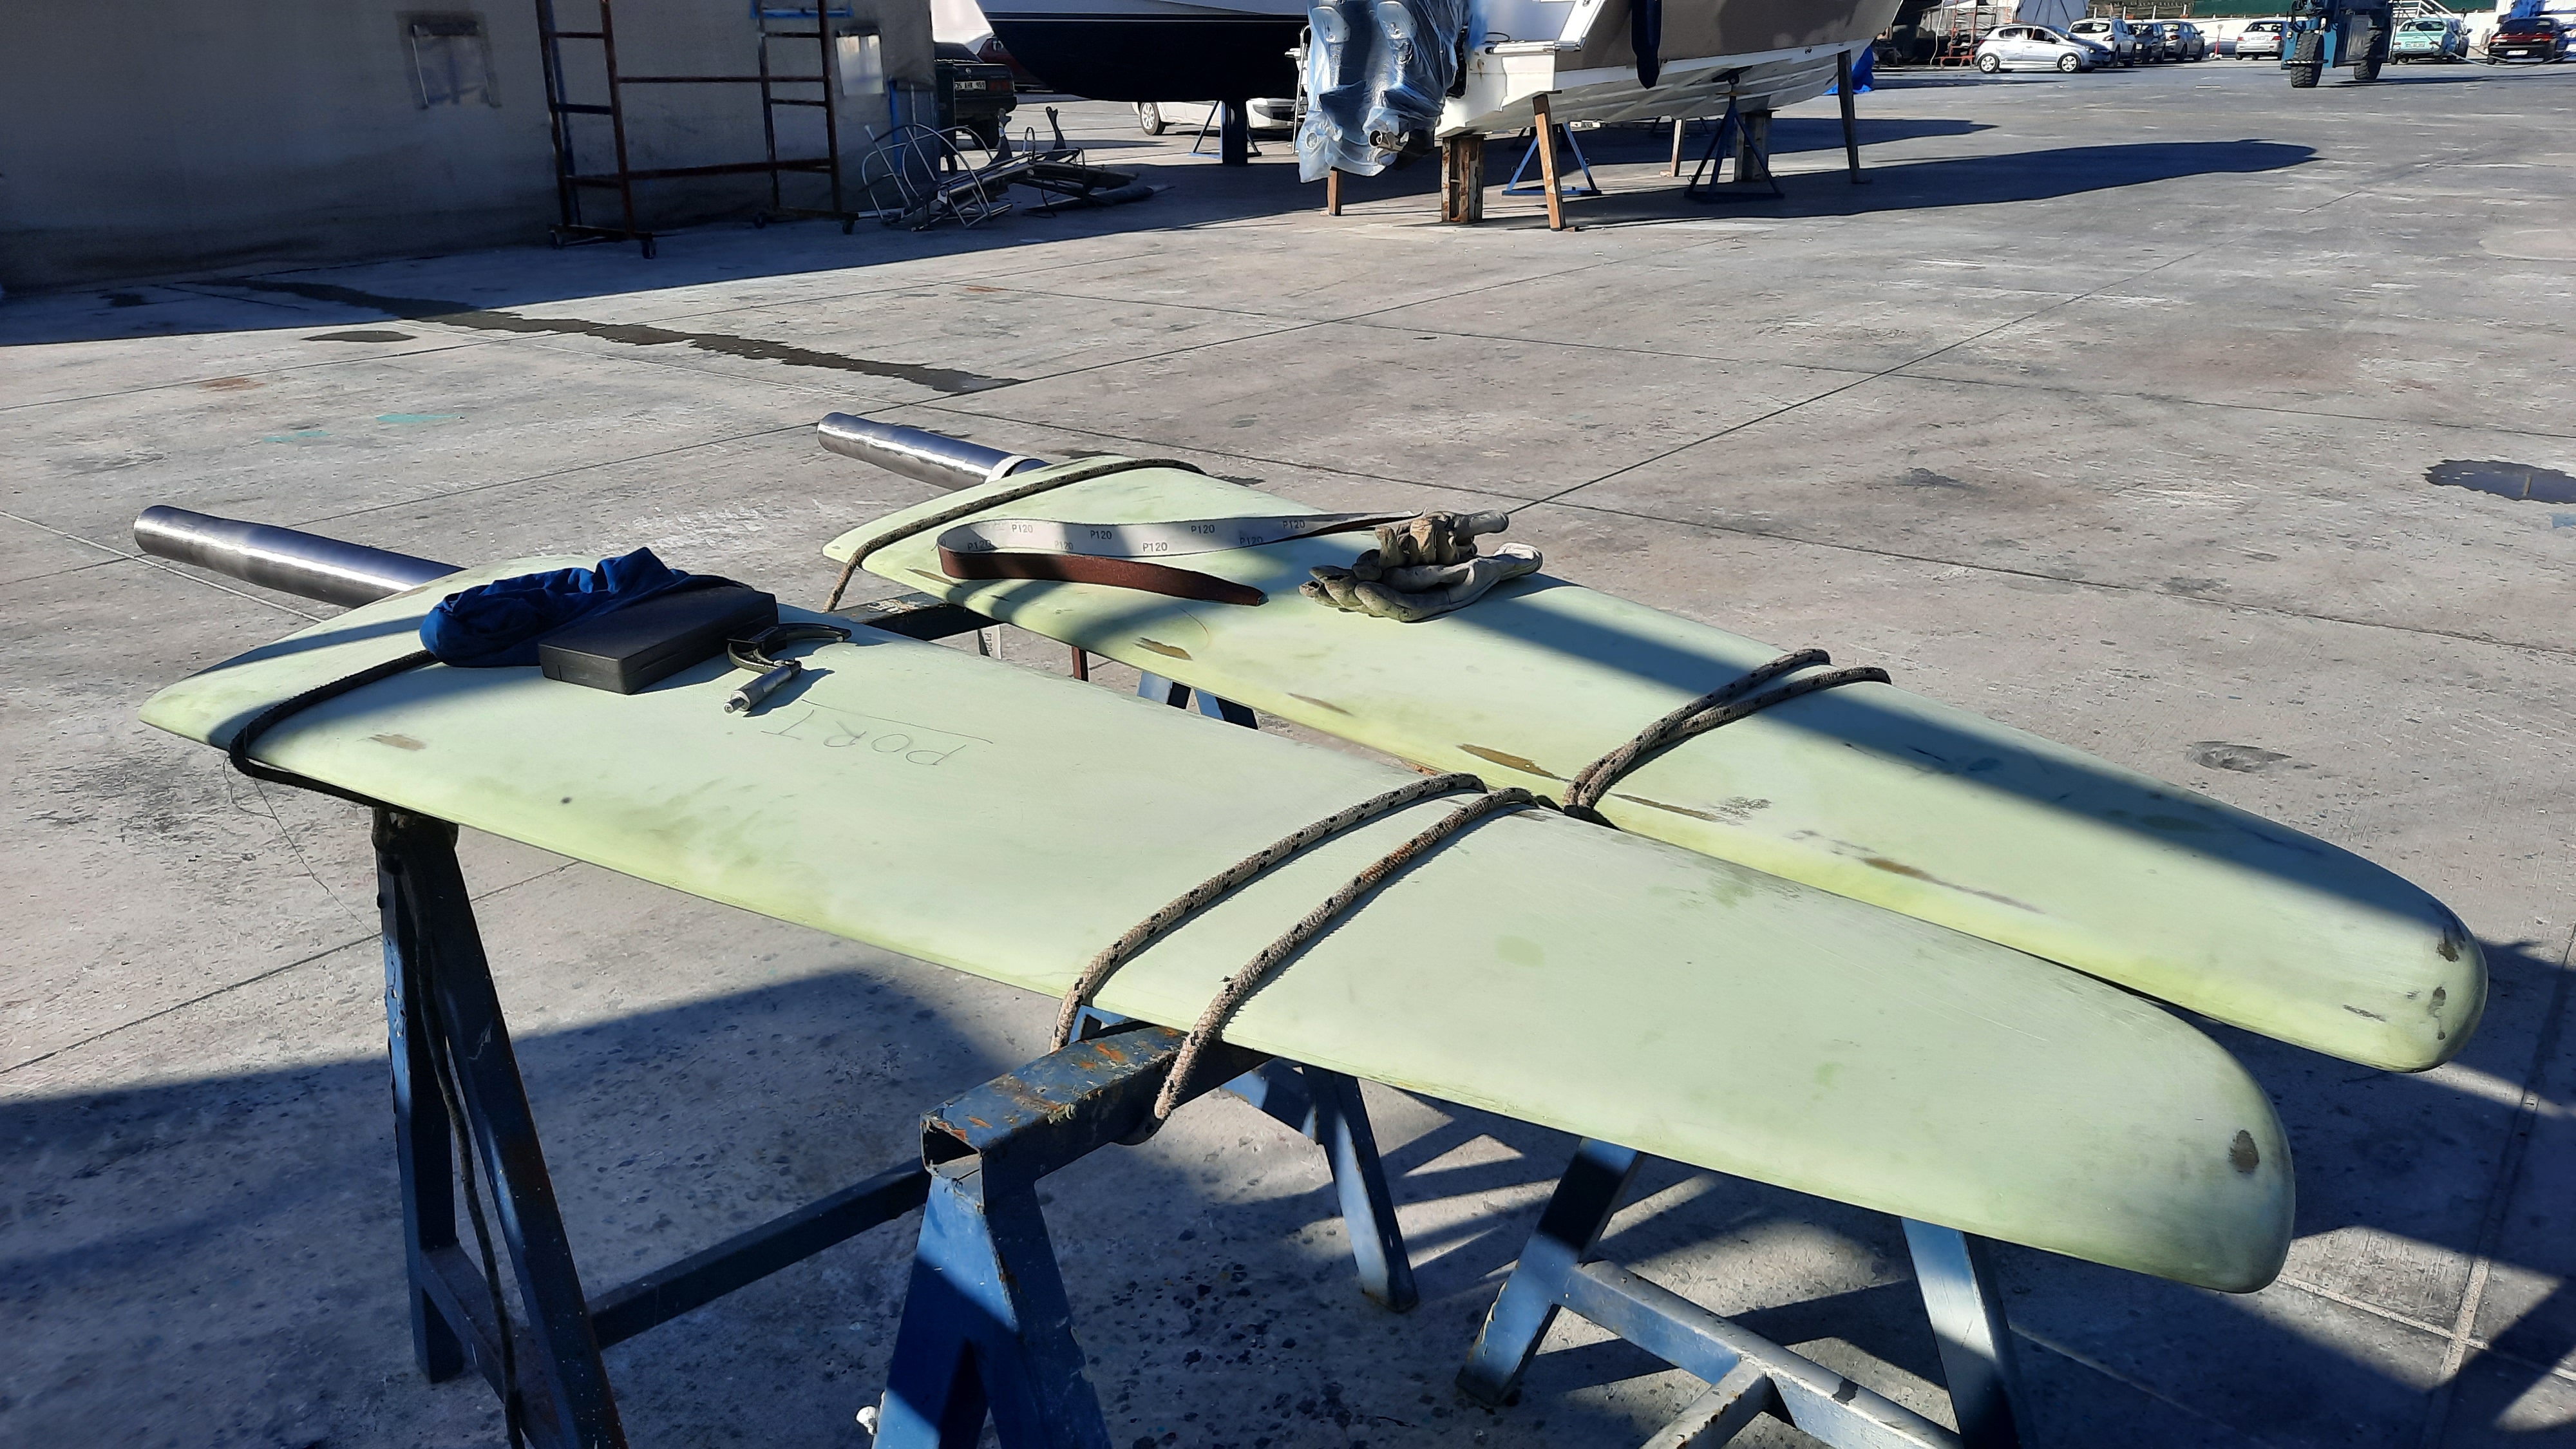
Connecting the wings
Inside the rudder, there are lines of 10mm stainless rods aft of the stock to add support. After collecting the newly shaped rudder stock, the next step was to drop them off at the next shop and have these supports installed. The pieces were cut, prepared and inserted through the stock in their respective positions. And then…..they welded the rods in place. Well, this is a semi-mistake. Luckily the welds were on the rod going through the stock and did not affect the outer surface of the stock. Welding on the outside of the stock would affect the strength and integrity of the stock itself. Luckily these were only small around the rod which went through the middle. In normal practice, you would only drill a hole through the center of the stock and place the wing rod through this hold and not perform any welding.
Redo new key holes
The quadrants connect around the stock. The key is placed in the key slot 50% in the stock and 50% in the quadrant in order to keep the stock from slipping when the quadrant is turned. Design specifications from Jefa stated that the key holds should be done in the stock directly forward. As it turns out, this is incorrect and actually could not have been done. The direct forward position on the quadrant actually is where the join is for clamping the quad onto the stock. Jefa made the key hold on the quad clamp about 20 degrees to one side of the center. This of course required new holes in the quad so under the CNC machine again. This was part of the process but it involves moving the stocks which takes two people, transporting them to the CNC shop, getting the work done, and transporting them back.
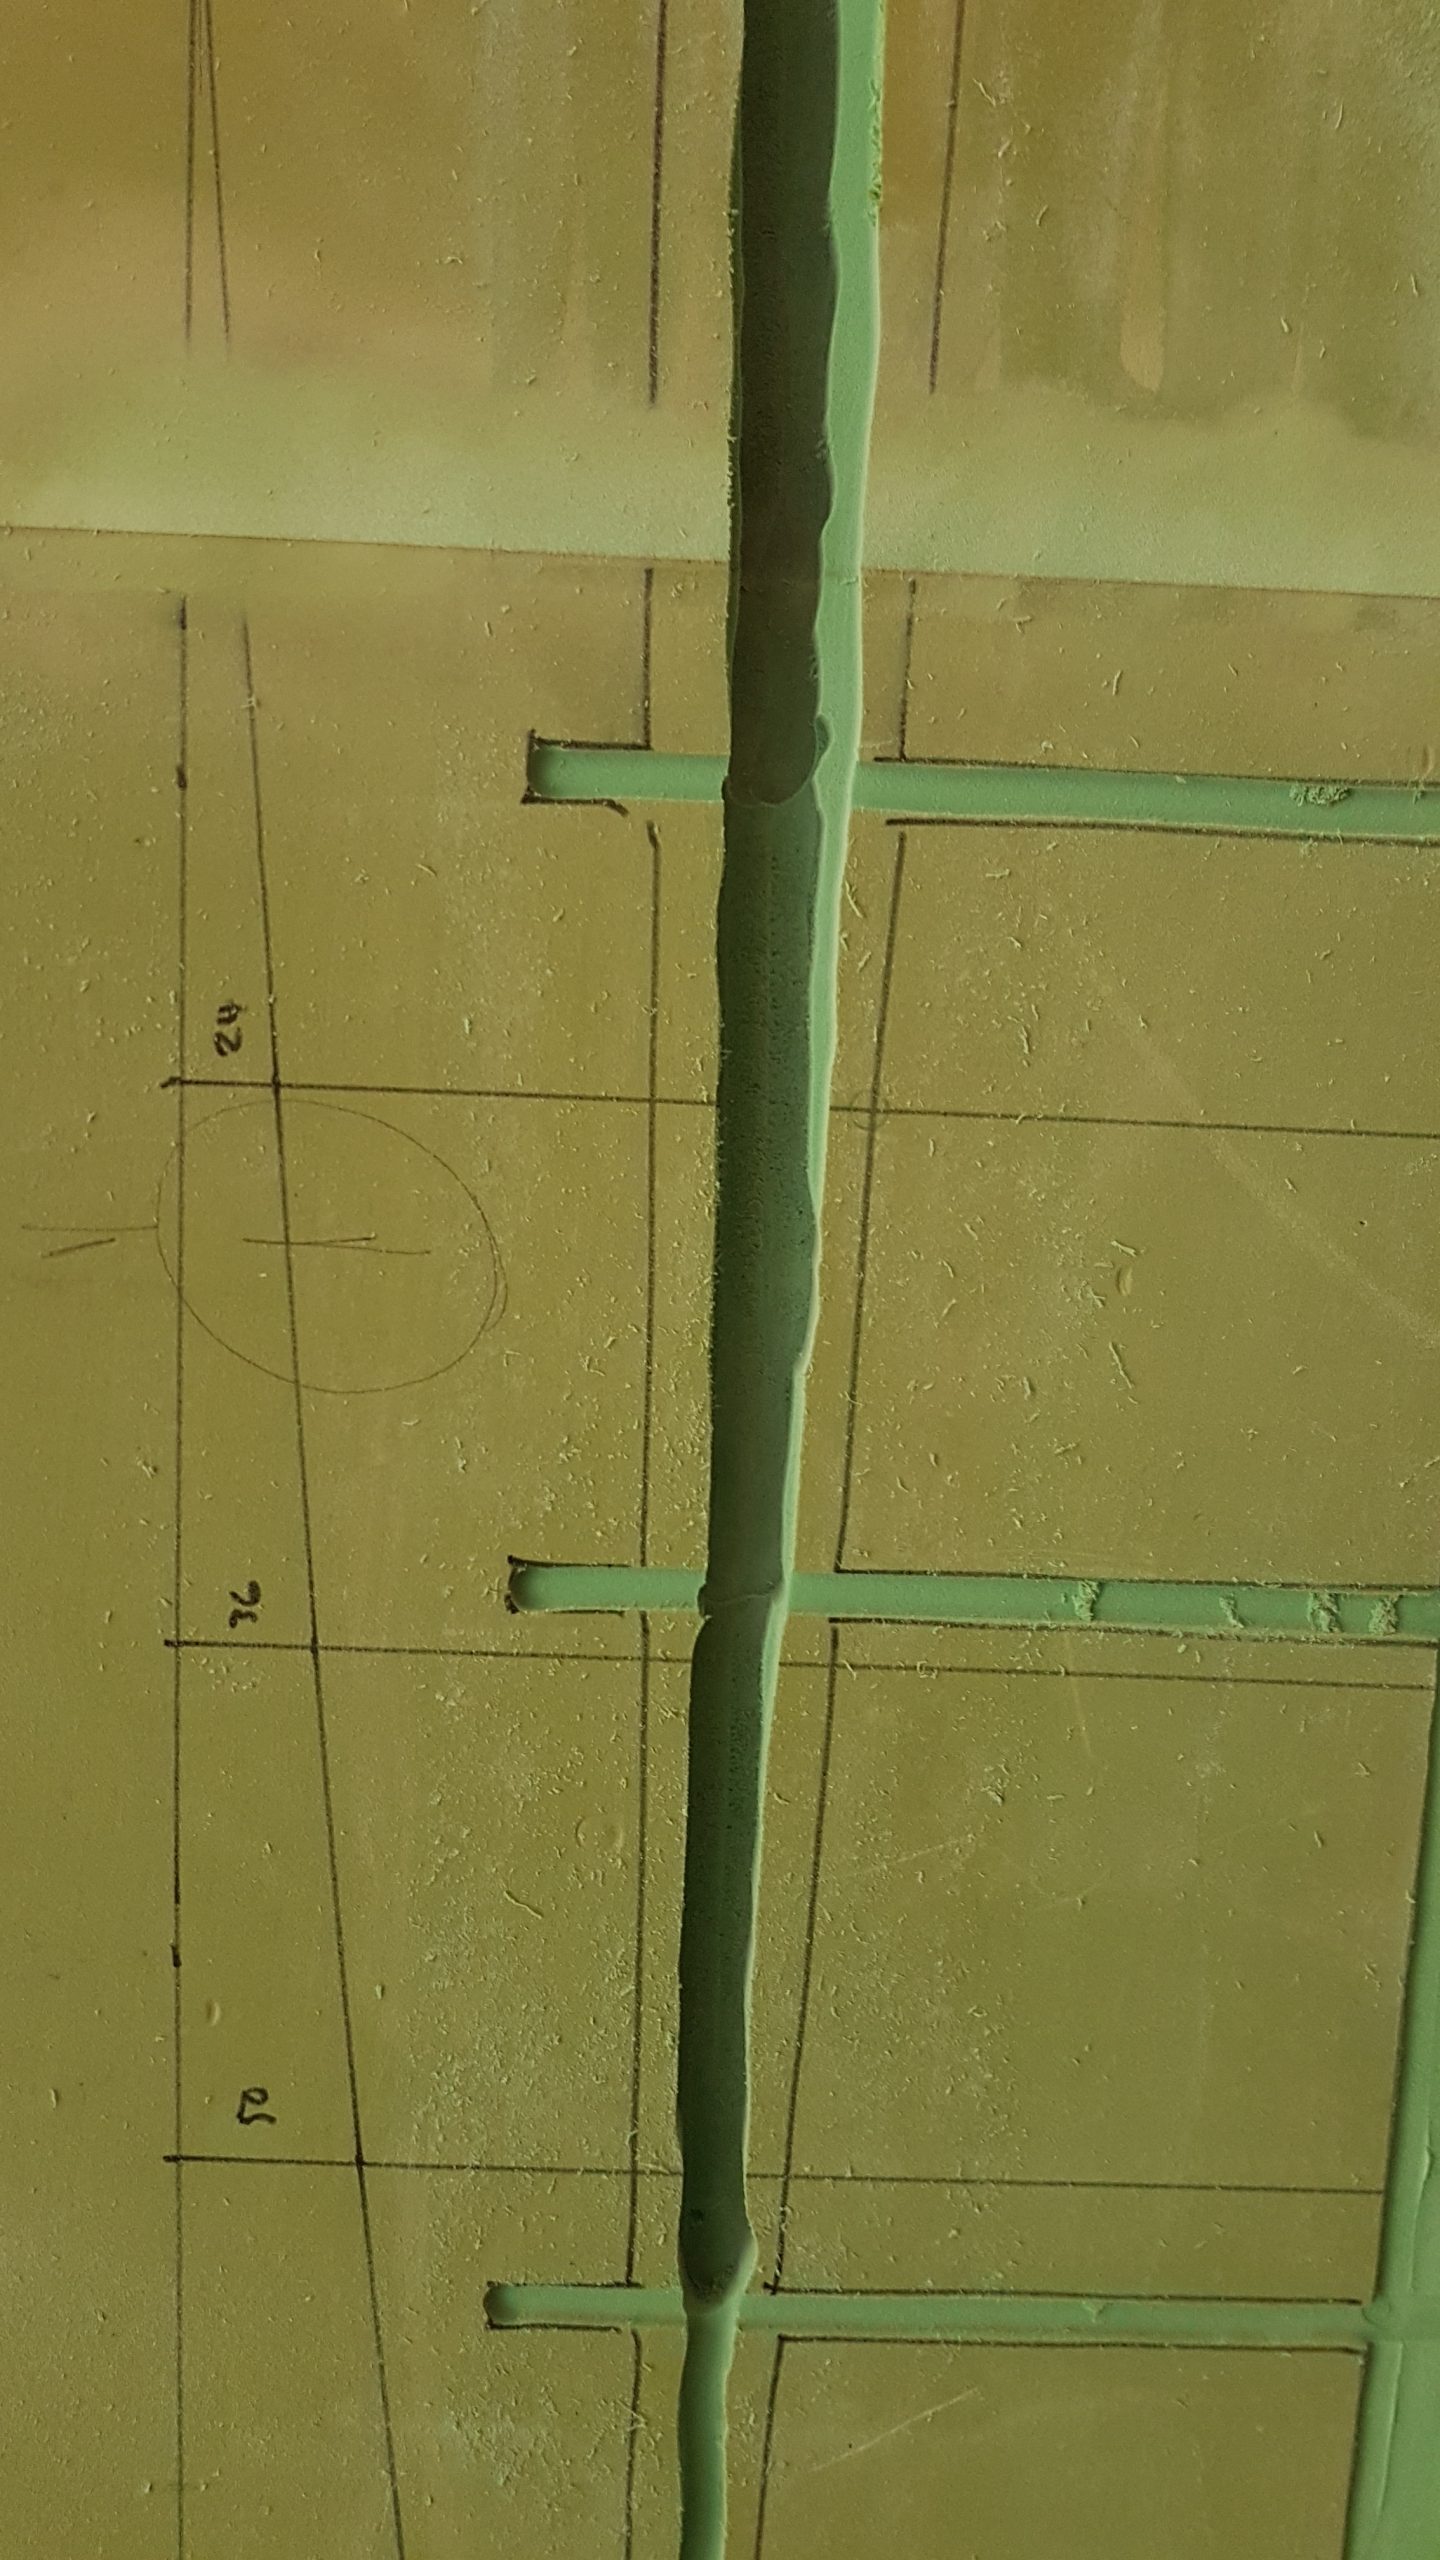
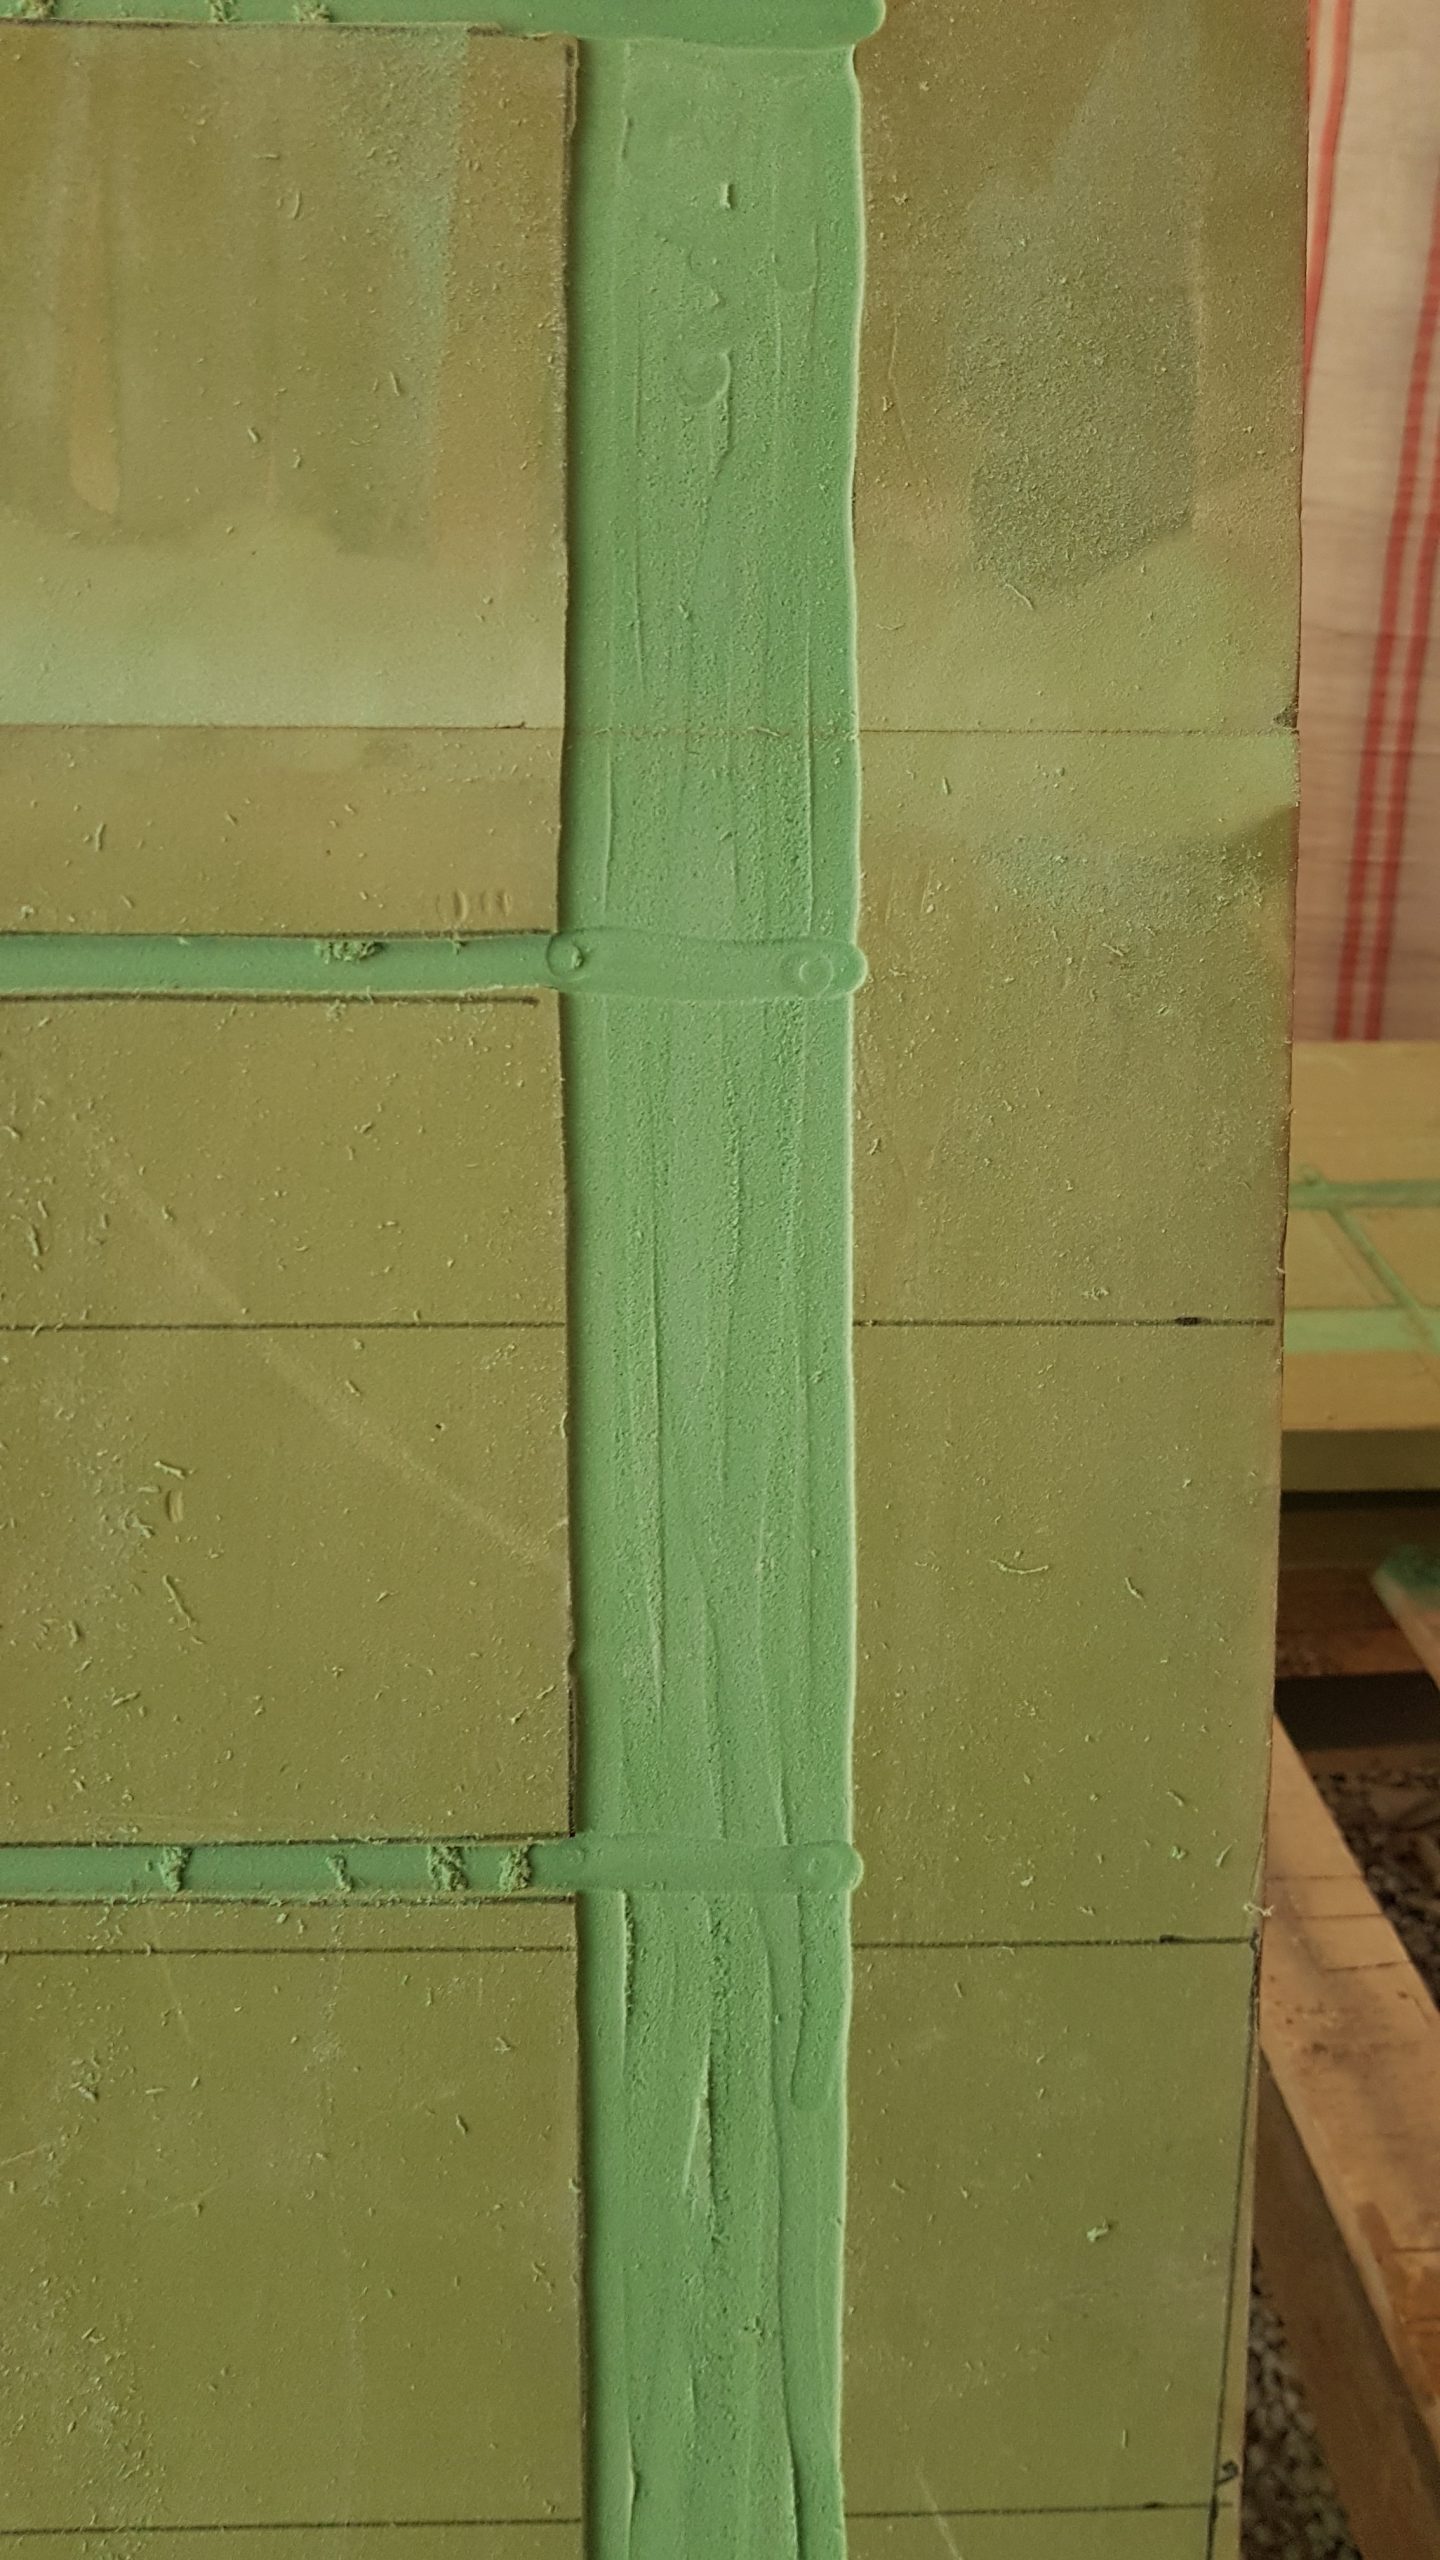
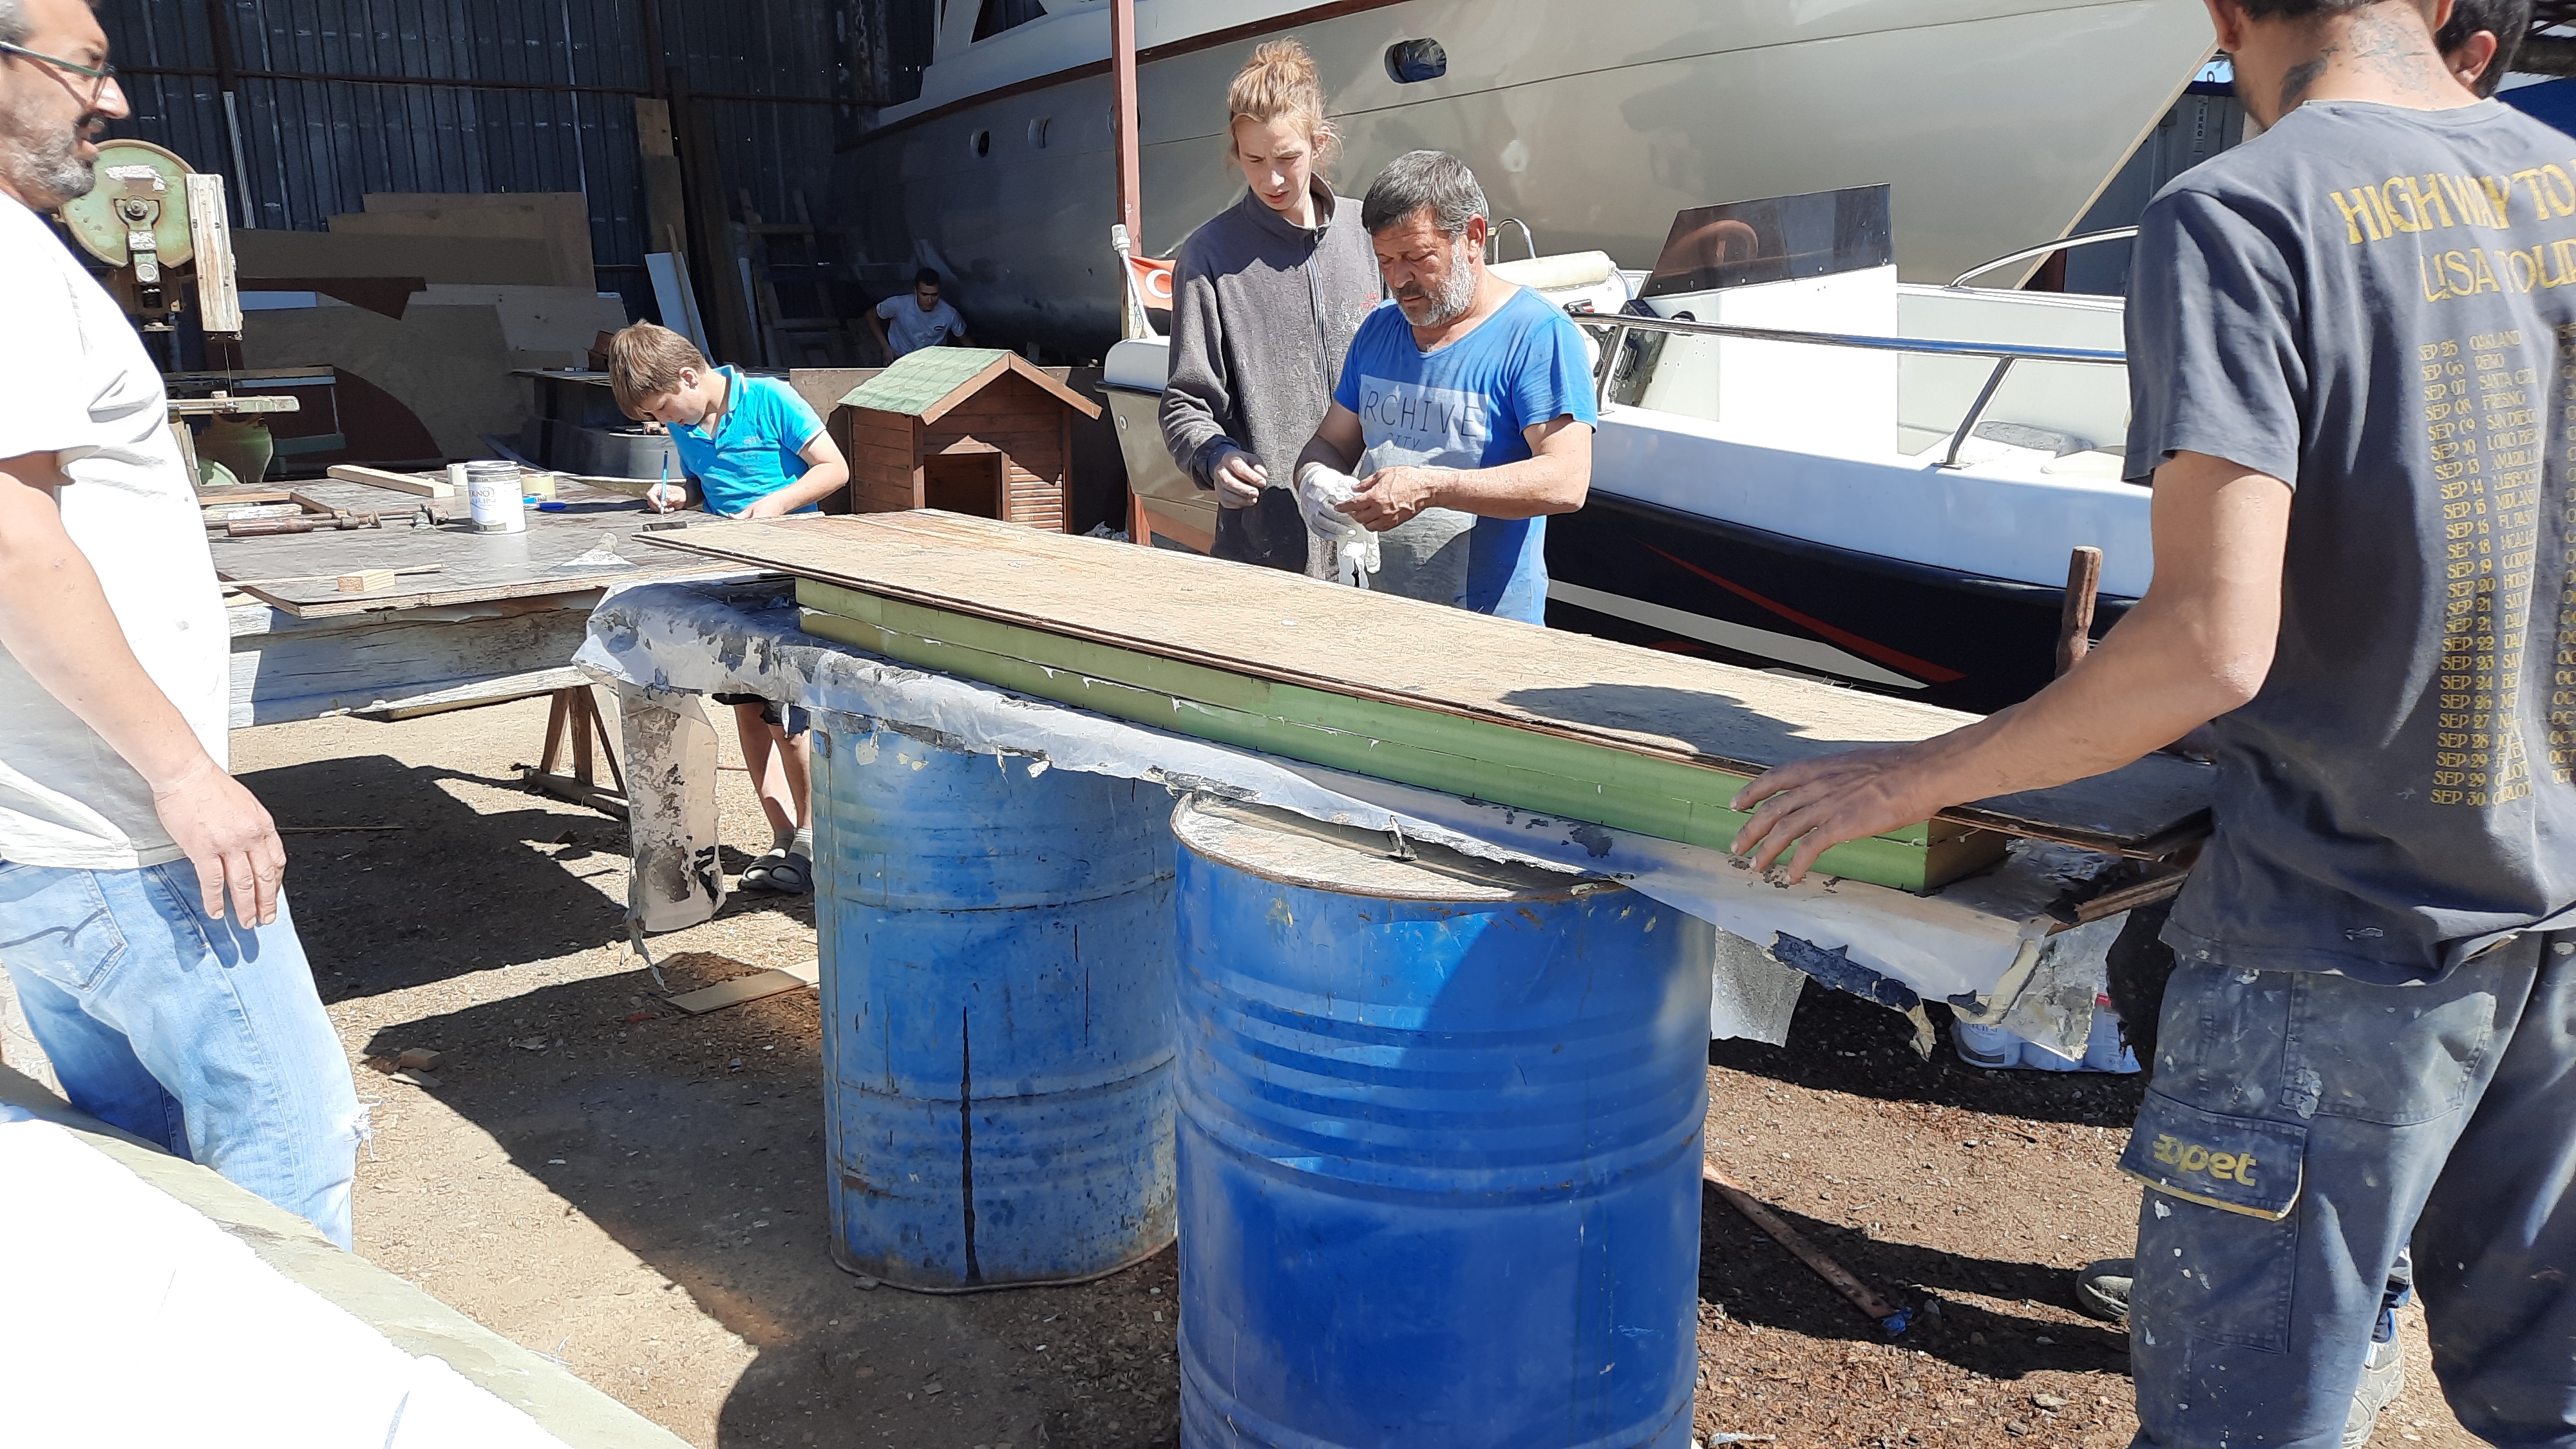
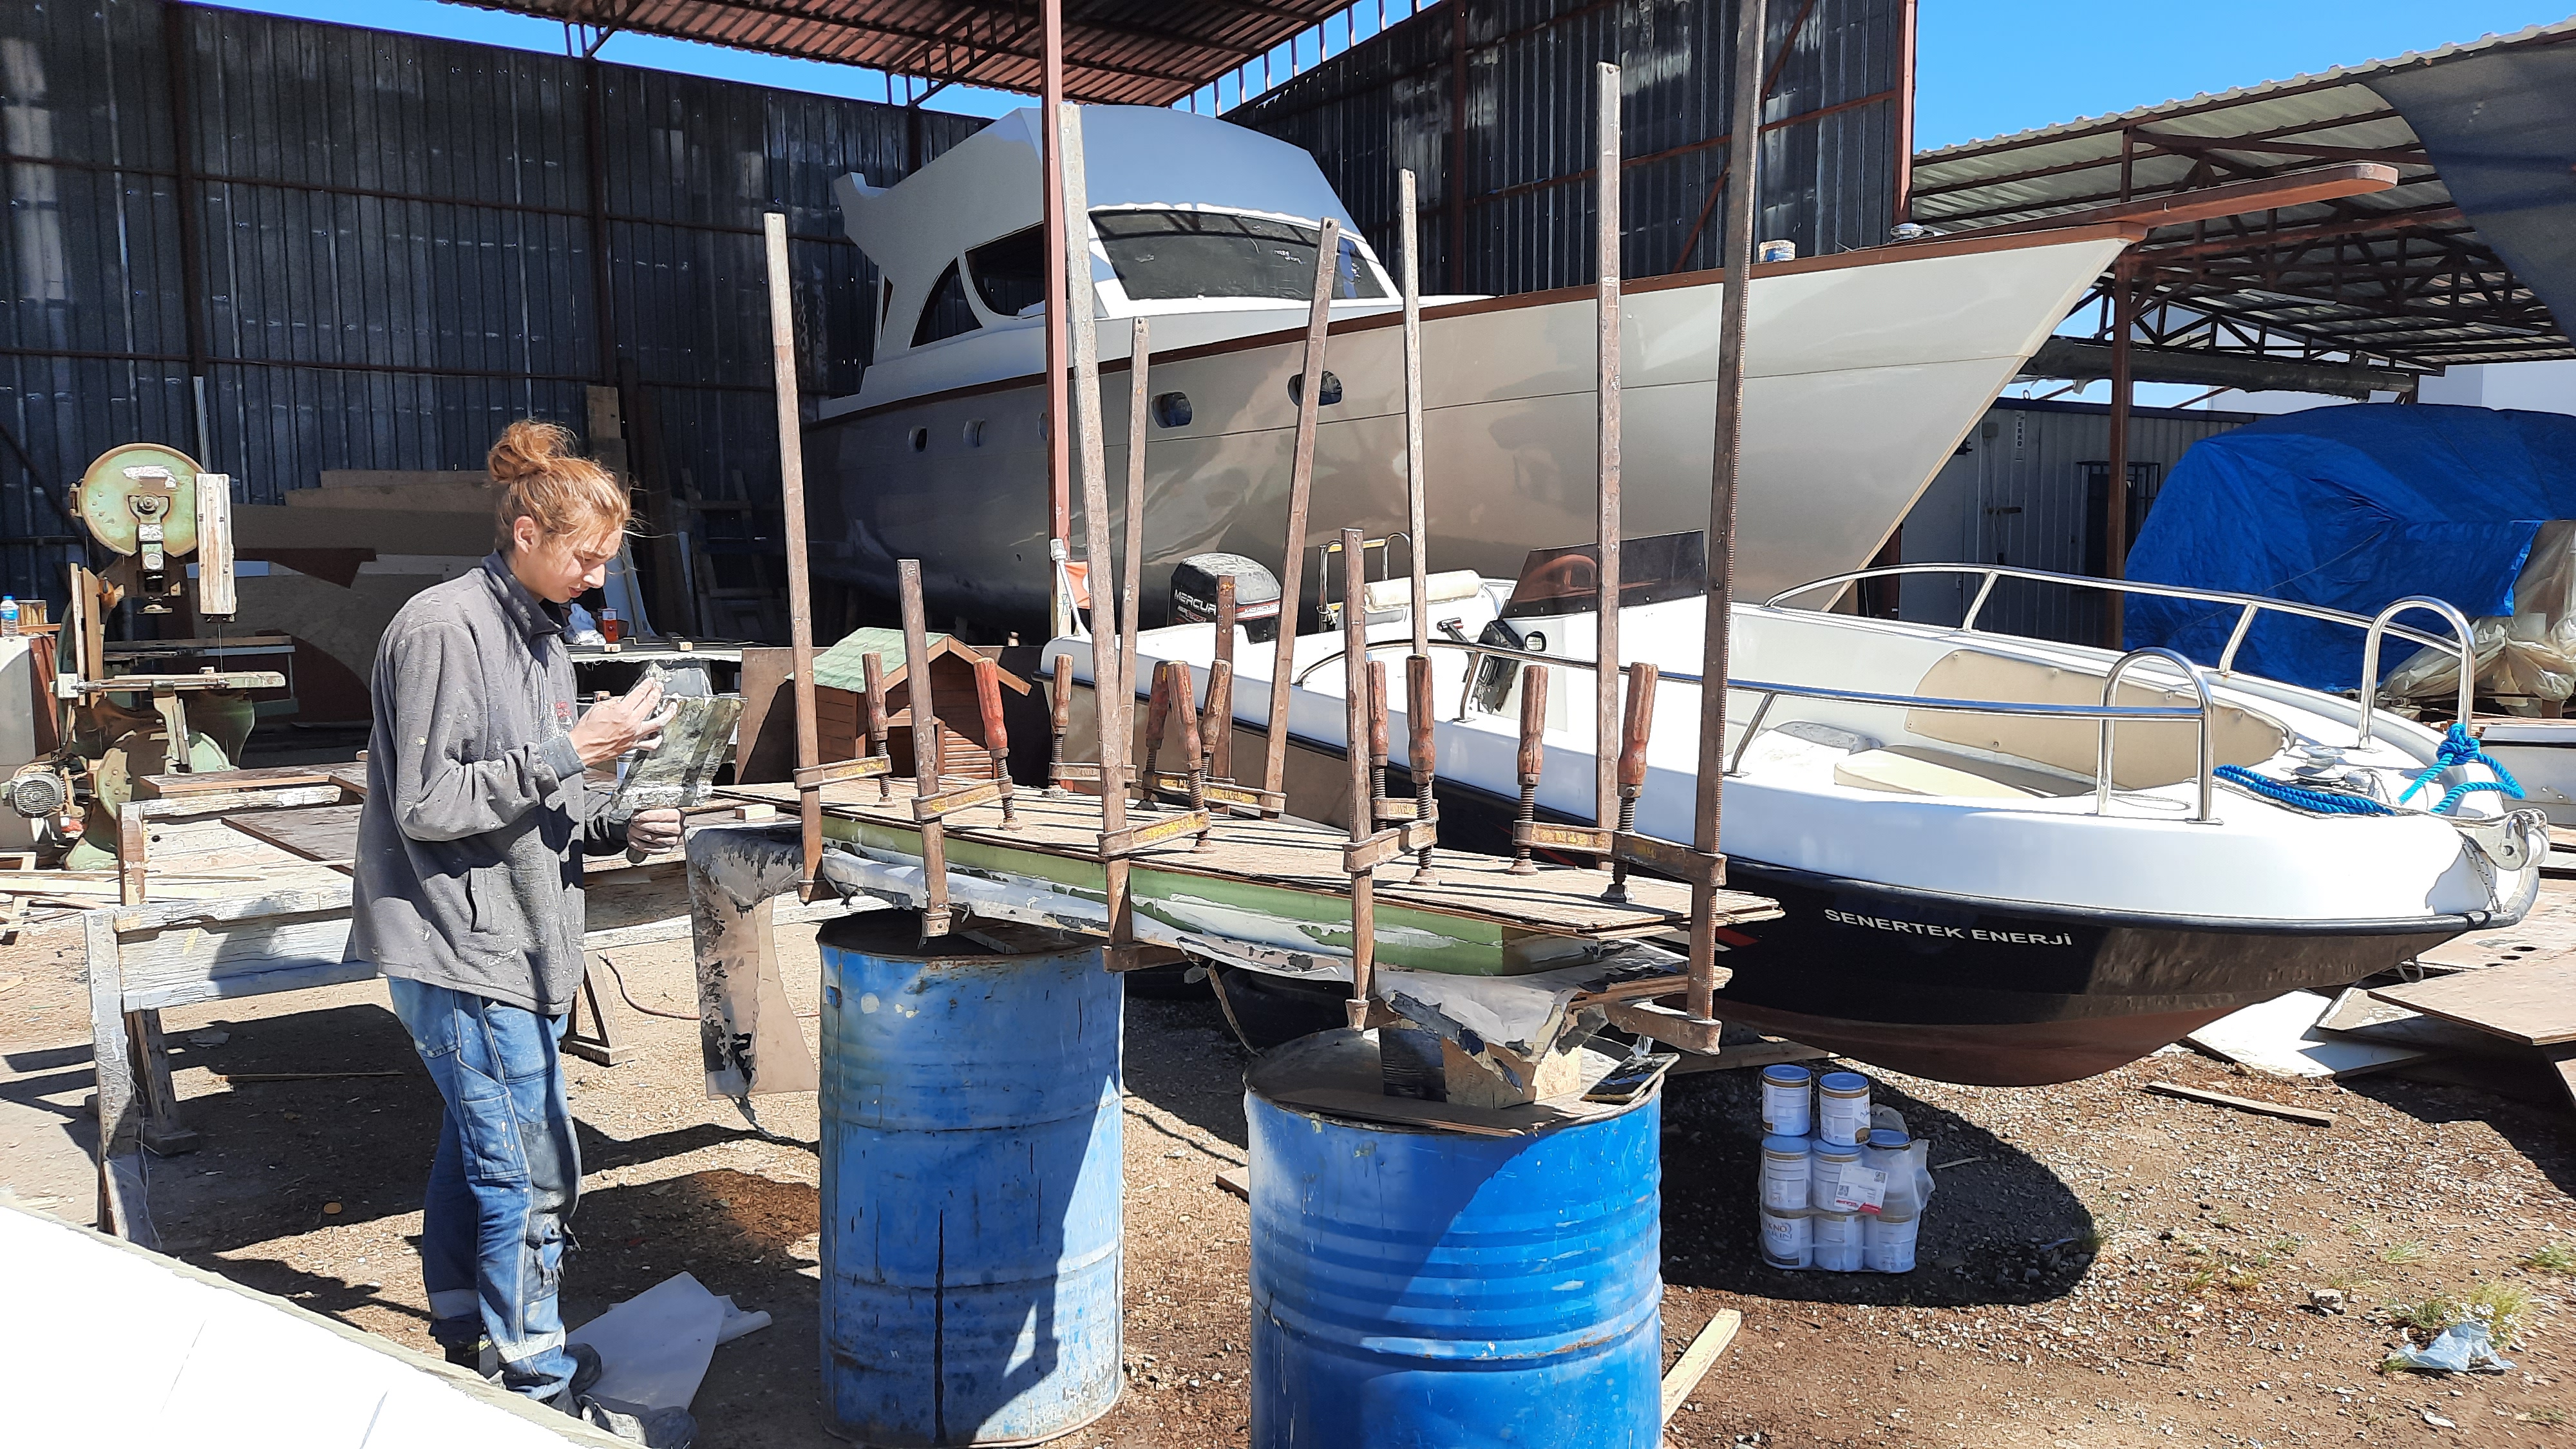
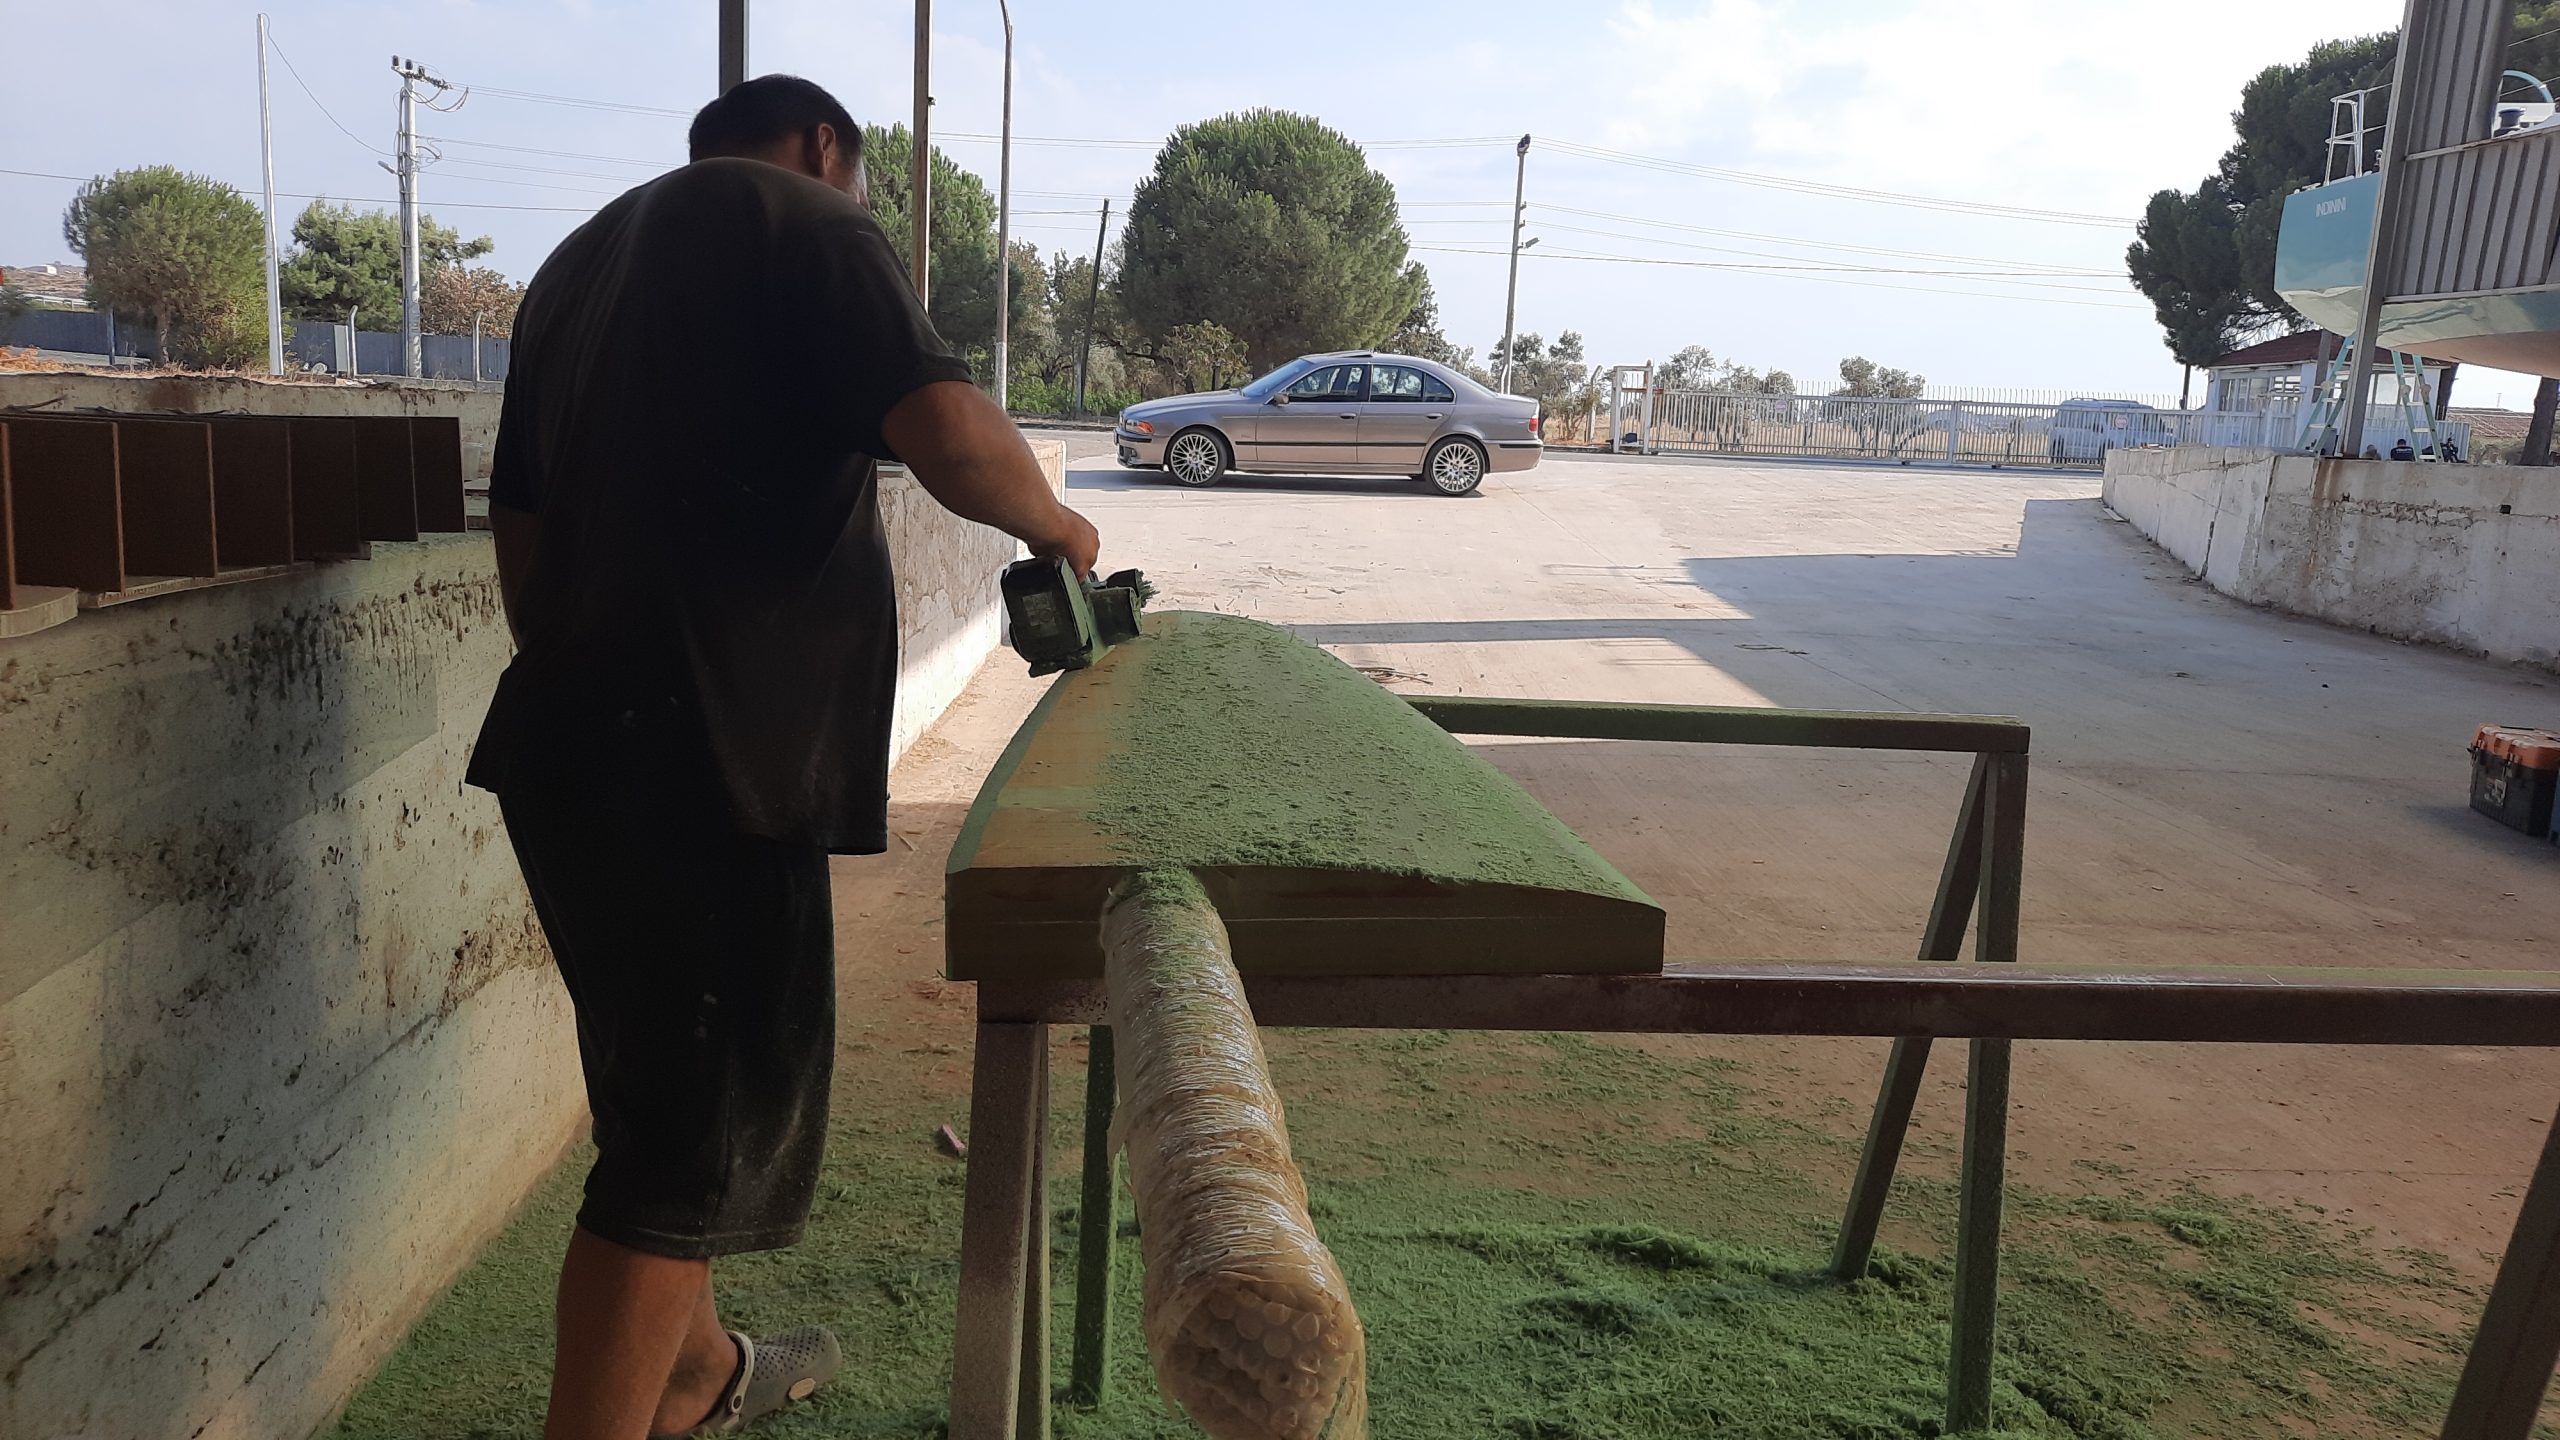
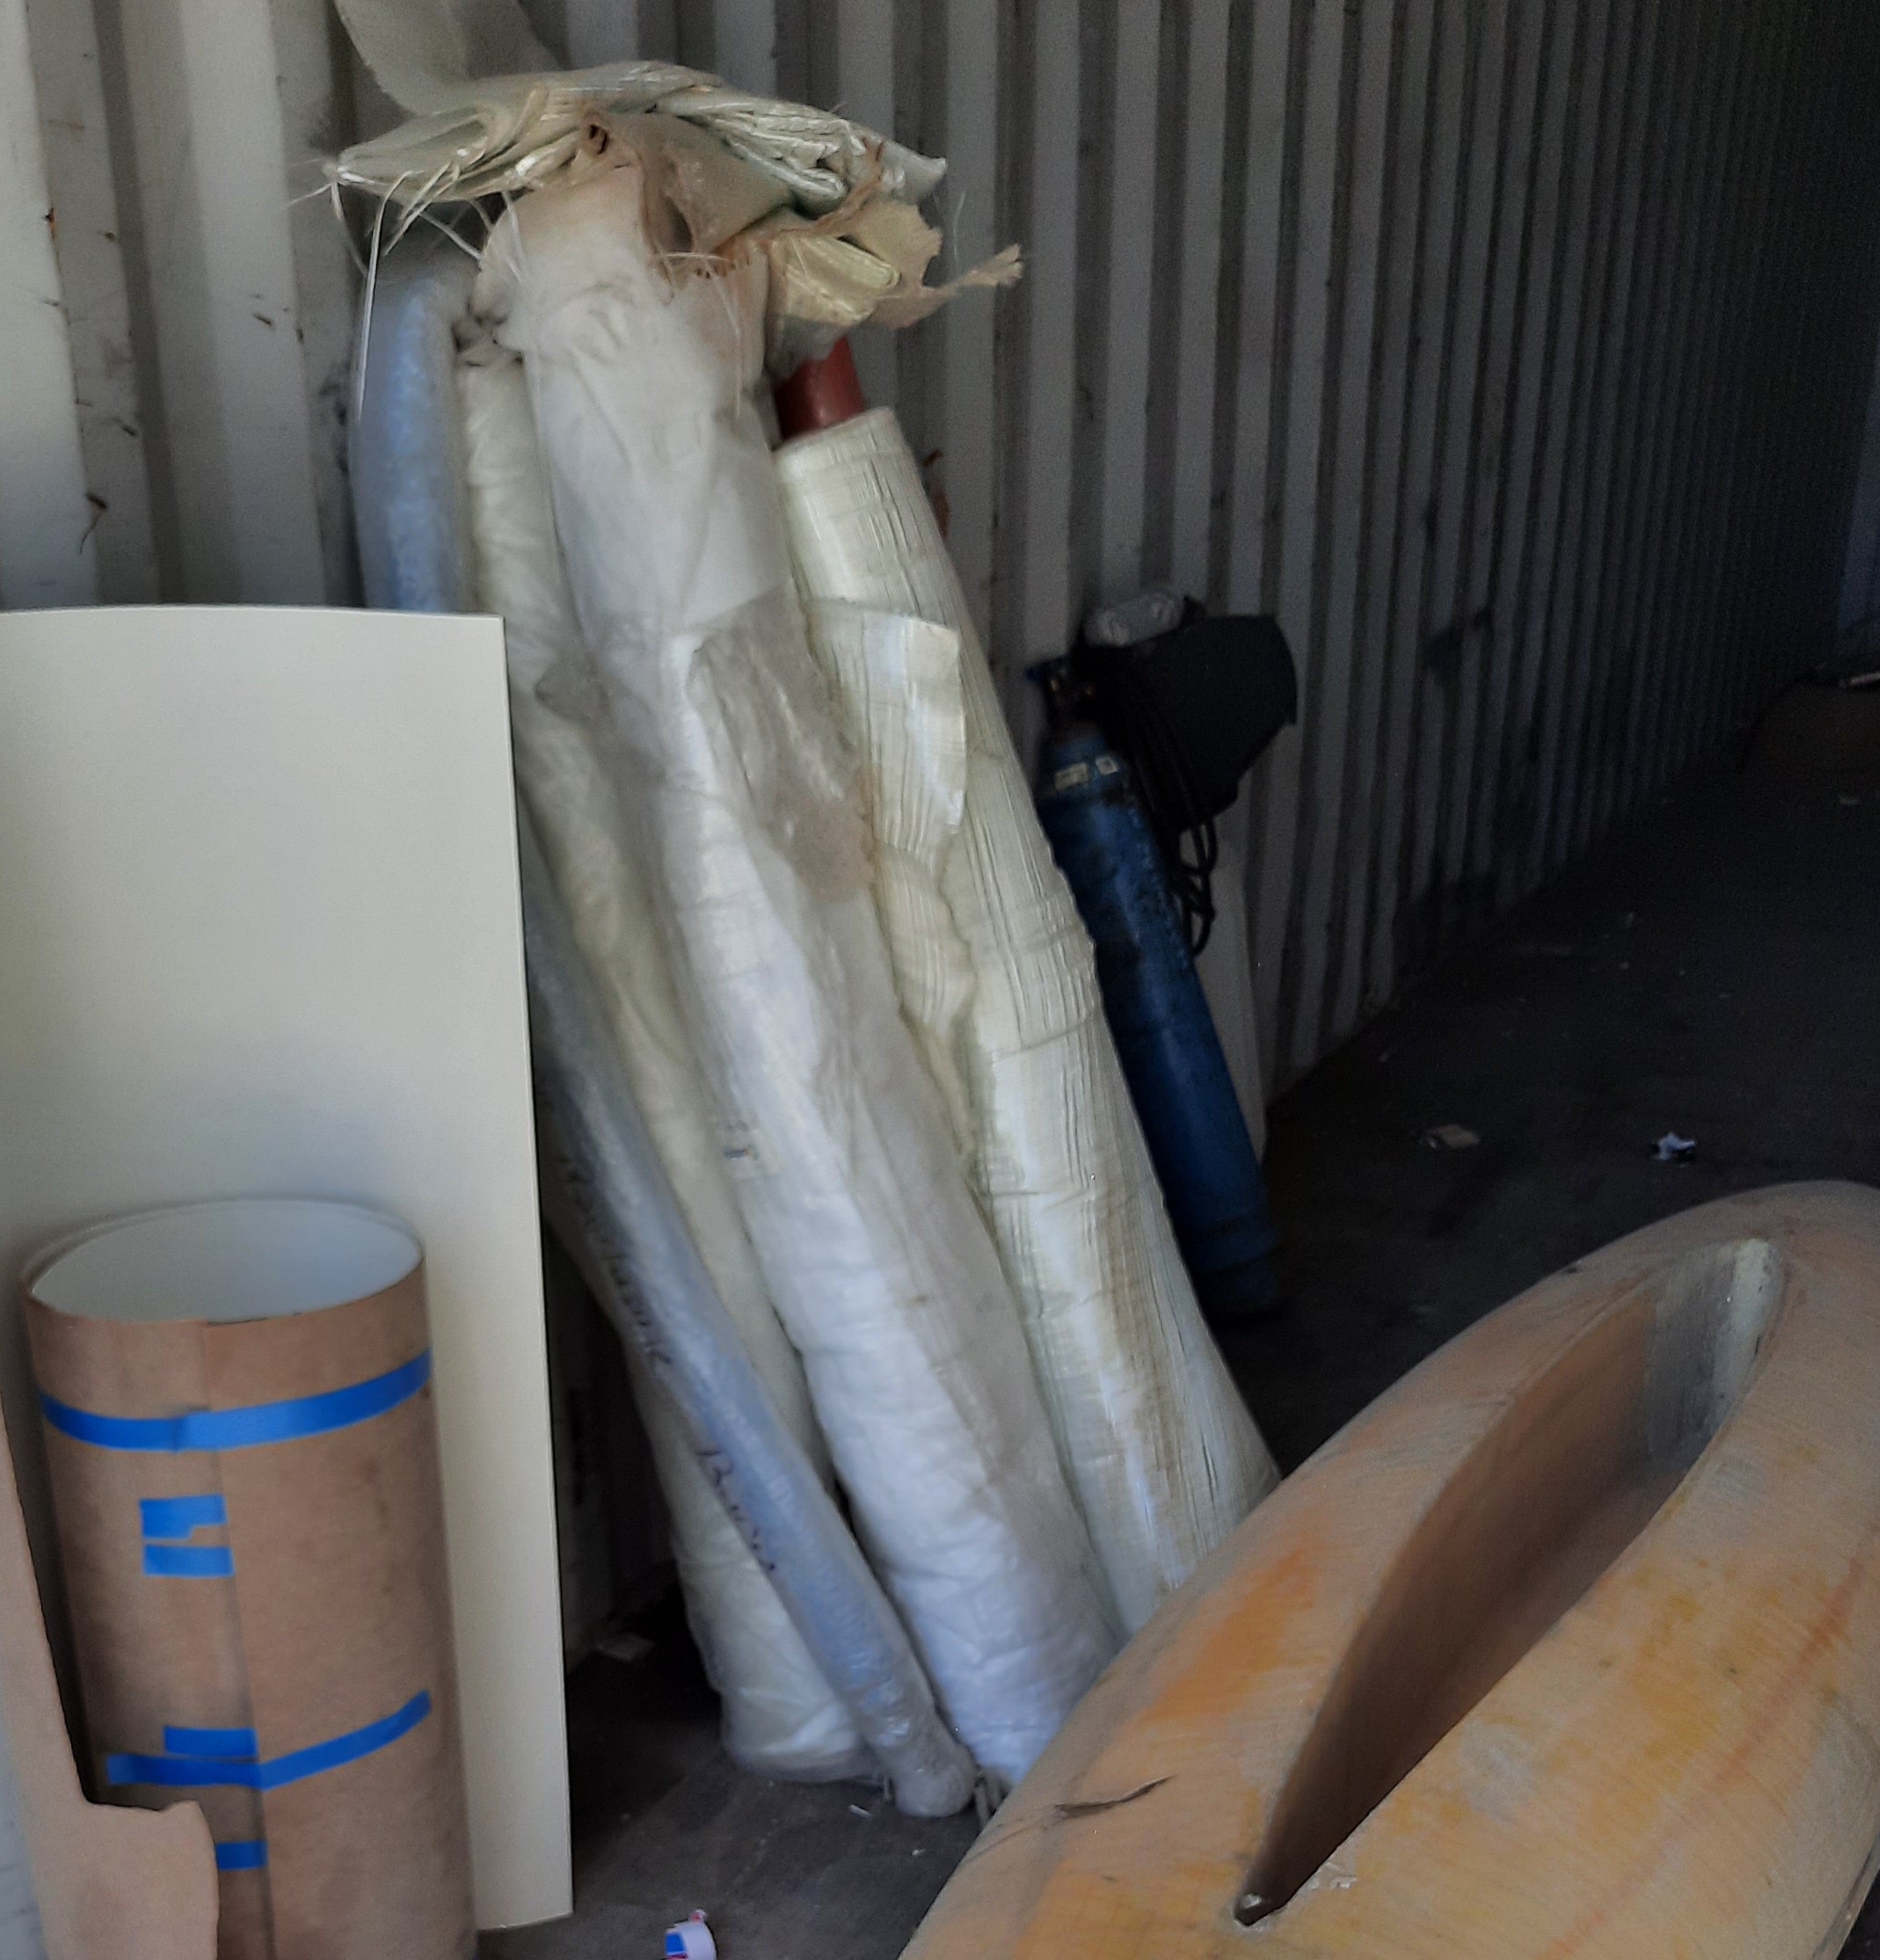
Epoxy pieces together to make longer
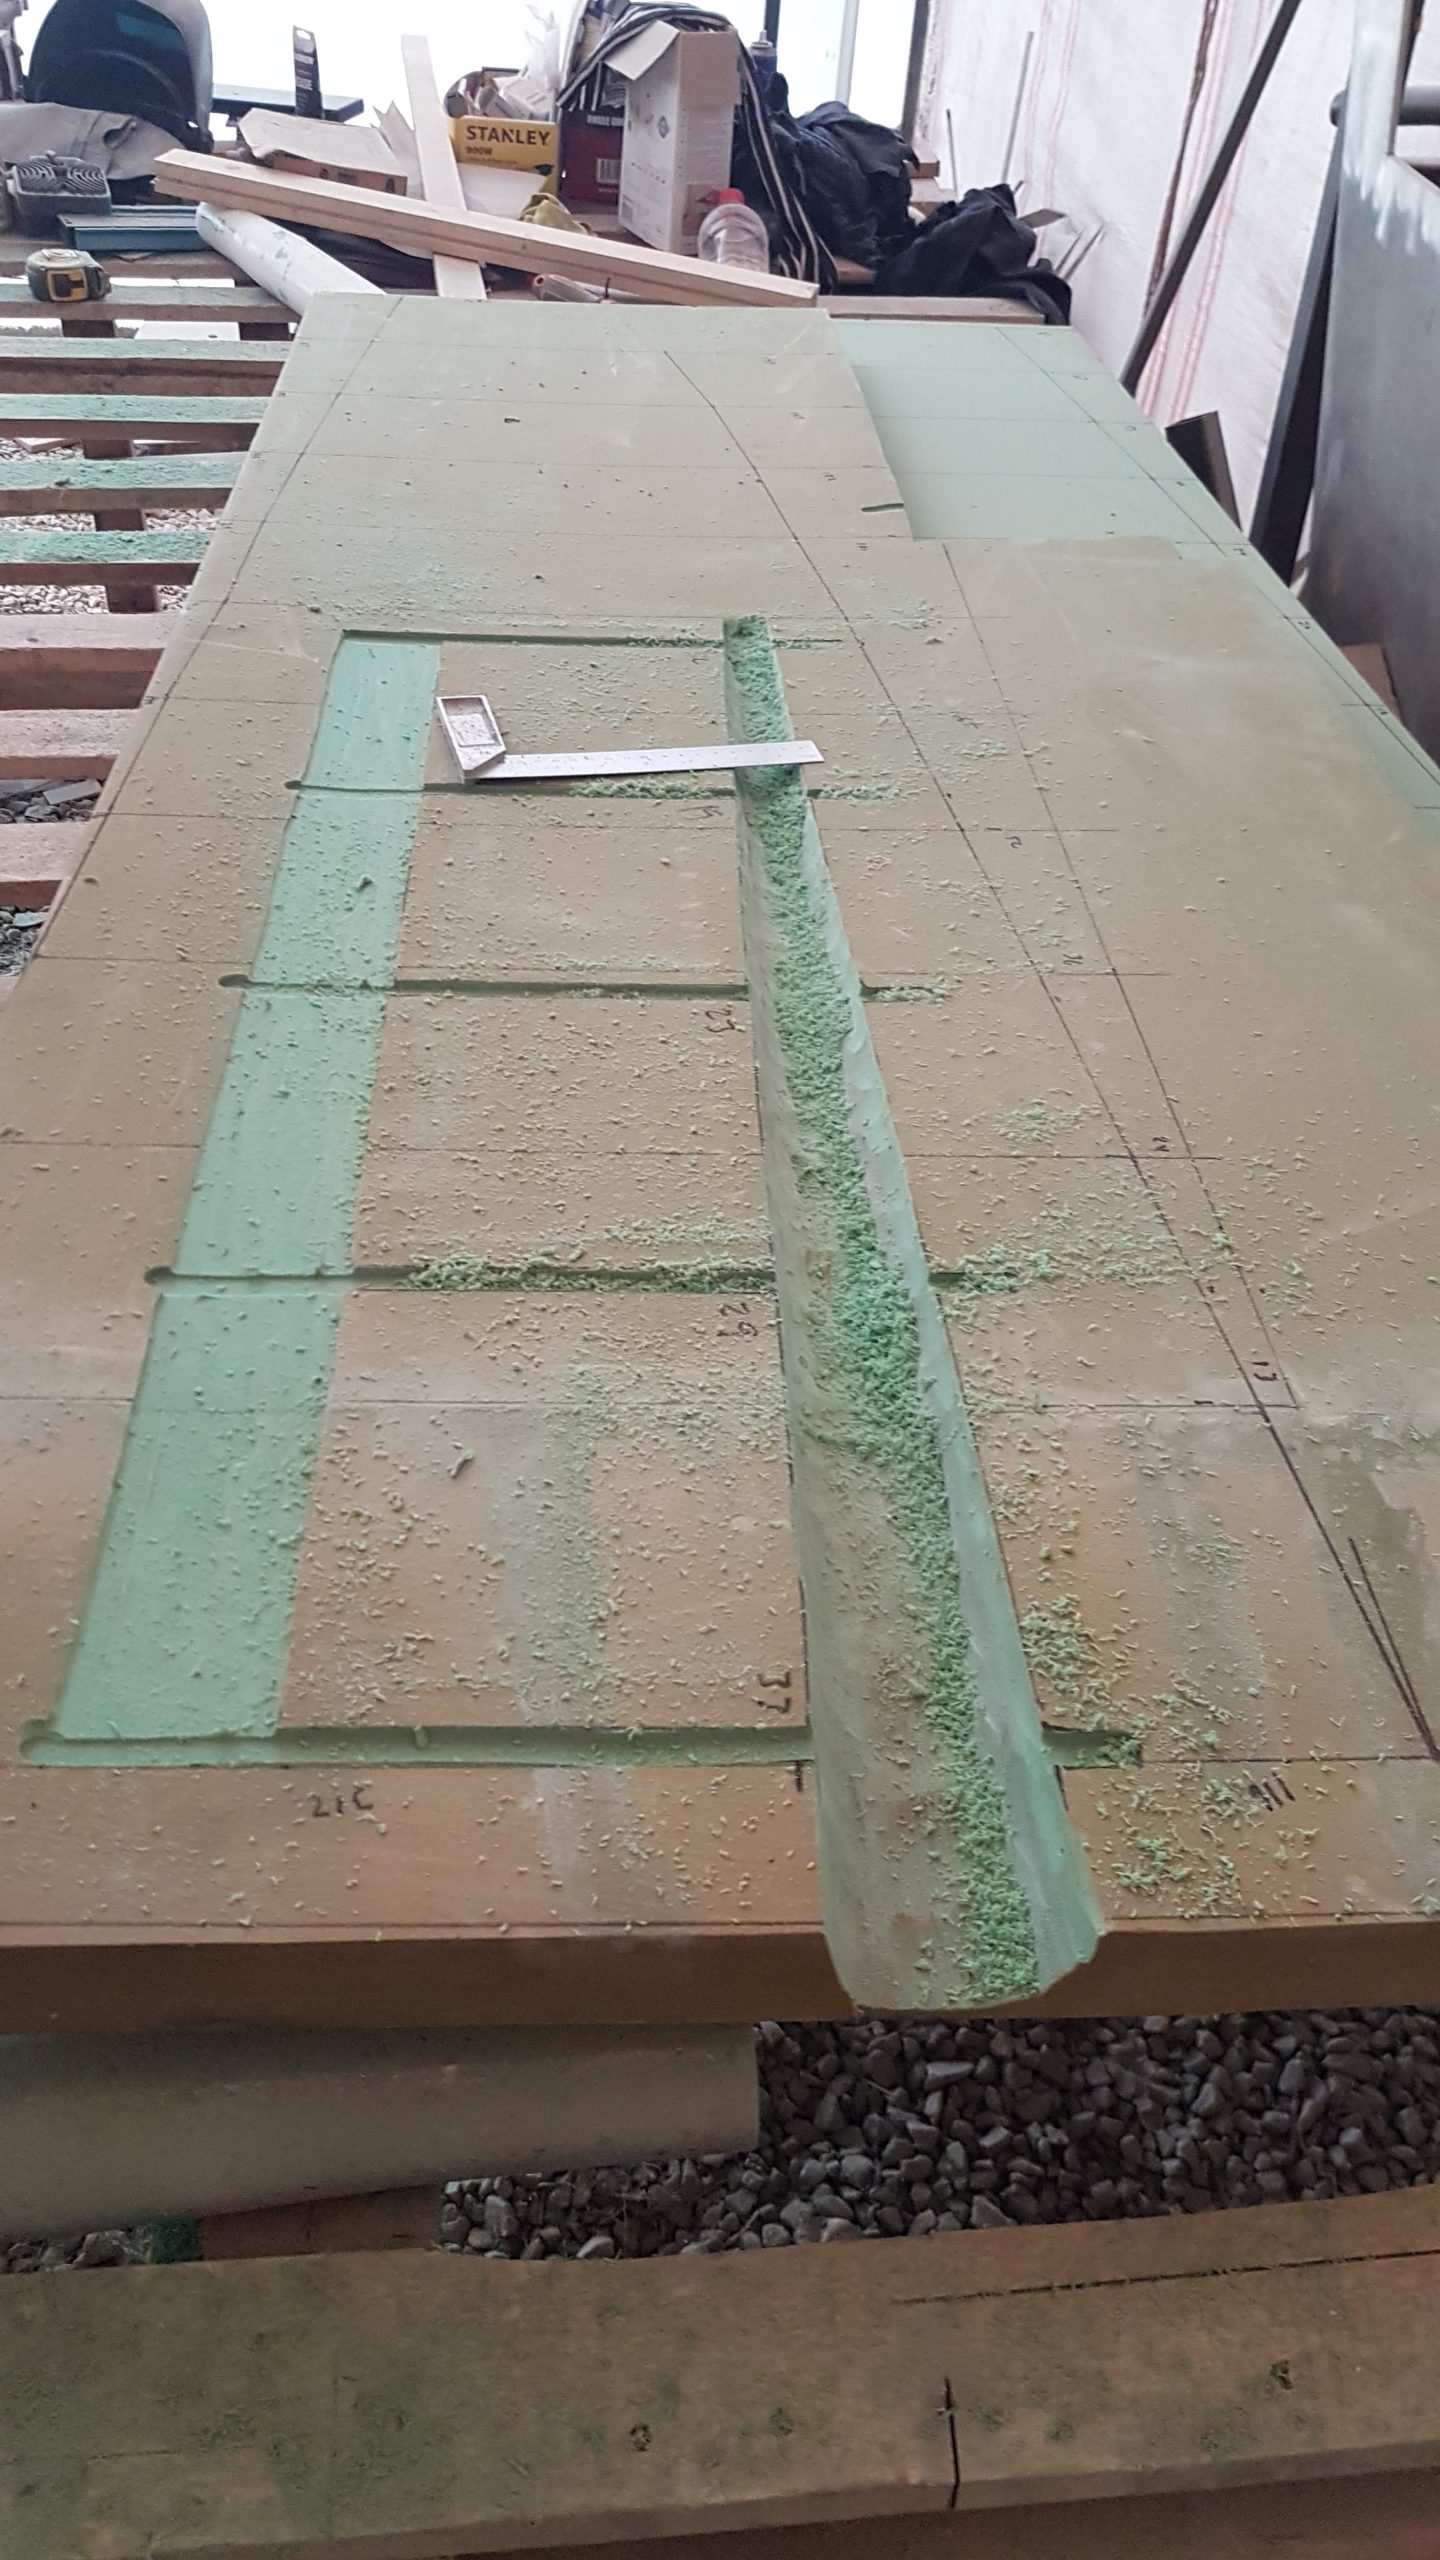
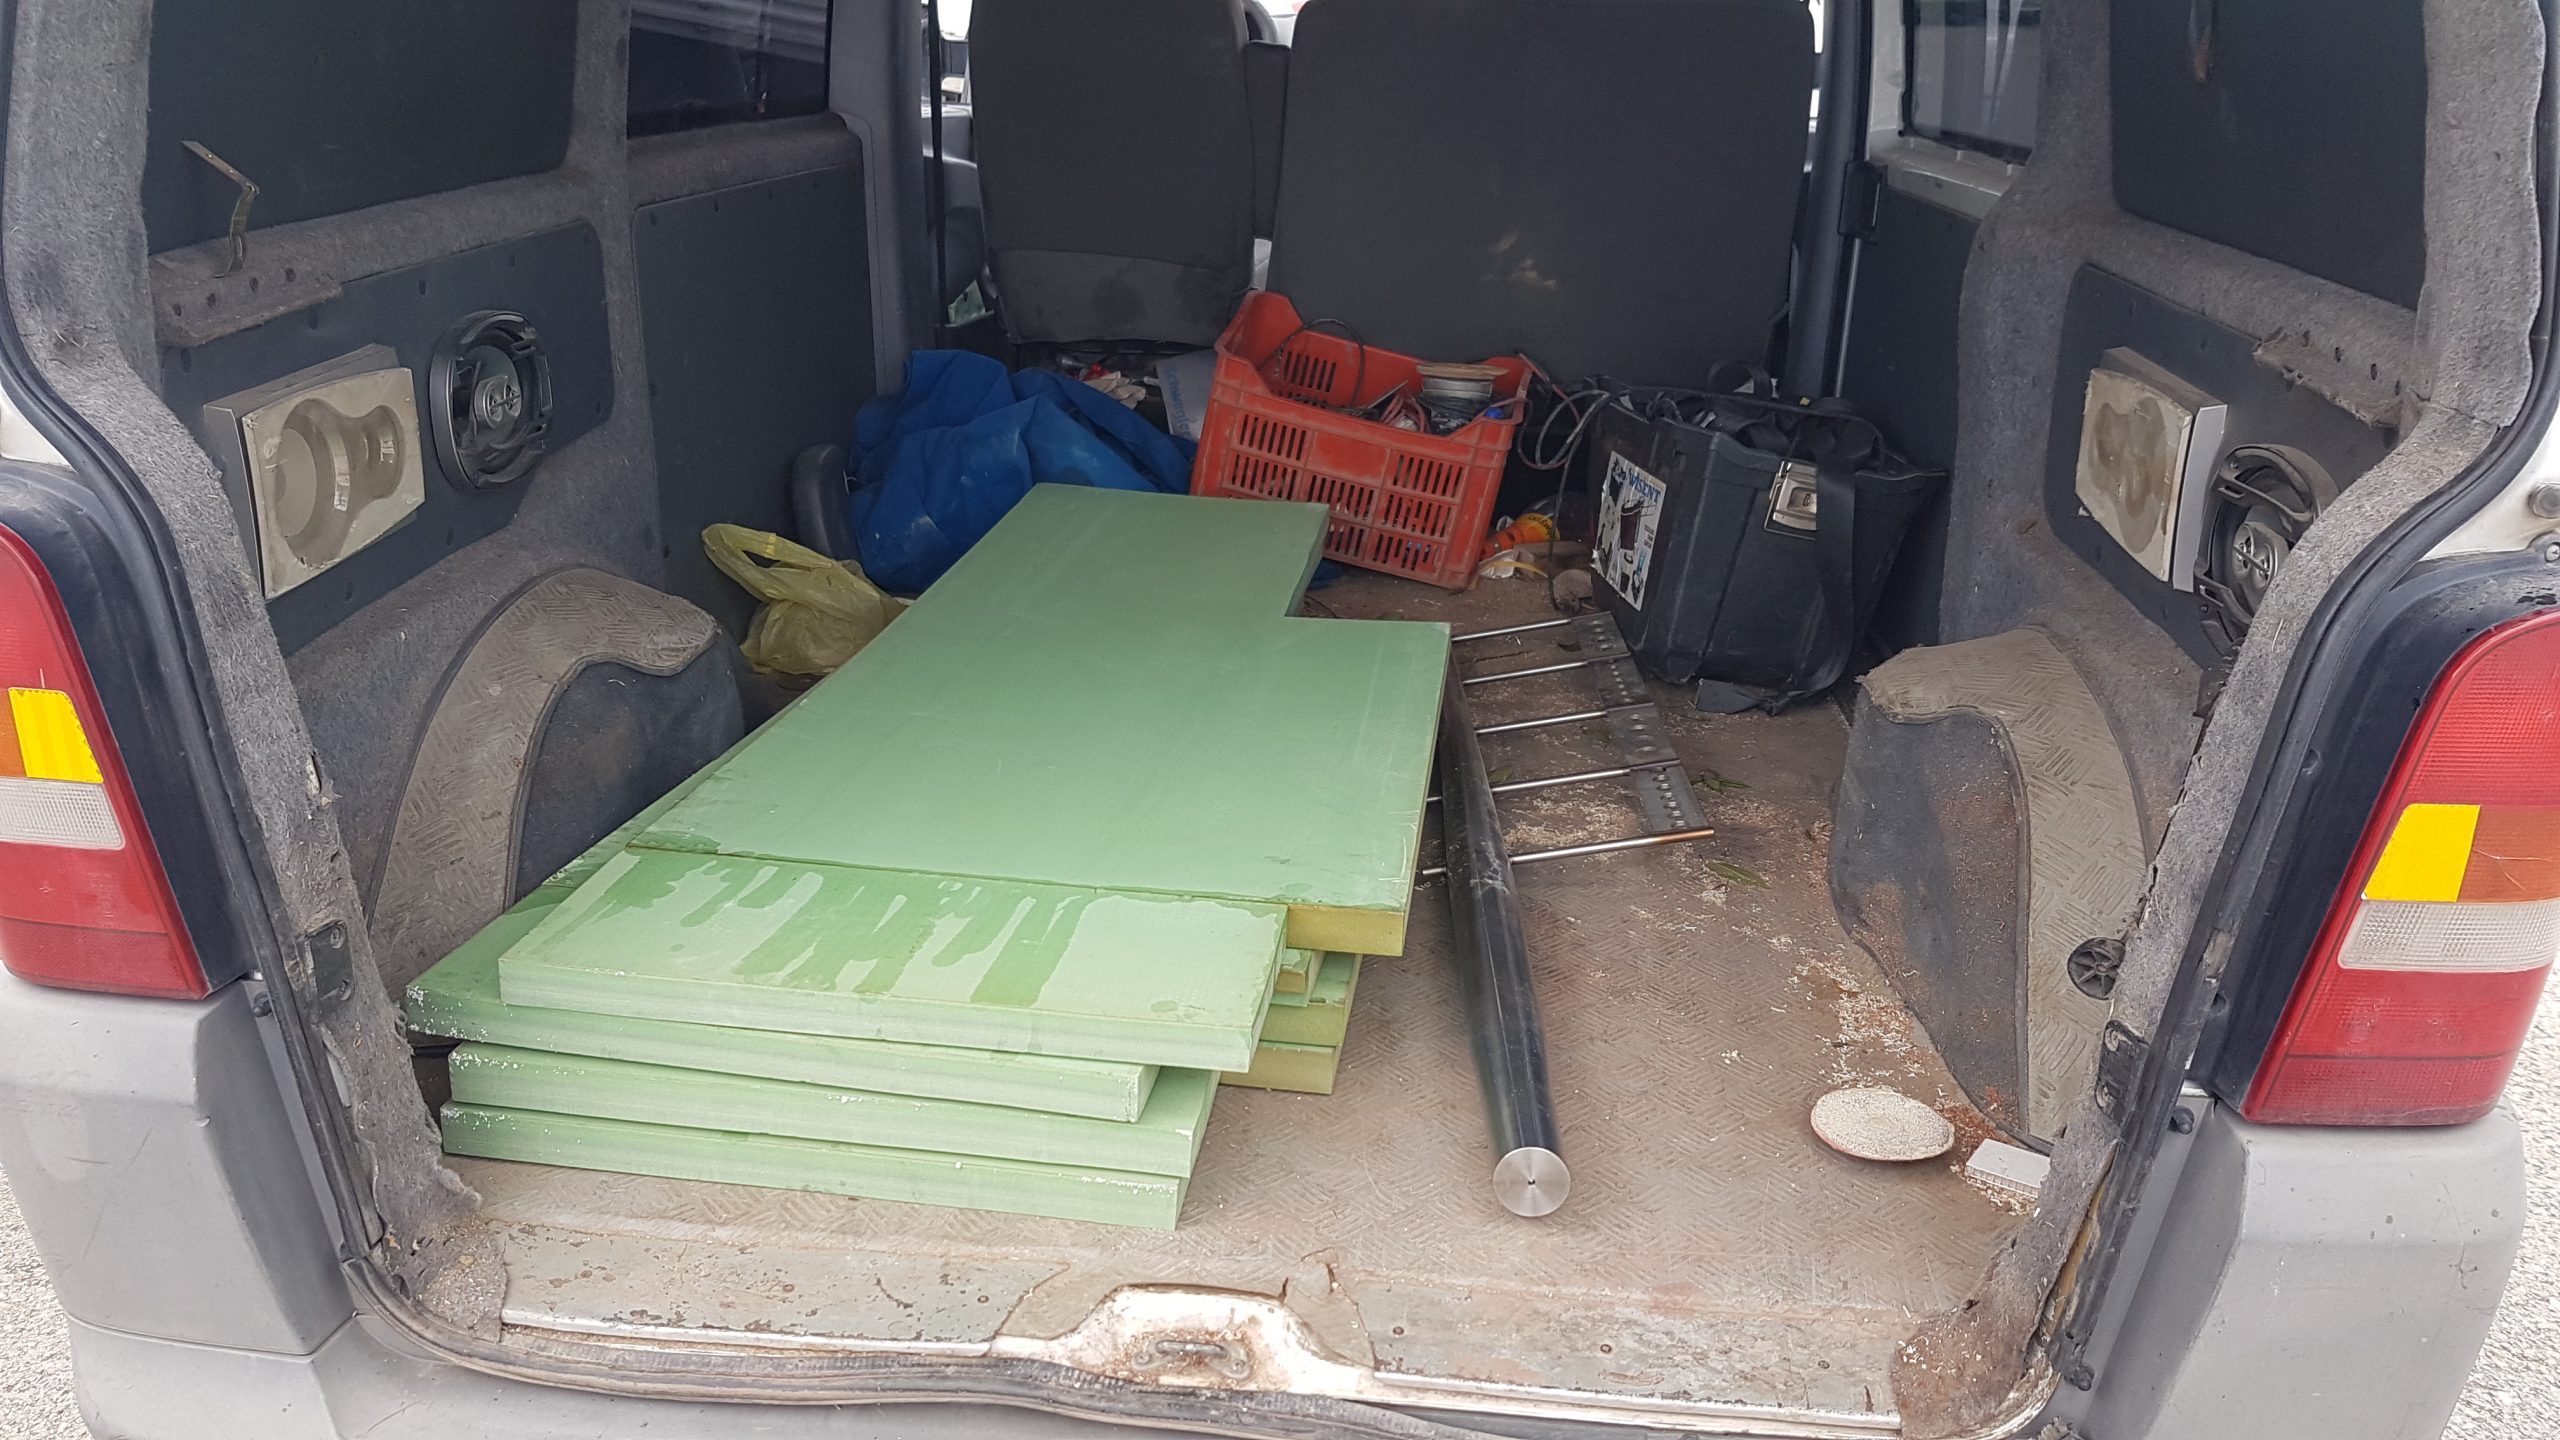
The inside of the rudders is PVC foam. This is a common type of foam that is used for marine applications and composite products where strength and resistance to internal rotting might occur. This type of foam comes in different densities. The density measurements are done by the cubic meter. The design specs for the rudders called for 250kg which is quite dense, heavy and strong. When I made kiteboards, I used 80kg foam which is considerably lighter but was certainly strong enough for a kiteboard. Unfortunately, the length of the foam was not long enough for our skinny rudders so I had to cut a couple of pieces out and use epoxy to extend them. The production rudders like the ones that Jefa make are done slightly different. To maintain uniformity a mould is made, fibreglass on the mould, the sides are put together and the expanding foam fills the inside. This foam is not likely the same density. If an Orca tries to bite into 3 layers of fibreglass and 250kg foam I would like to think they would require a visit to the dentist.
Trace outline


Search for CNC company to shape foam
With technology today, it only makes sense to find a company capable of using a 3D CNC machine to get the shape just right. And so the search began. The first stop was close to the boat location and they were not able to do it. The second was a company that did CNC work for Serena Marine which is a boat-building company in Turkey. Yay, they said they could do it. Pack up the foam in a van and let’s go see what they say given they refused to give a price on the phone. After some review and discussion, they agreed to do the shaping for 2800EUR. Yep, you read it right, 2800EUR. In a country where the minimum wage is 300EUR, and a new rudder from Denmark would have cost 1500EUR they wanted to charge 2800 EUR just to shape the foam…and no, that didn’t include the price of the foam. I will take a pass thanks. The only thing that came to mind is that Mr. Blackwater had contacted them and asked for a huge commission. As it turned out, the rudder foam went back in the container to await its time somewhere in the future to complete.
Epoxy sides together
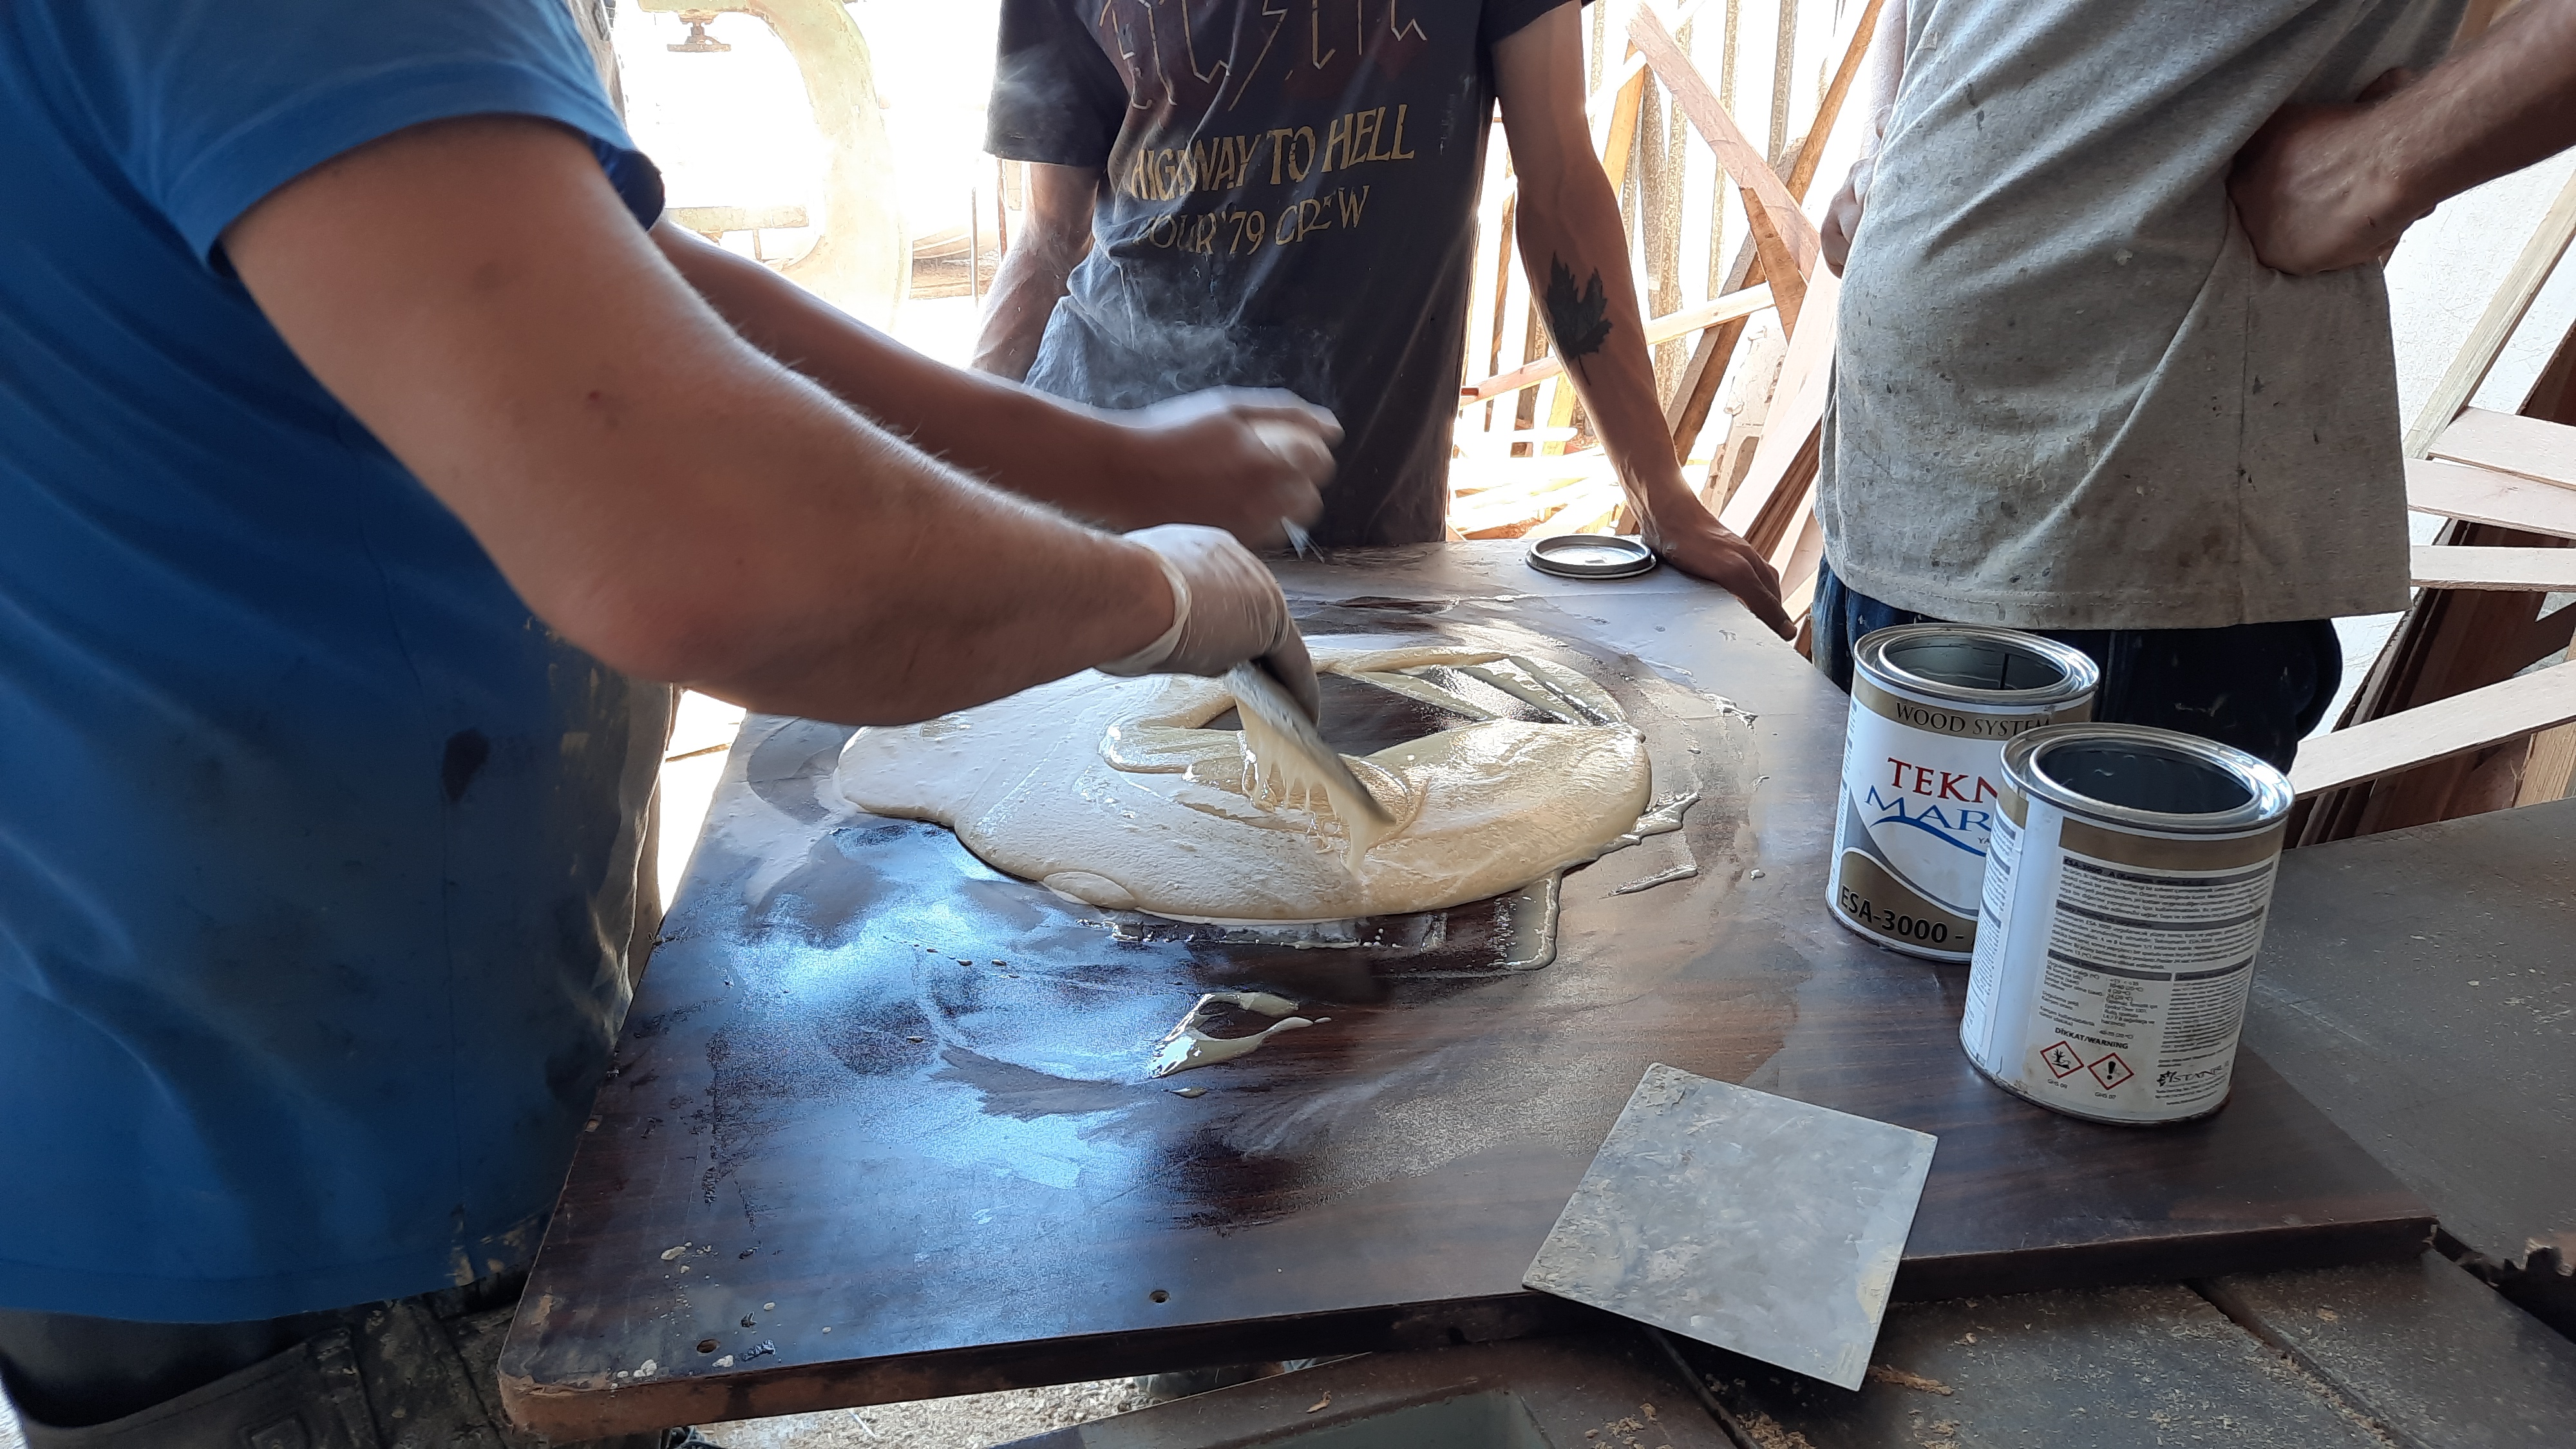
The two sides need to be connected together around the stainless stock. The process to accomplish this is to use epoxy with a filler to make it thick, more like a thick glue than a liquid epoxy. Prior to putting the two sides around the stock using epoxy, the stainless was lightly sanded and an etching primer was applied to the steel in order to ensure better adhesion to the stainless.

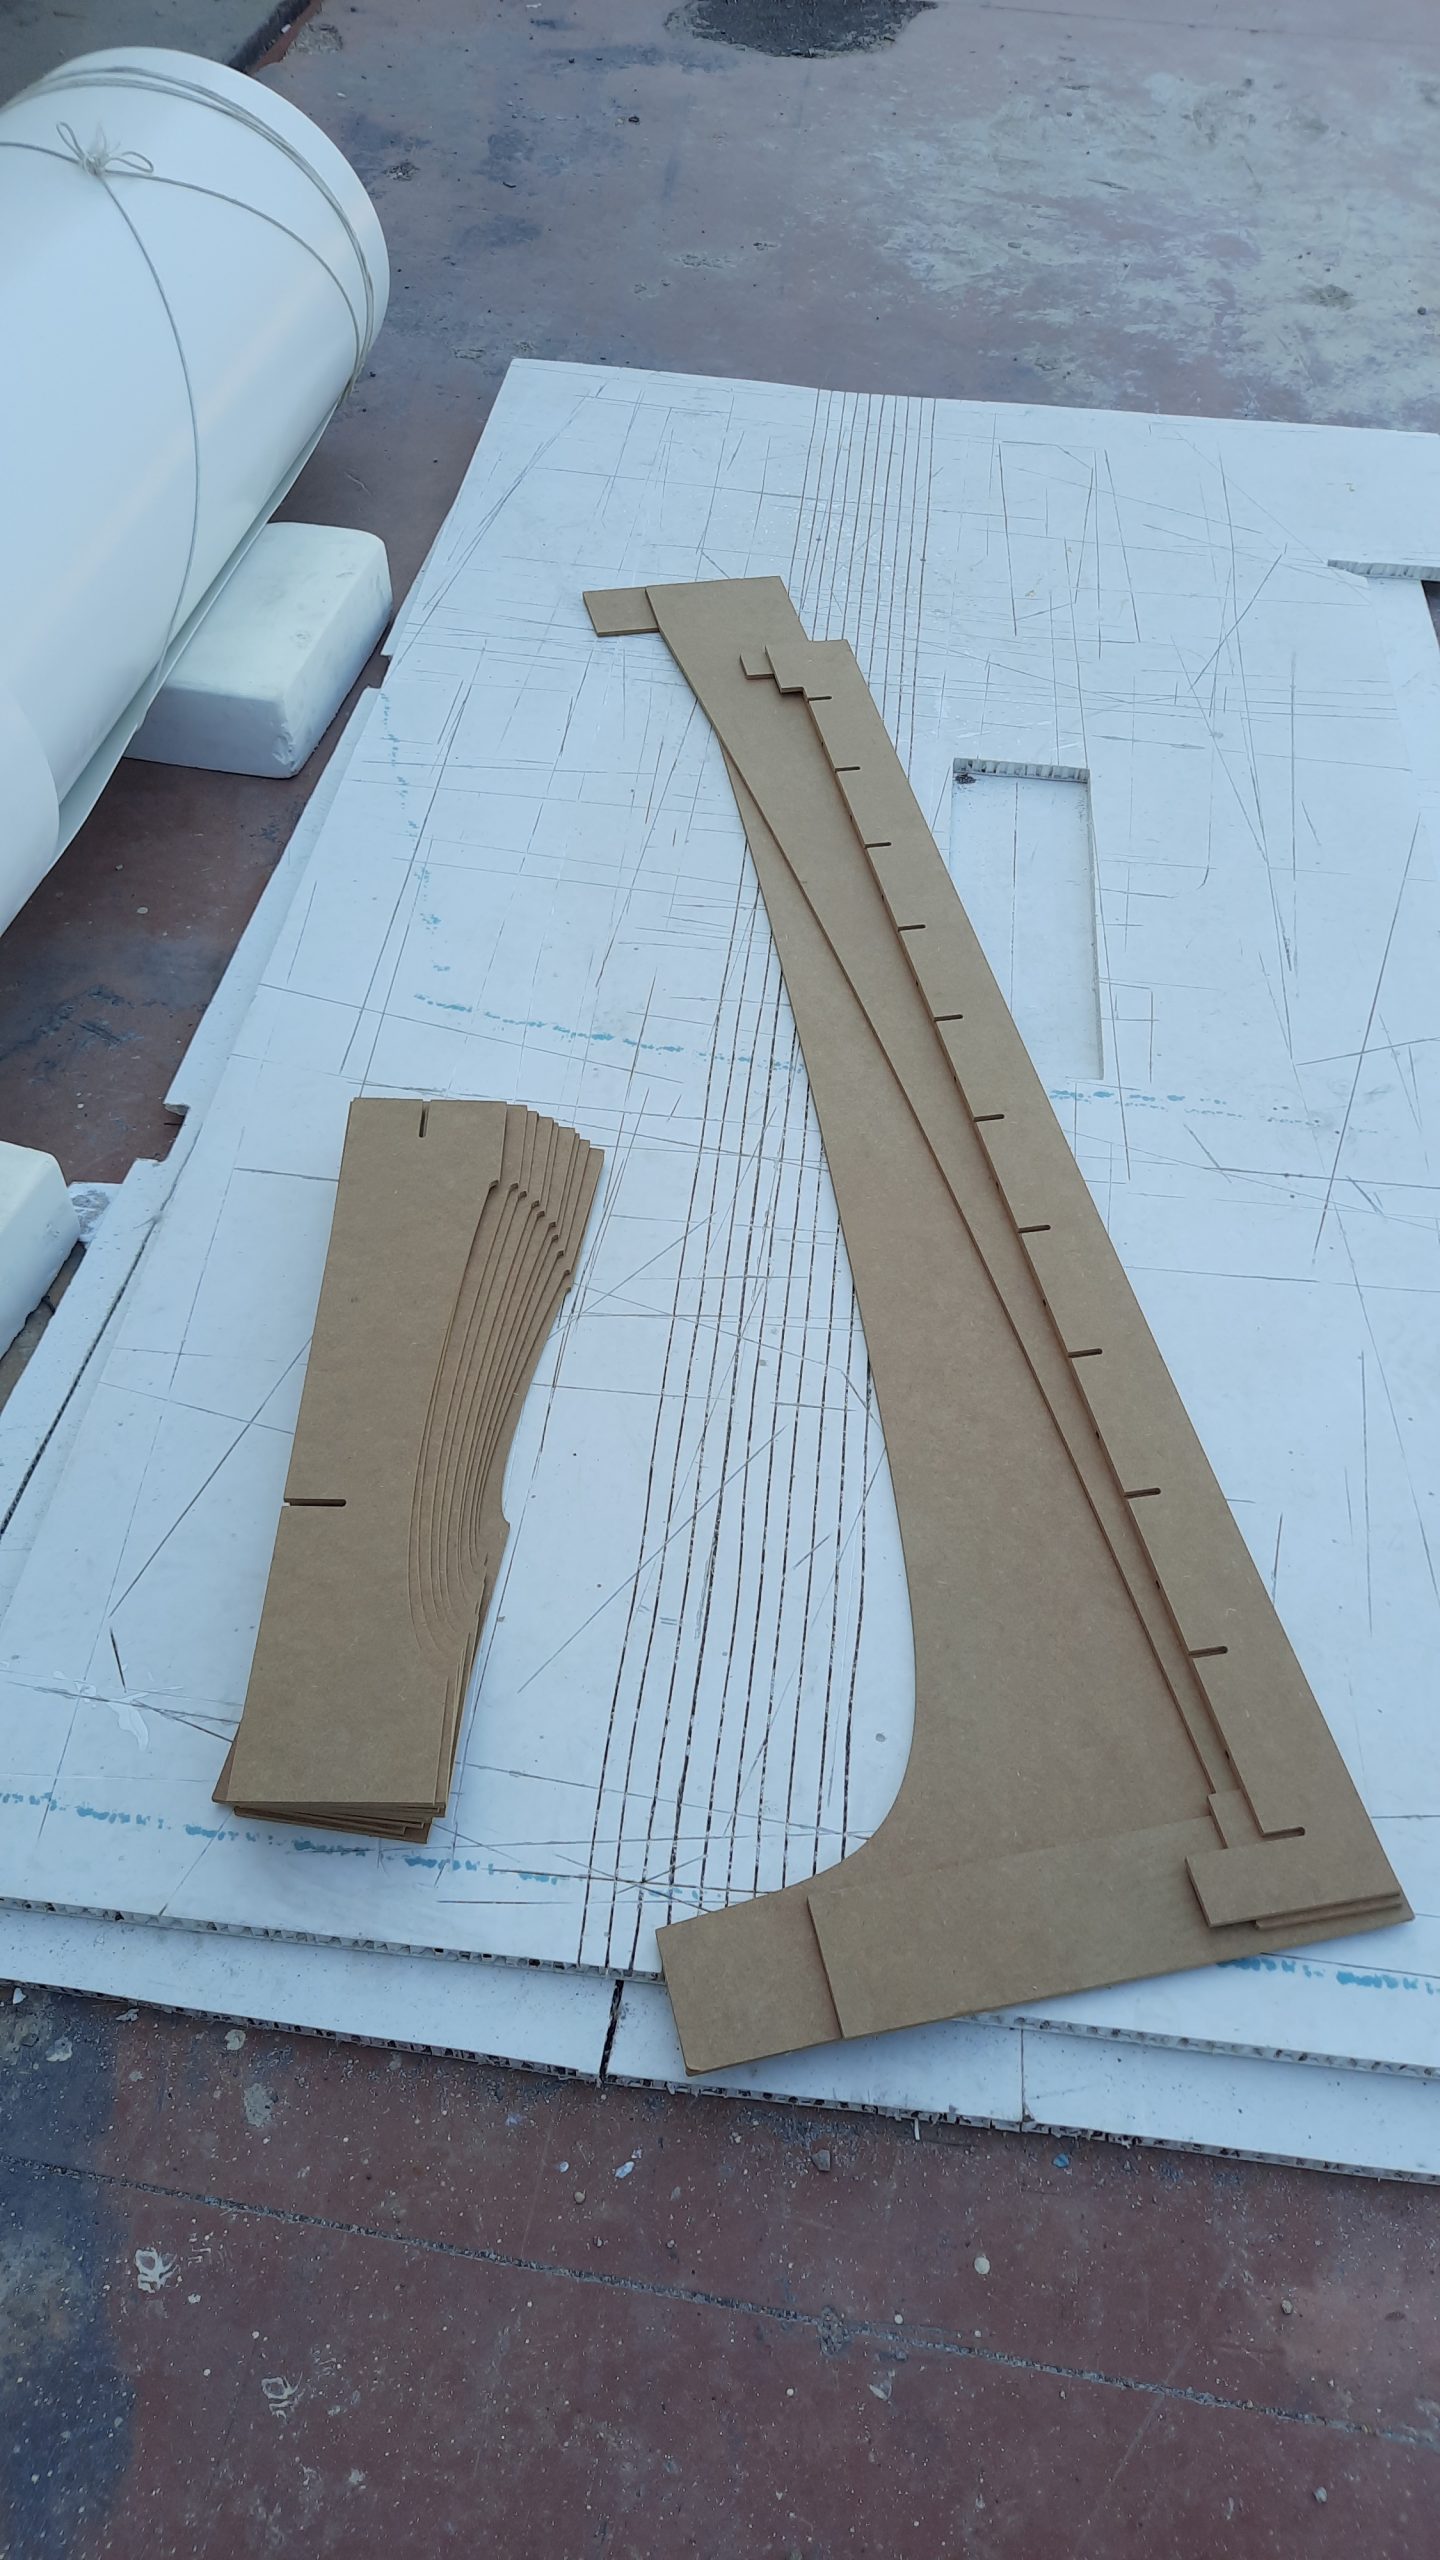
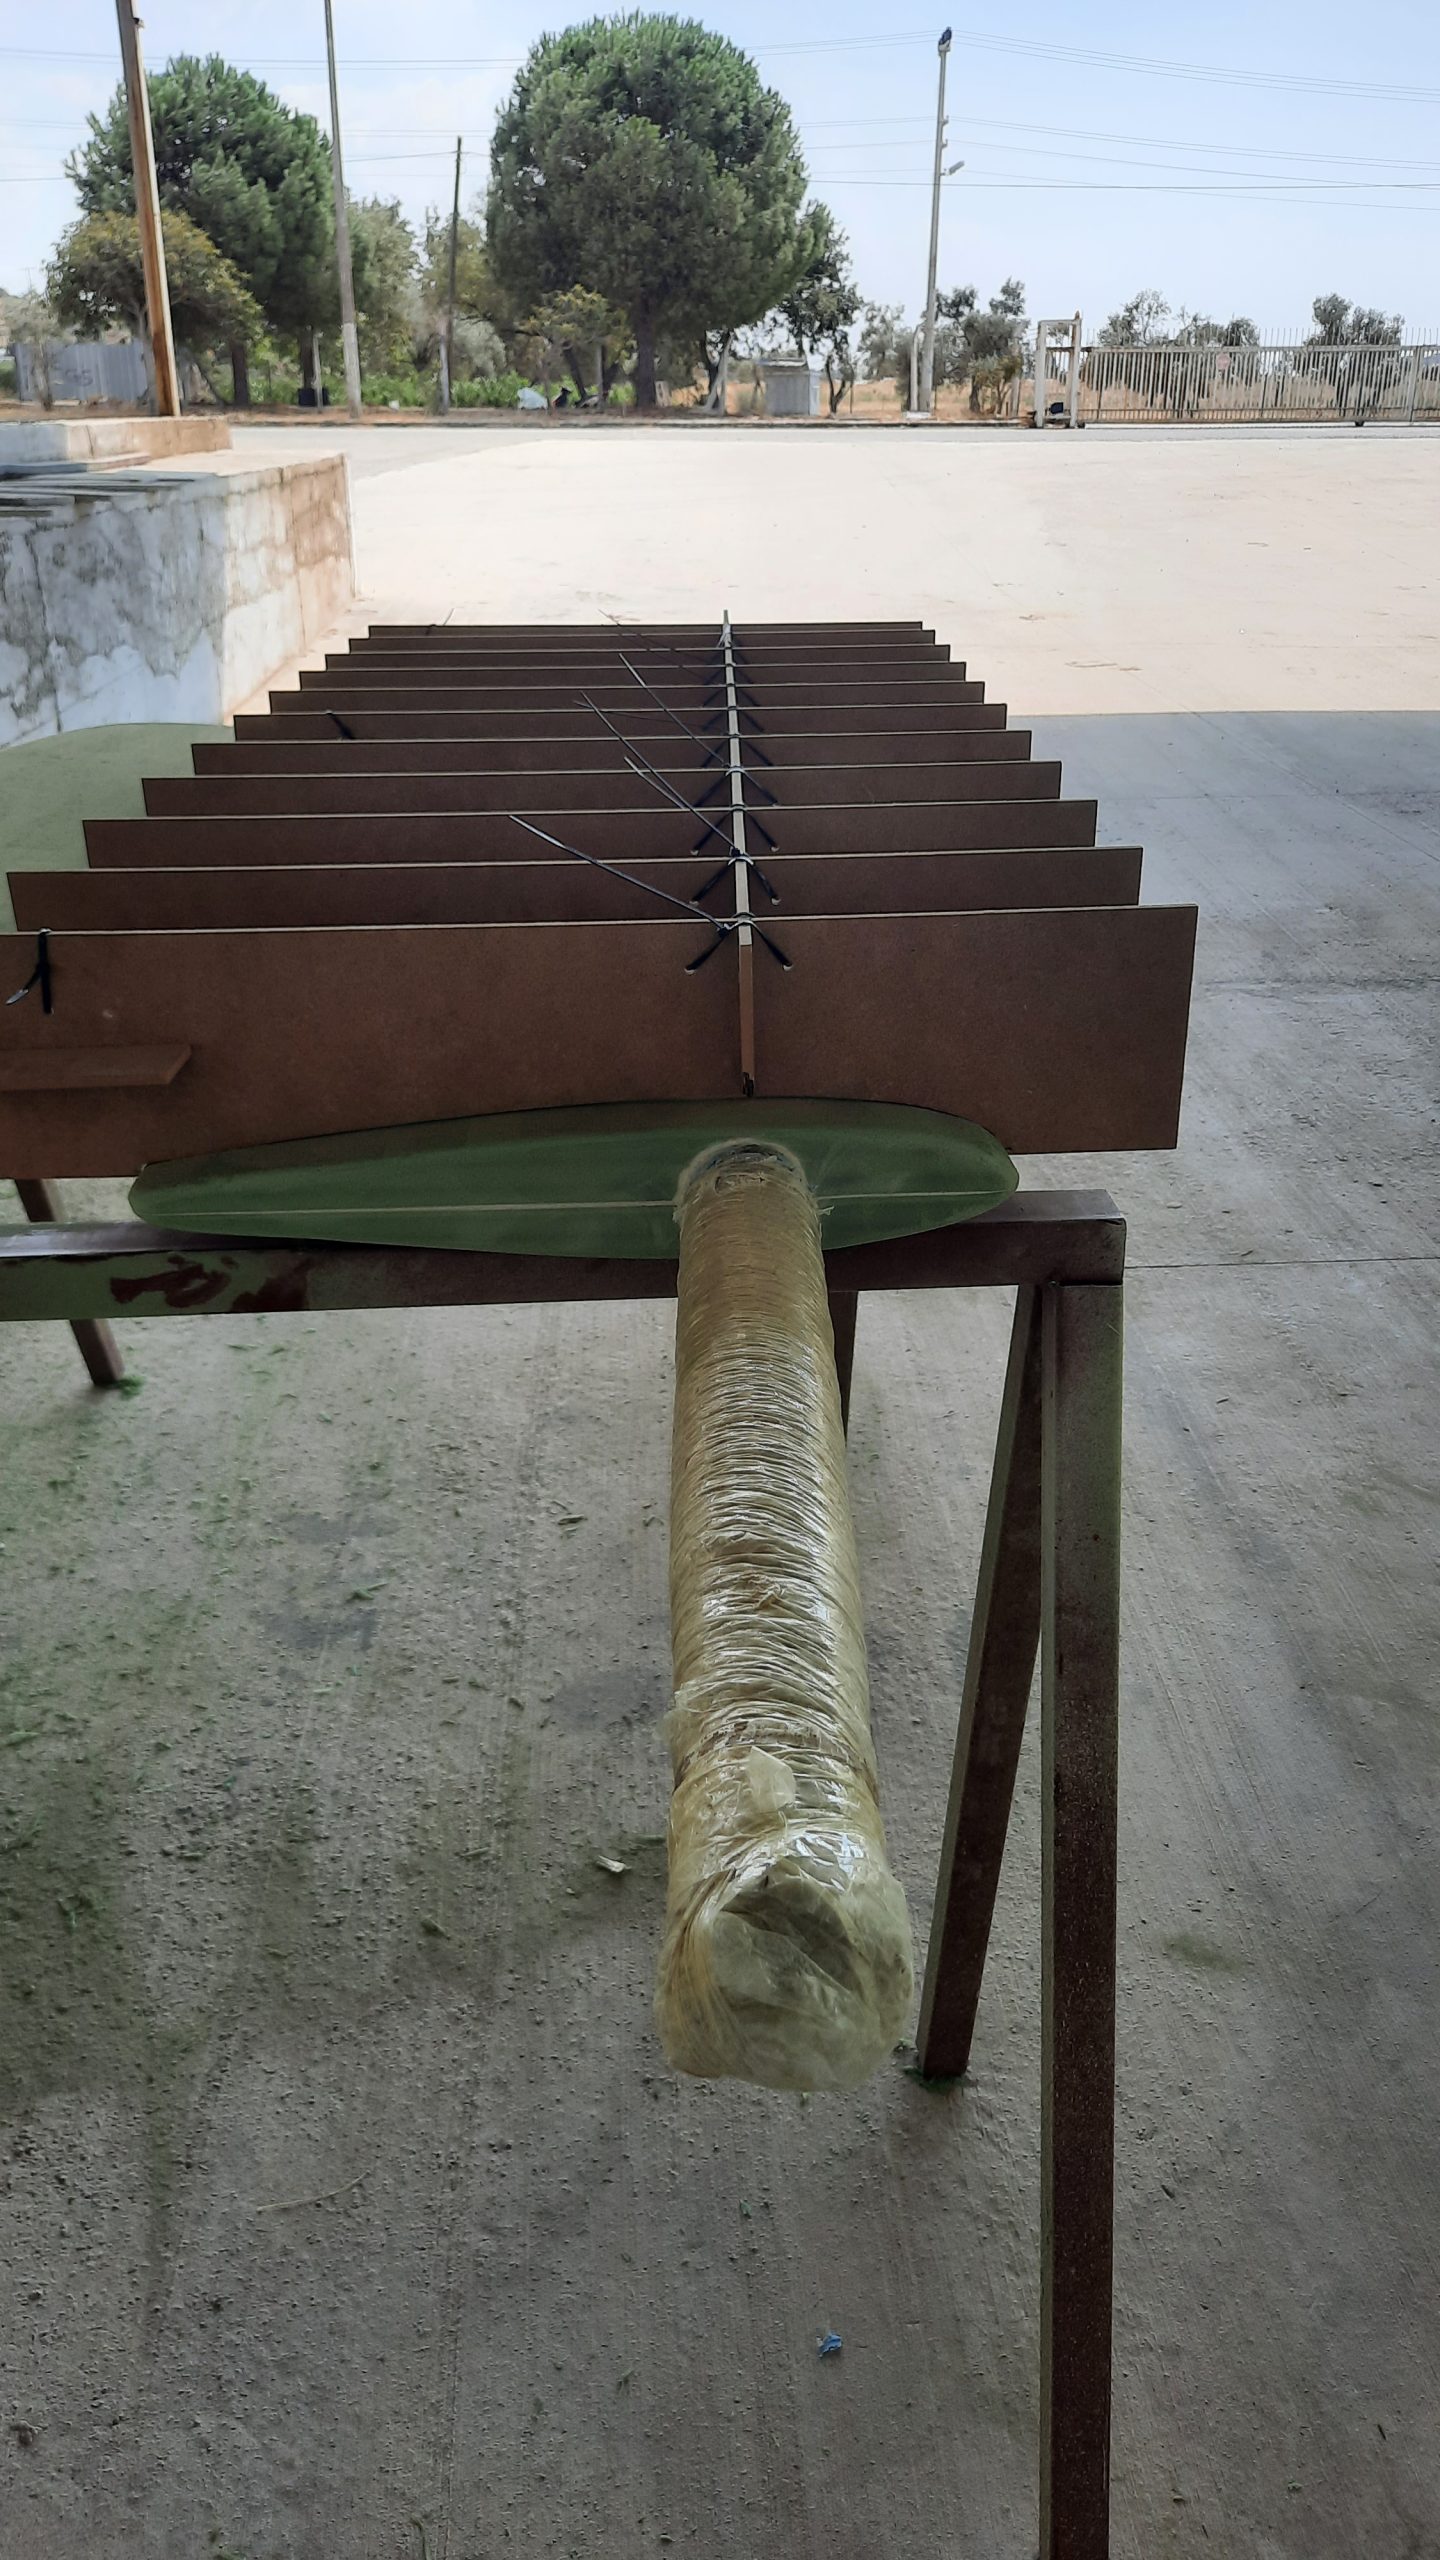
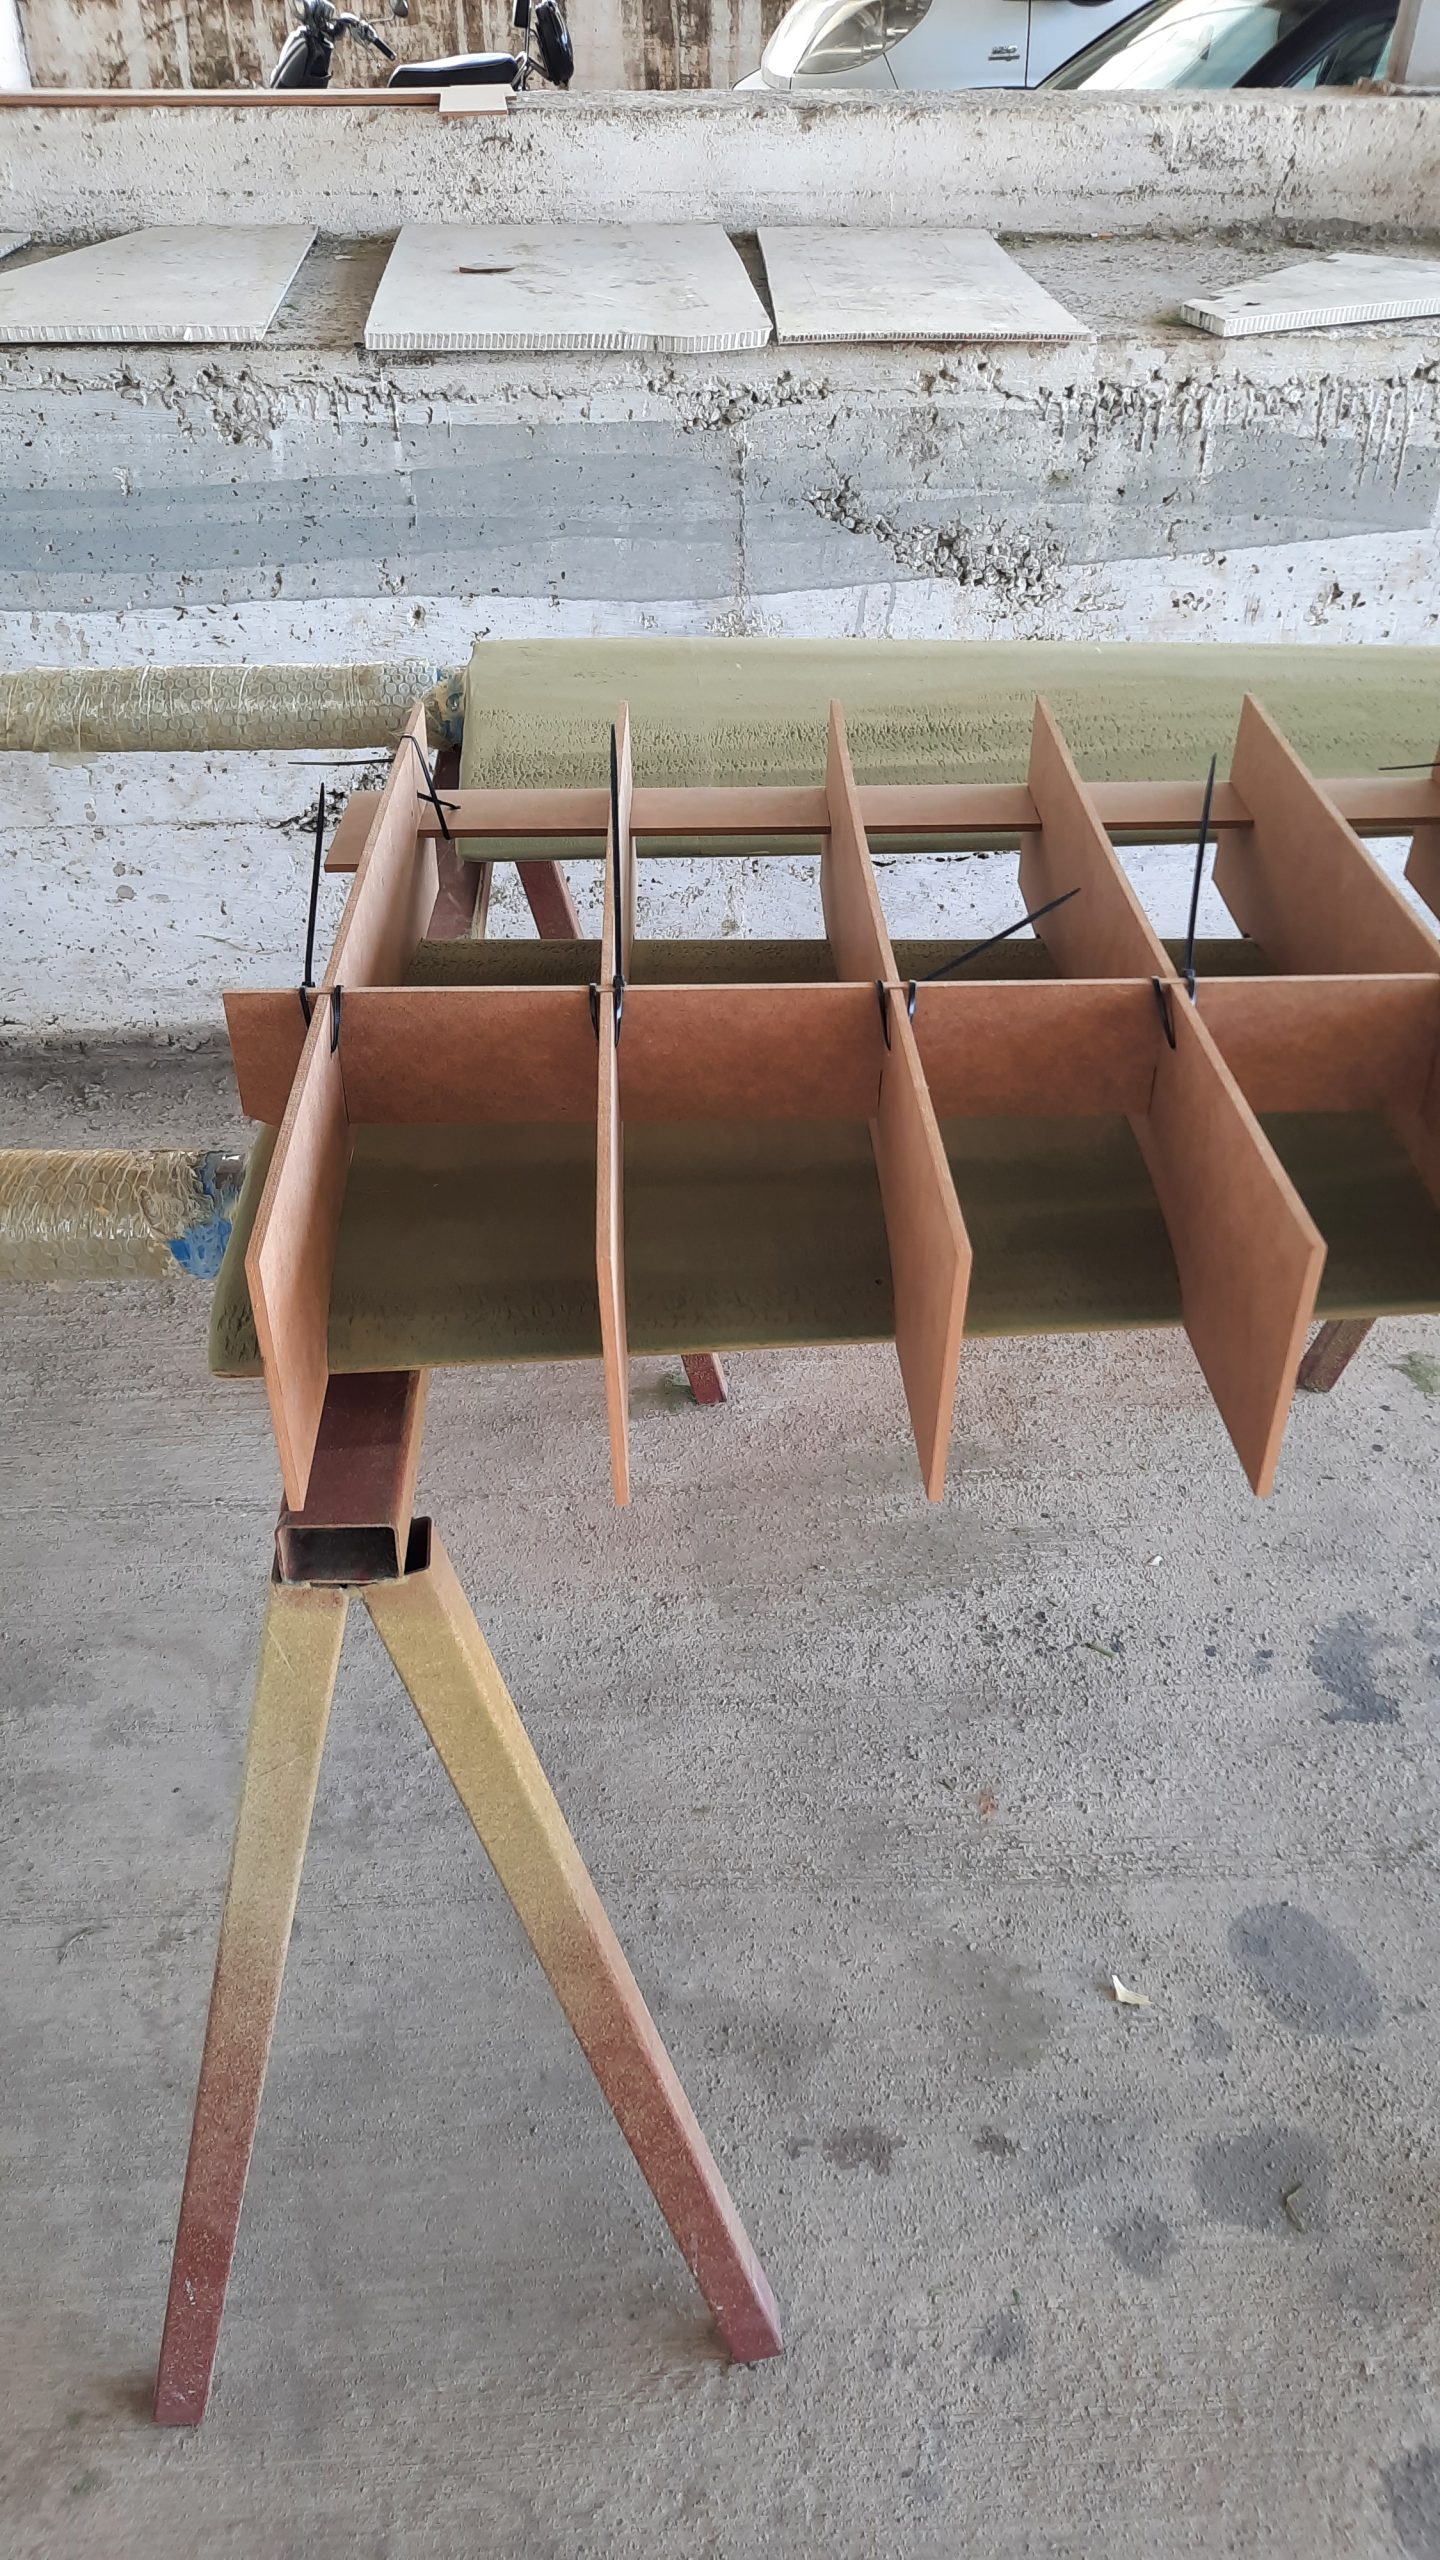
Shape
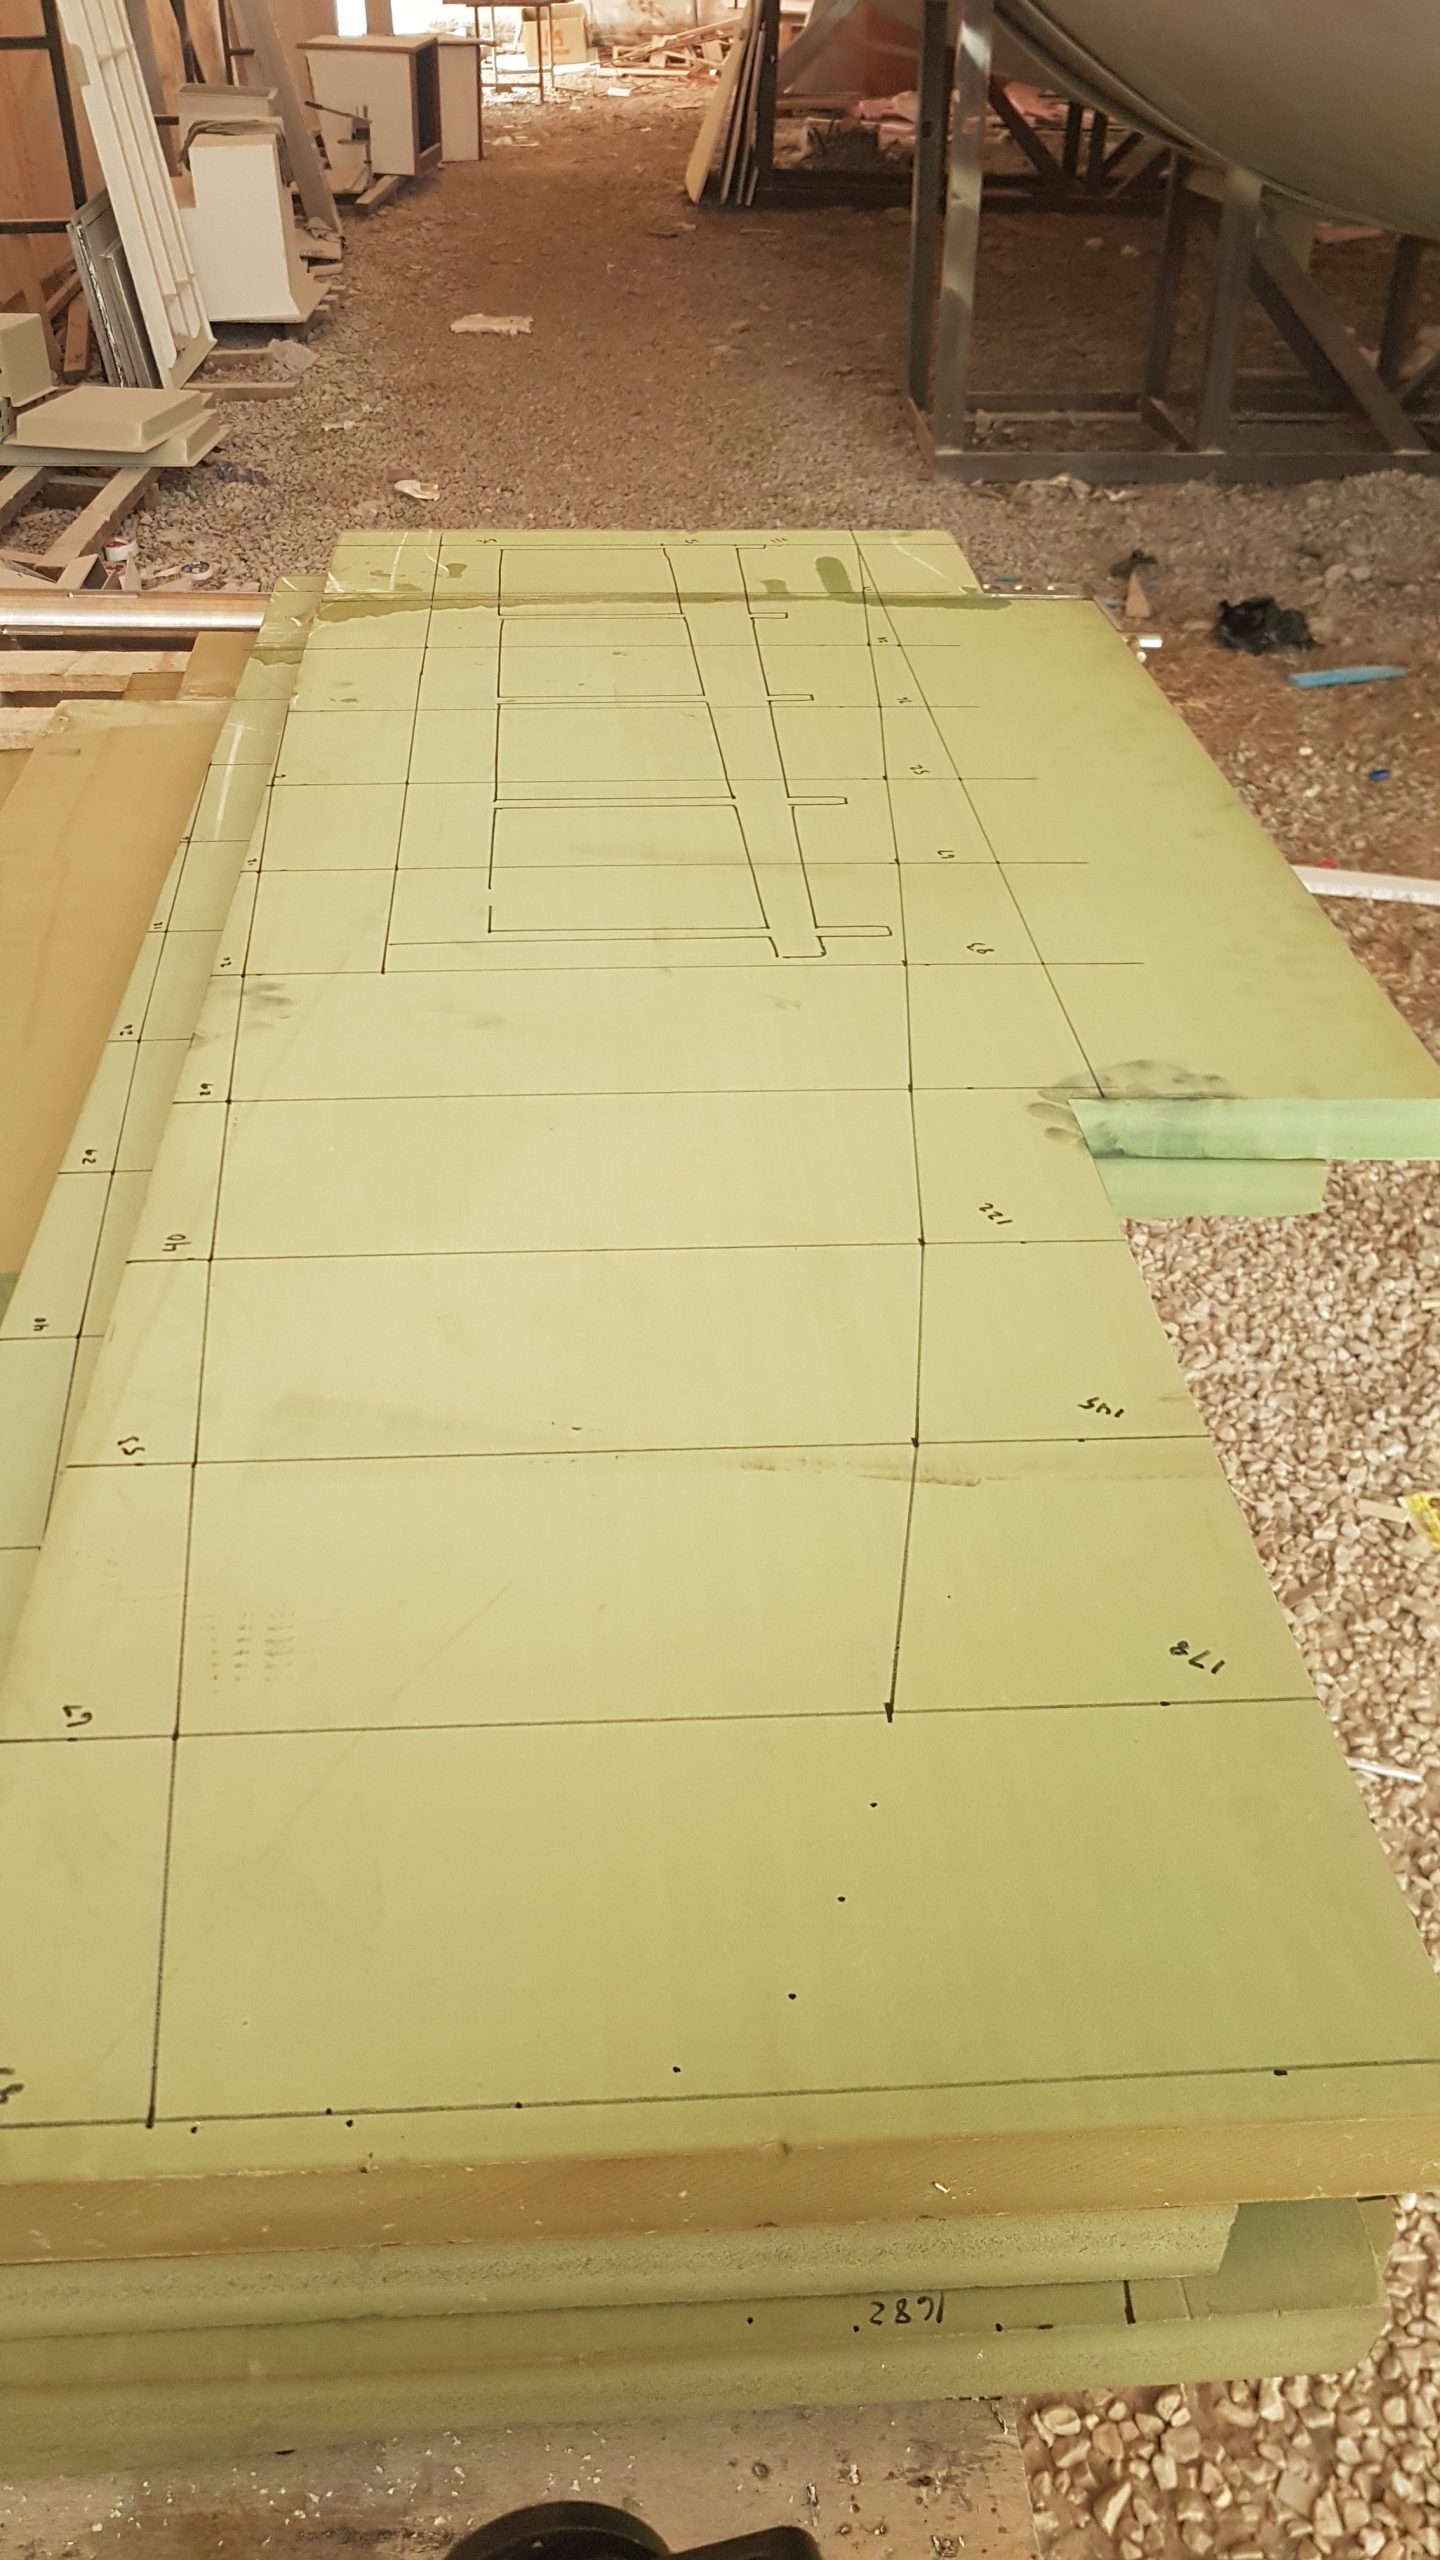
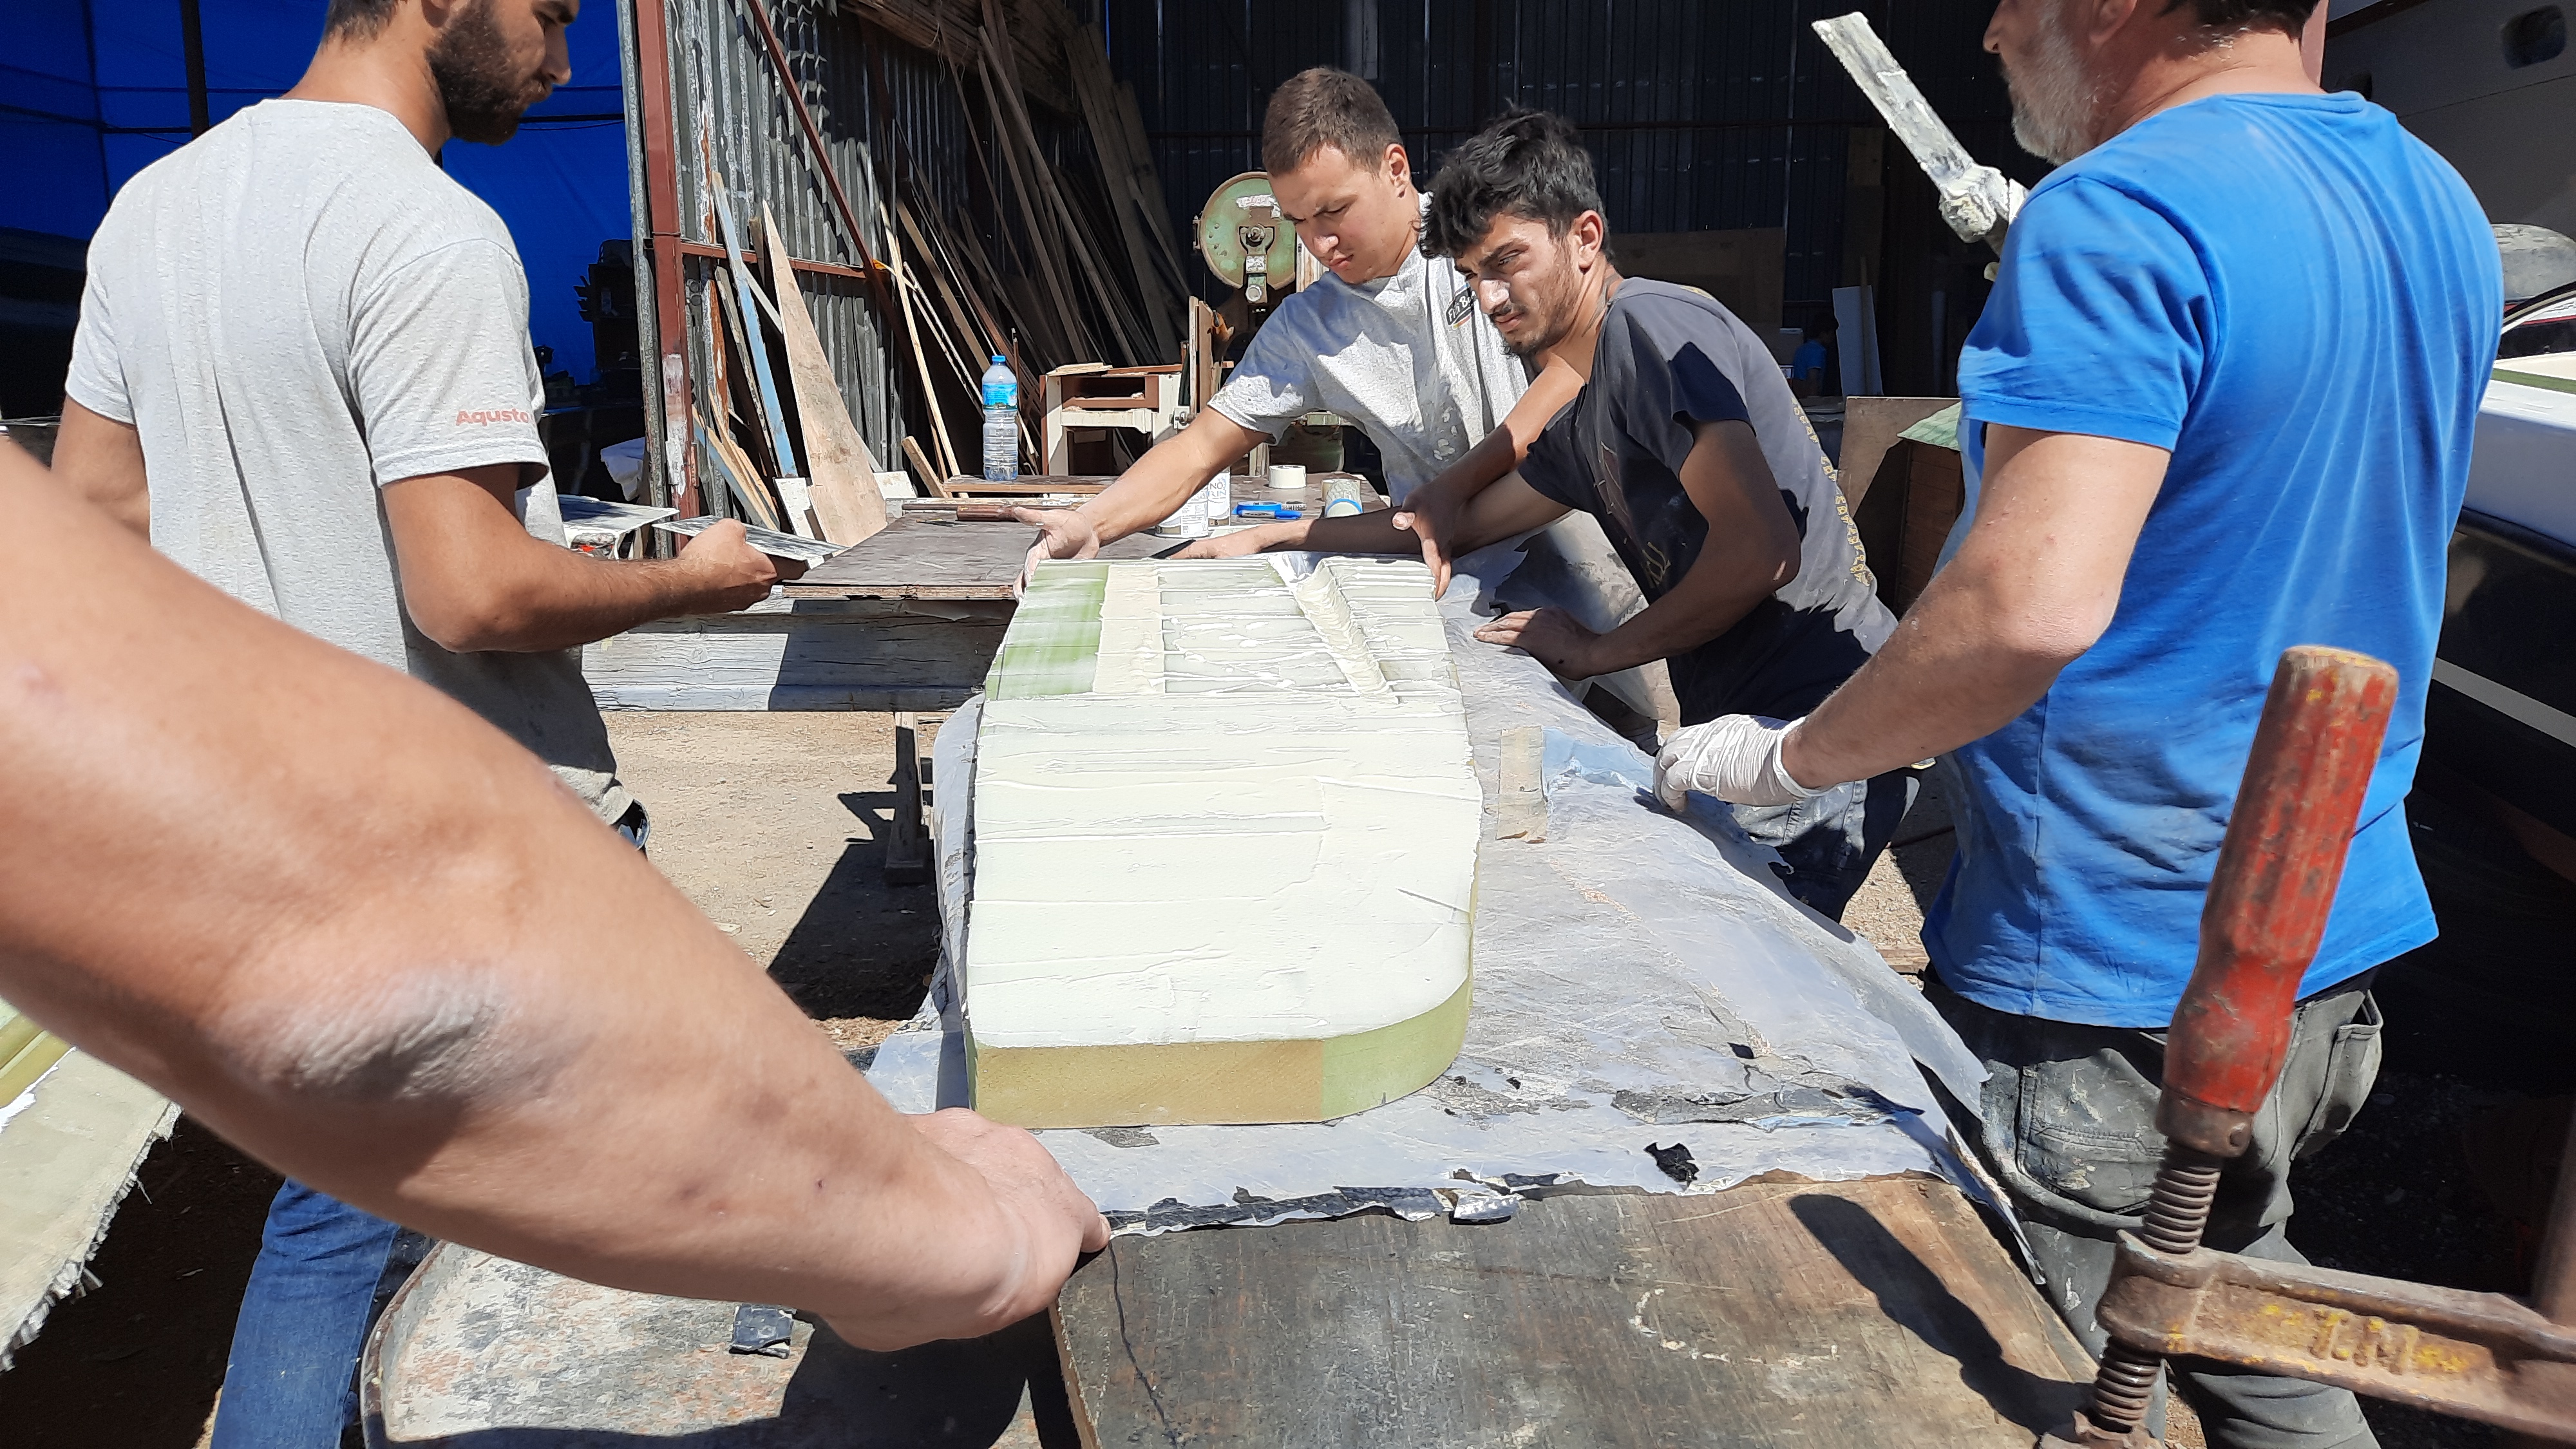
In order to help shape the rudders, given the option of having them done via CNC was not an option, I worked with a guy to have a number of templates mocked up, and made from MDF board. These shapes fit together in order to provide an outside template which was used to shape the foam.

Shaper

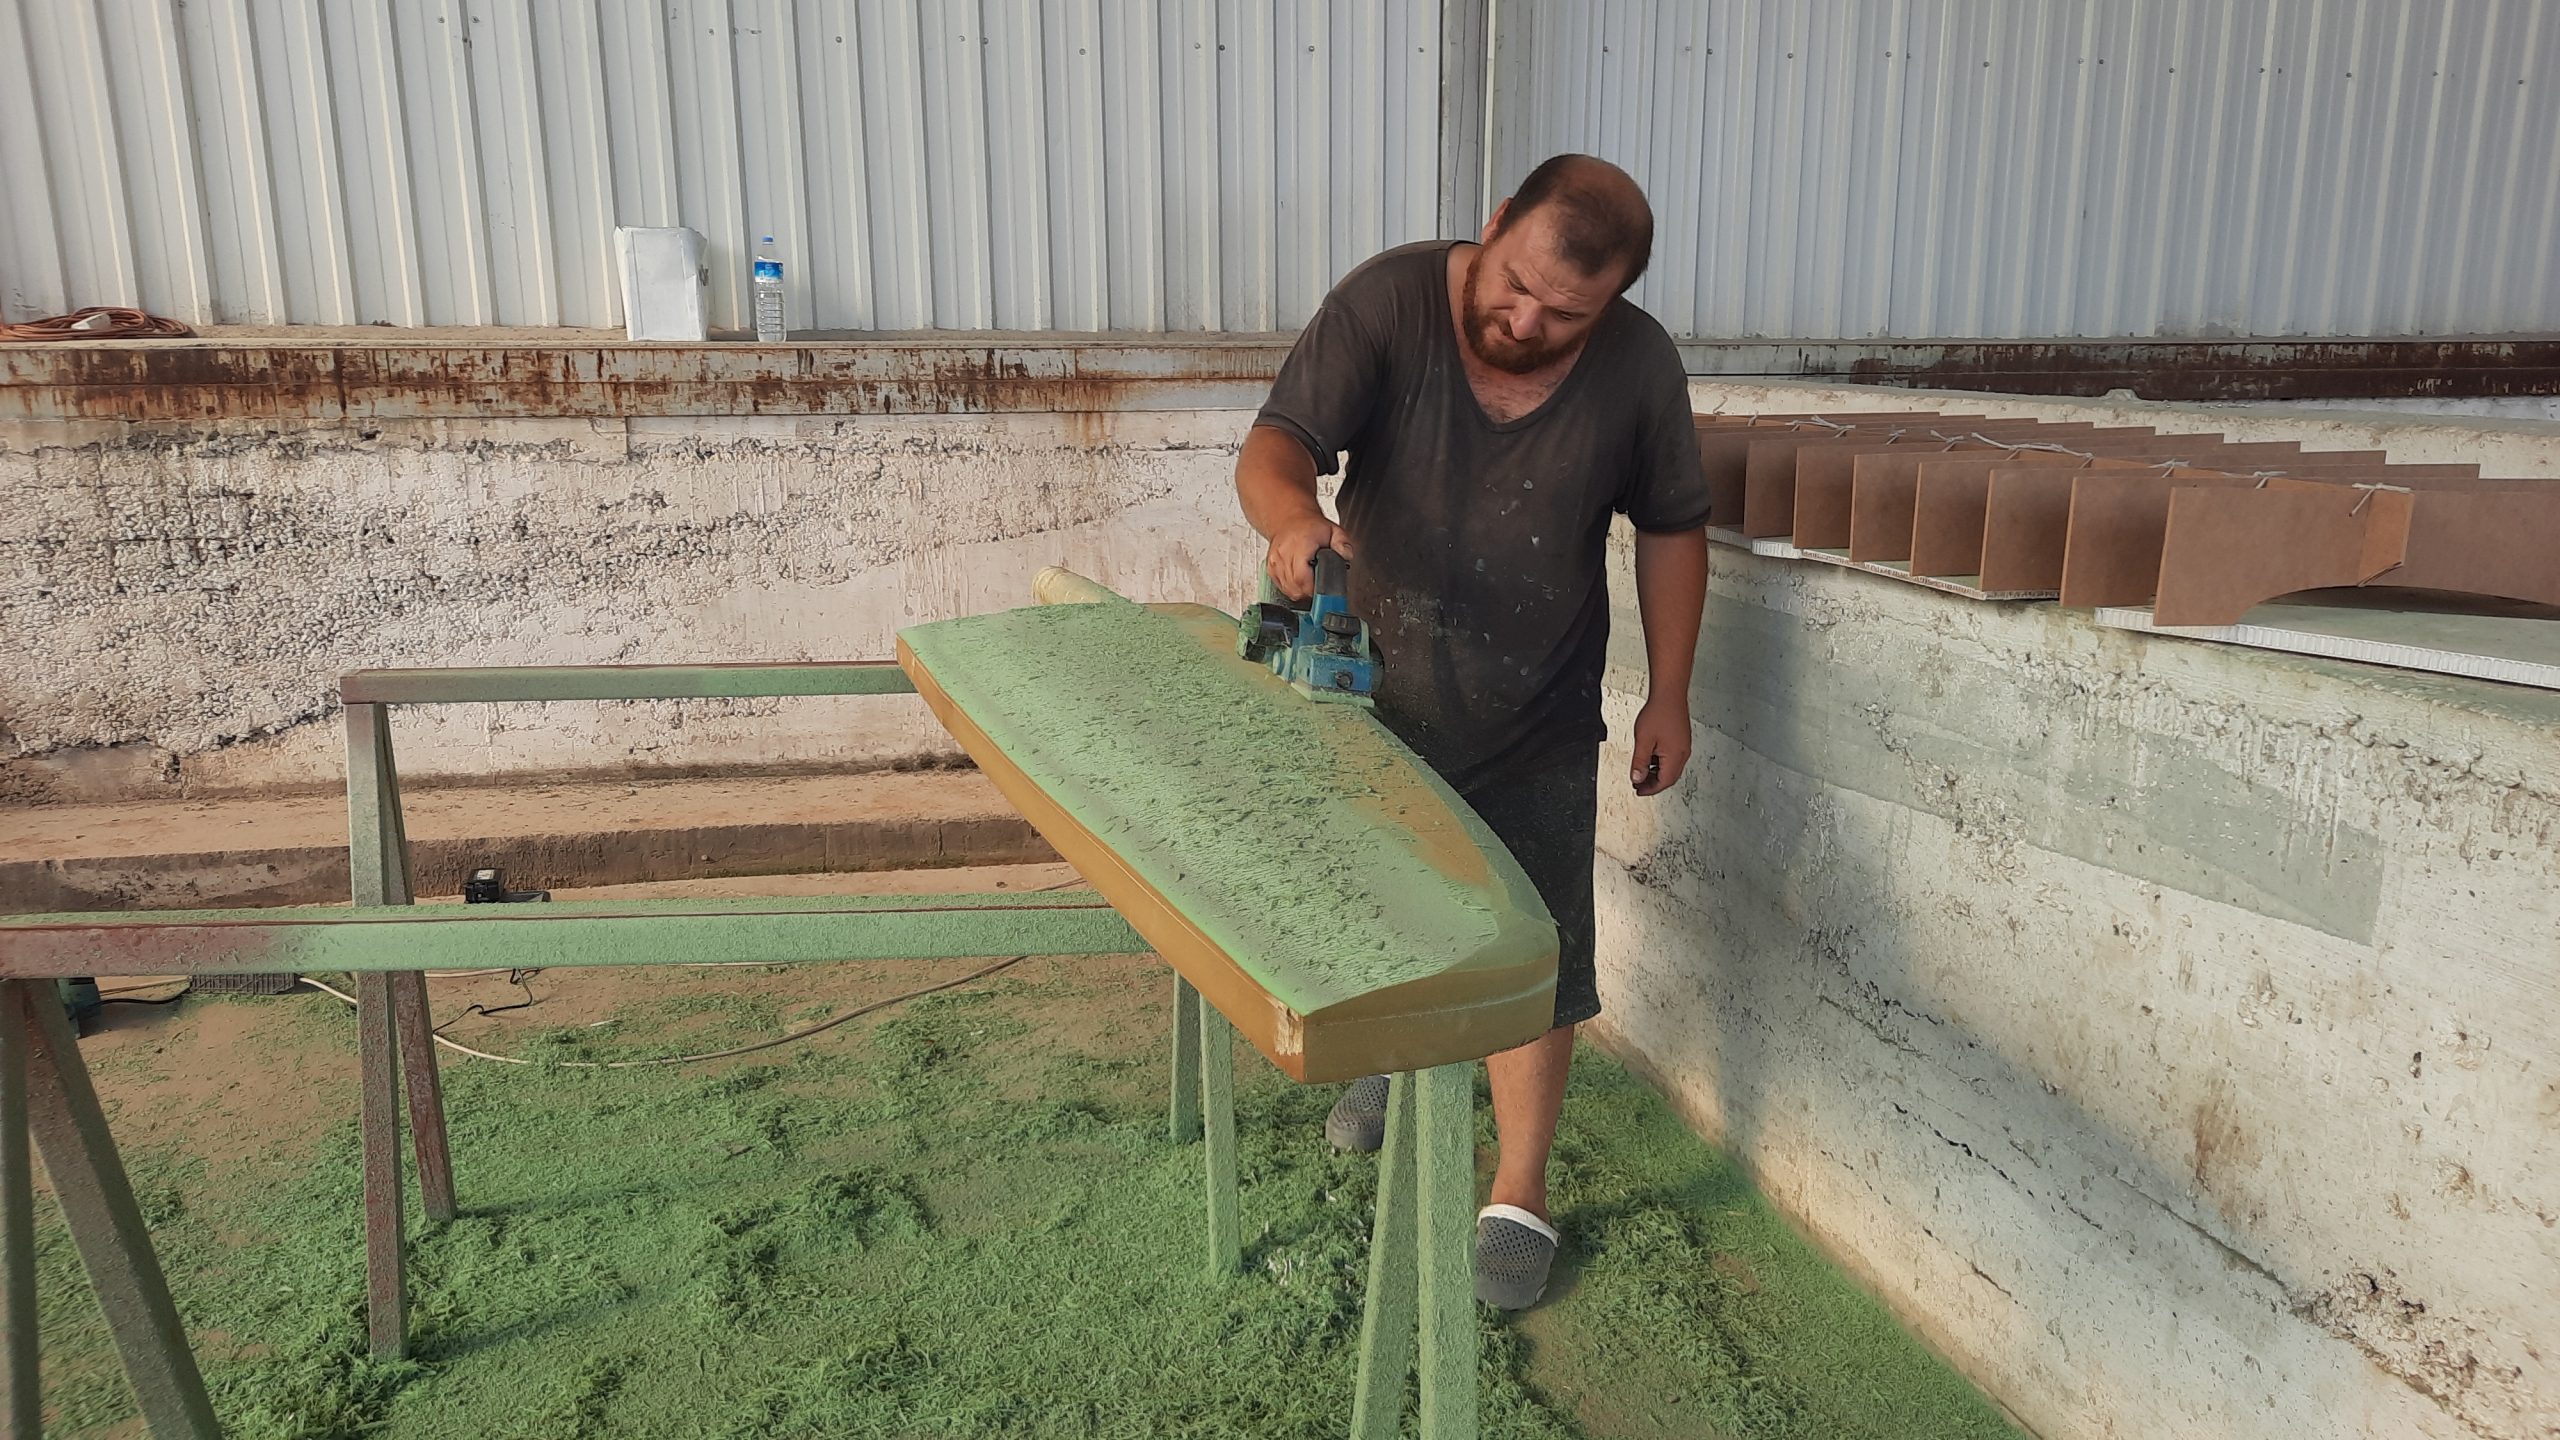
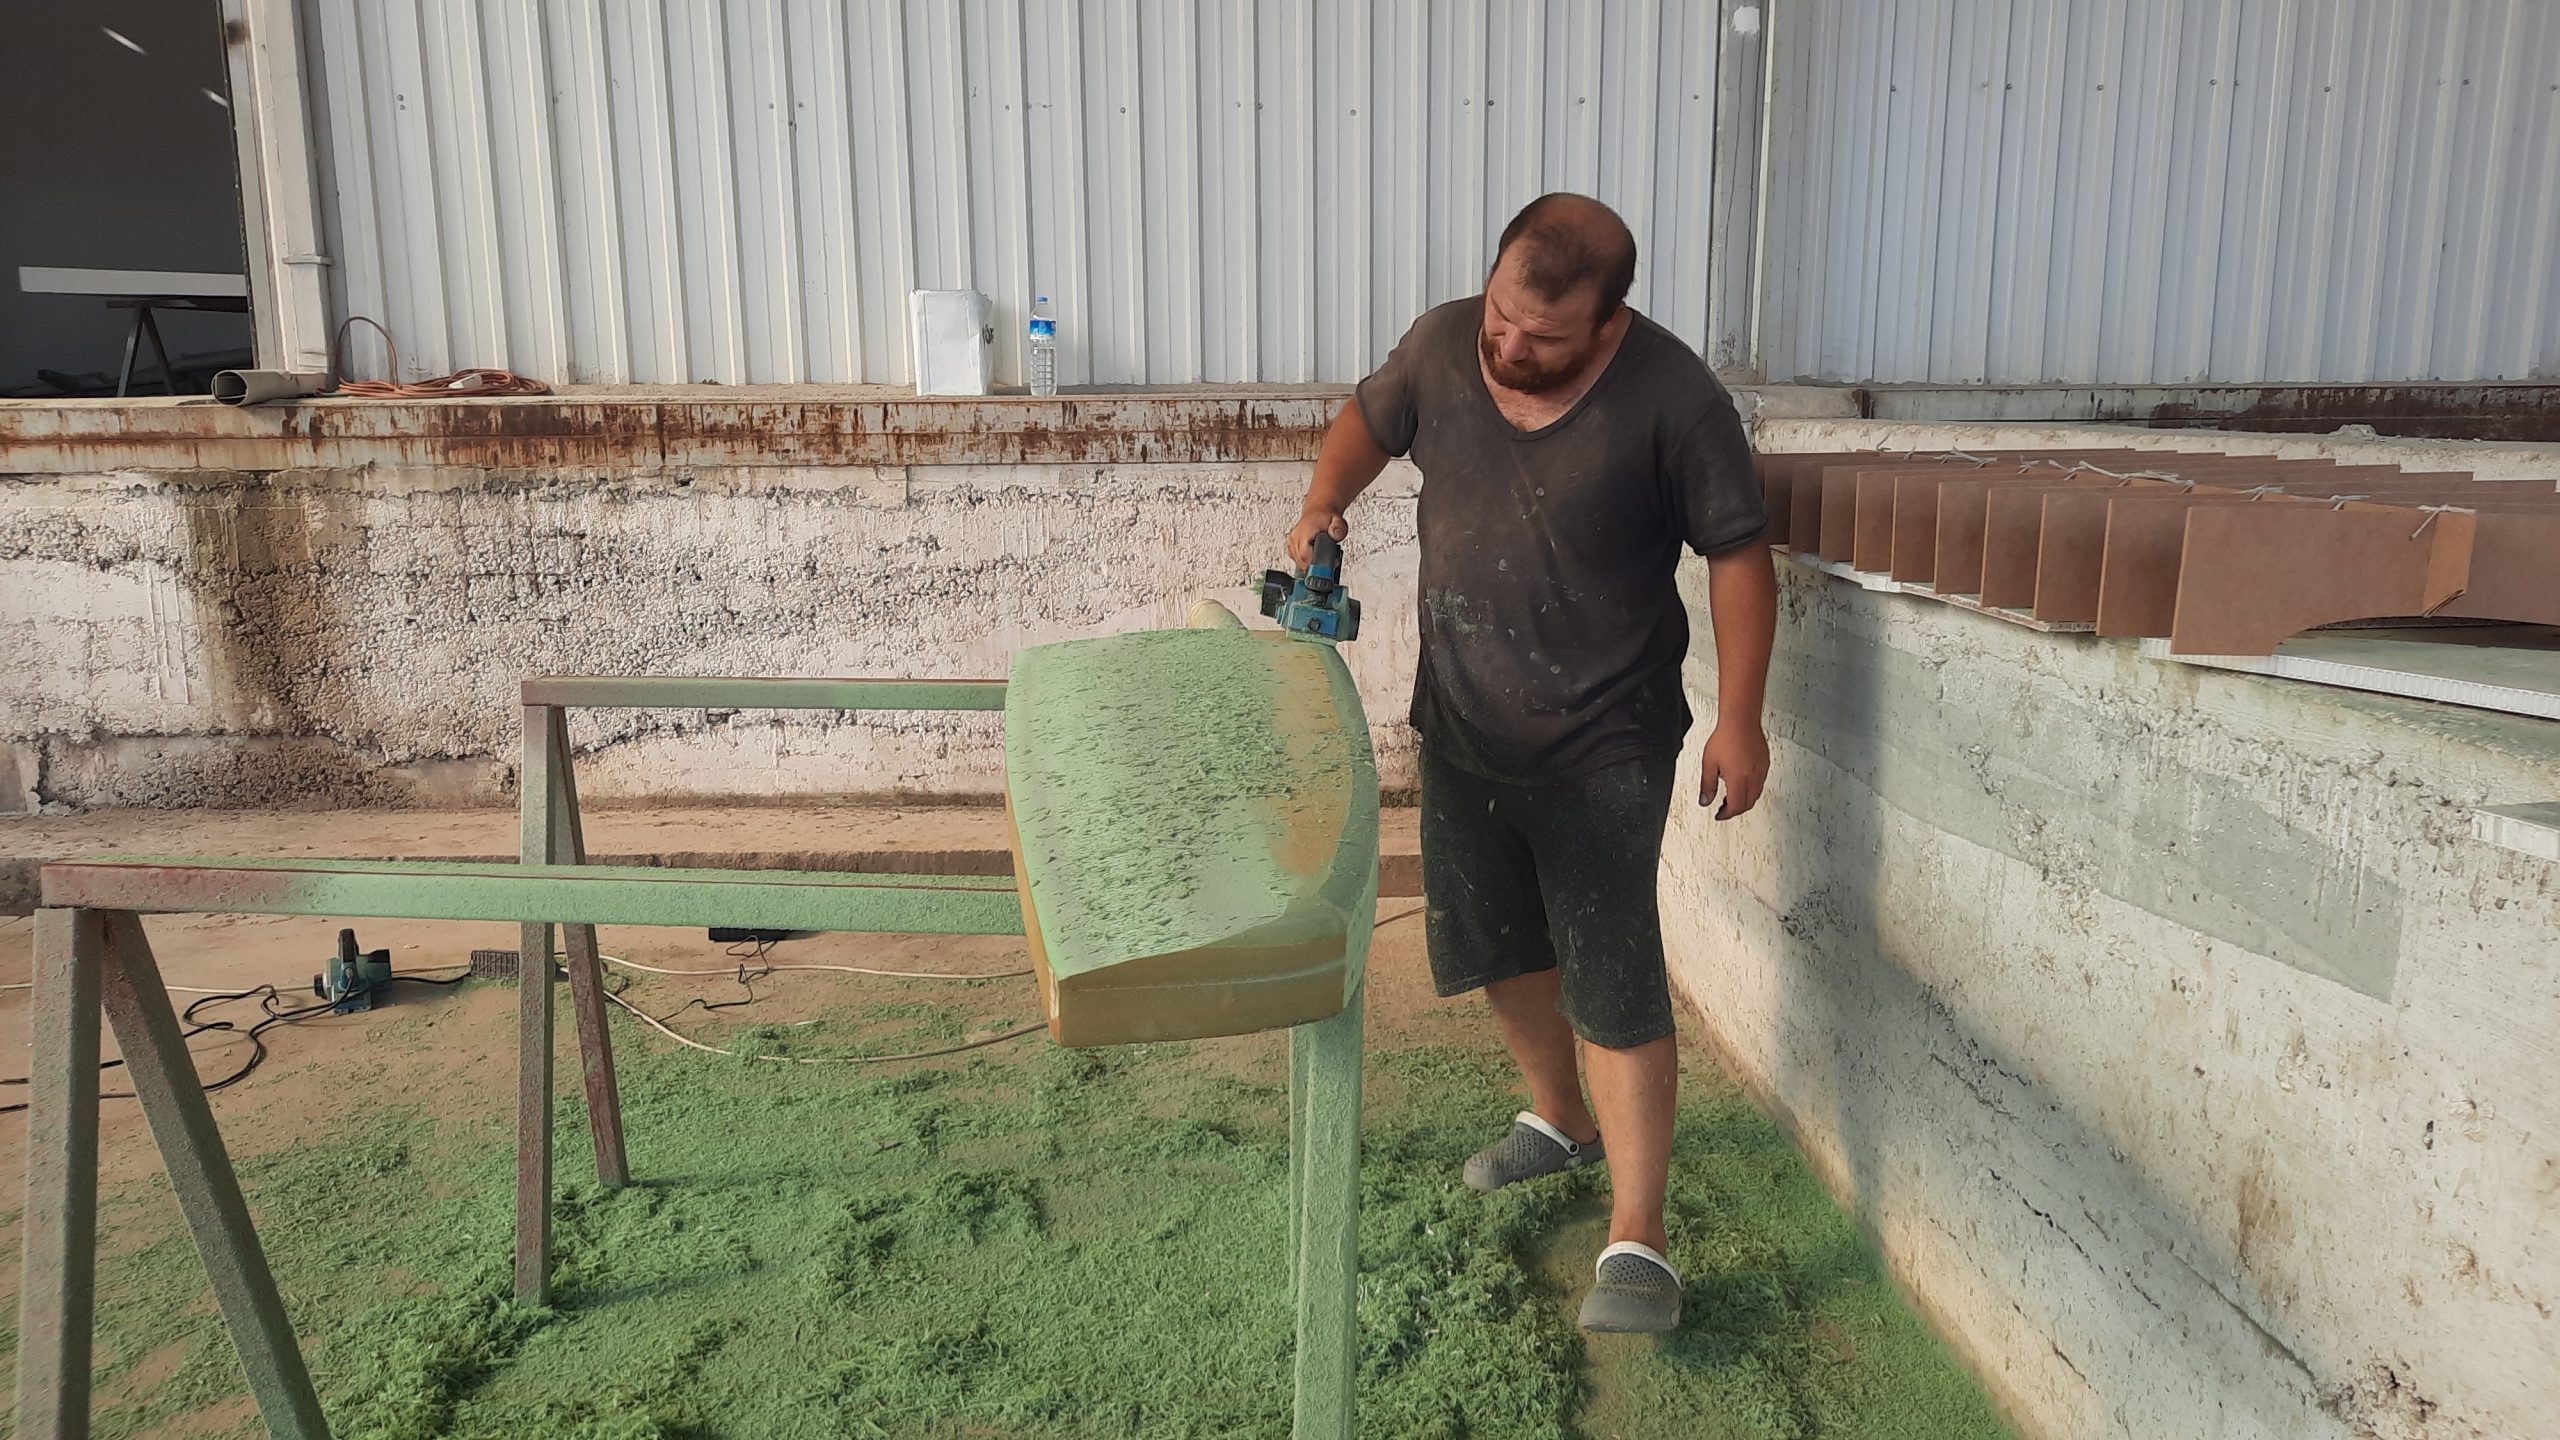
Shaped
Fantastic! Now that someone had actually taken the step to shape the foam, and it appeared to be done well, it was now the next step to get the fibreglass ready to make things happen. this of course is where things get funny again. The following day, the guy didn’t show up. I make calls…where is he…and the response I get is that he wants a partial payment. Of course, based on my past experience the alarm bells start ringing. After speaking to a trusted friend in Turkey, I resolved to pay the 2kTL to the guy that spent the afternoon shaping the foam. In my mind, I gave it a 50/50 chance of him coming back to complete the job. Of course, the result was -50 of the 50/50 and he was never seen again.
Fibreglass
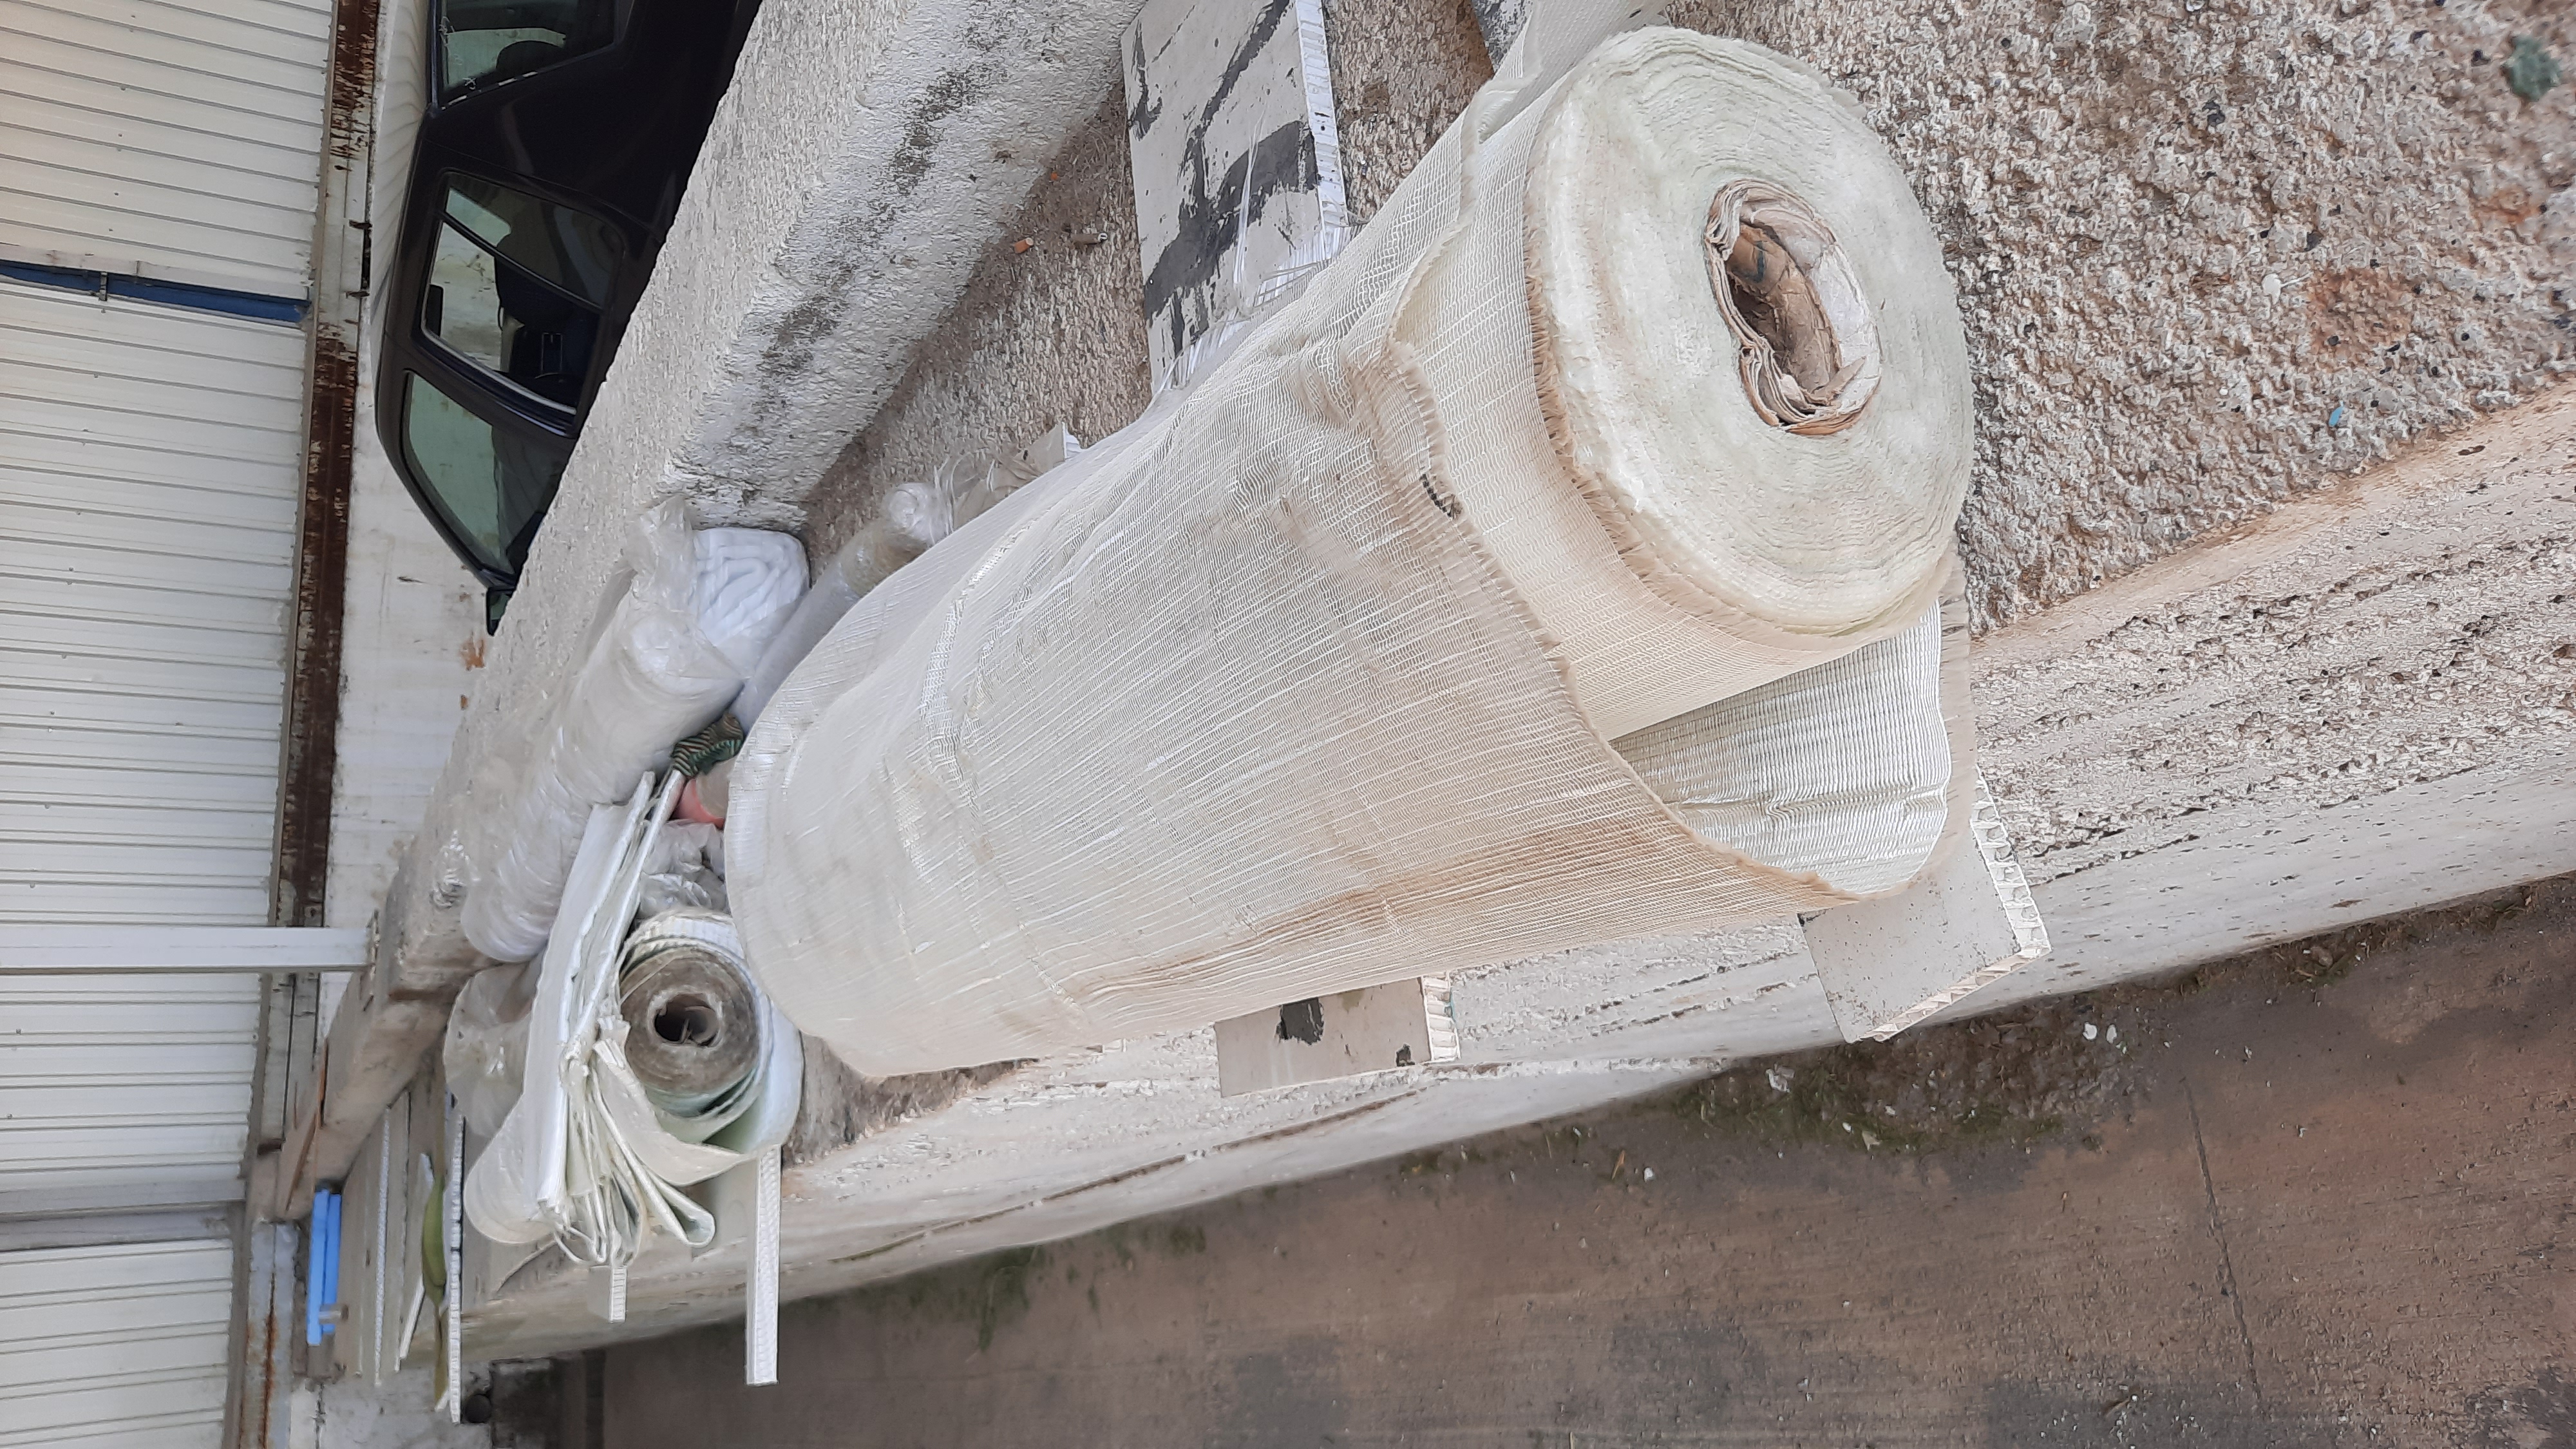
The plans for the rudders clearly outlined the size and therefore easy to calculate the amount of fibreglass required. Unfortunately NOWHERE in Turkey could you buy the required fibreglass by the meter. However, Mr. Blackwater found local manufacturers of fibrelgass that could supply it in wholesale rolls;)
Covering the foam
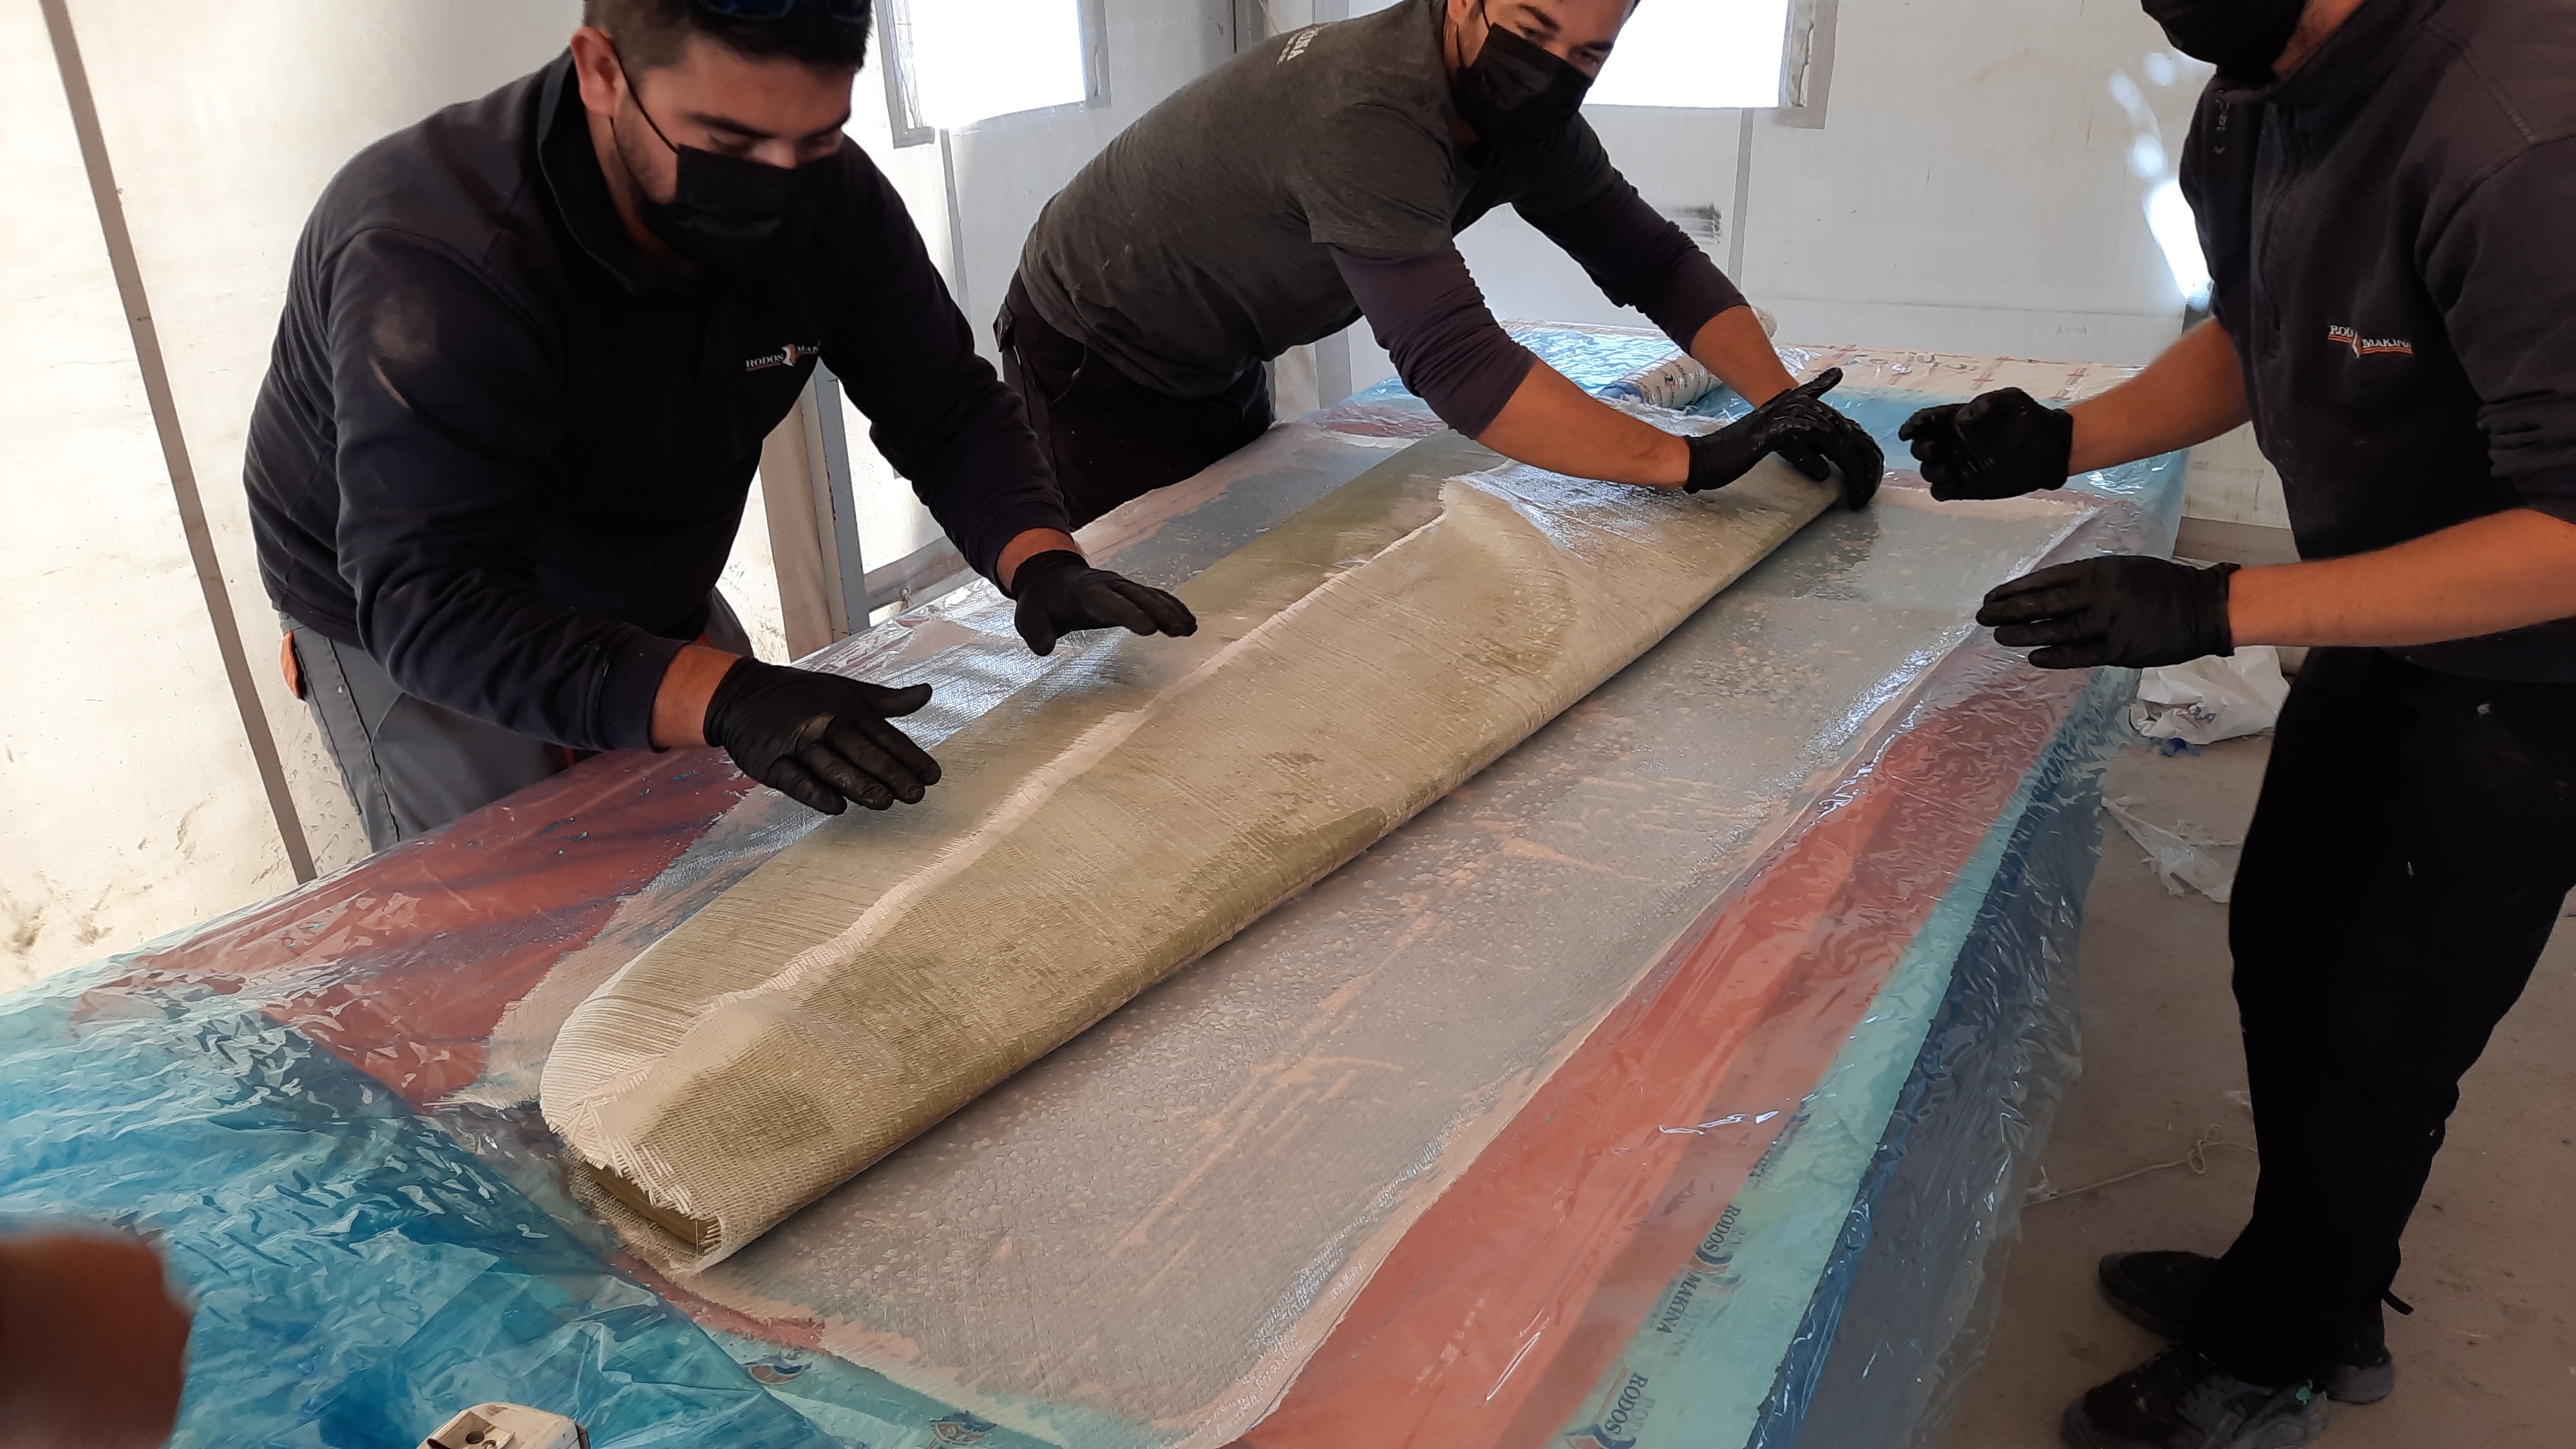
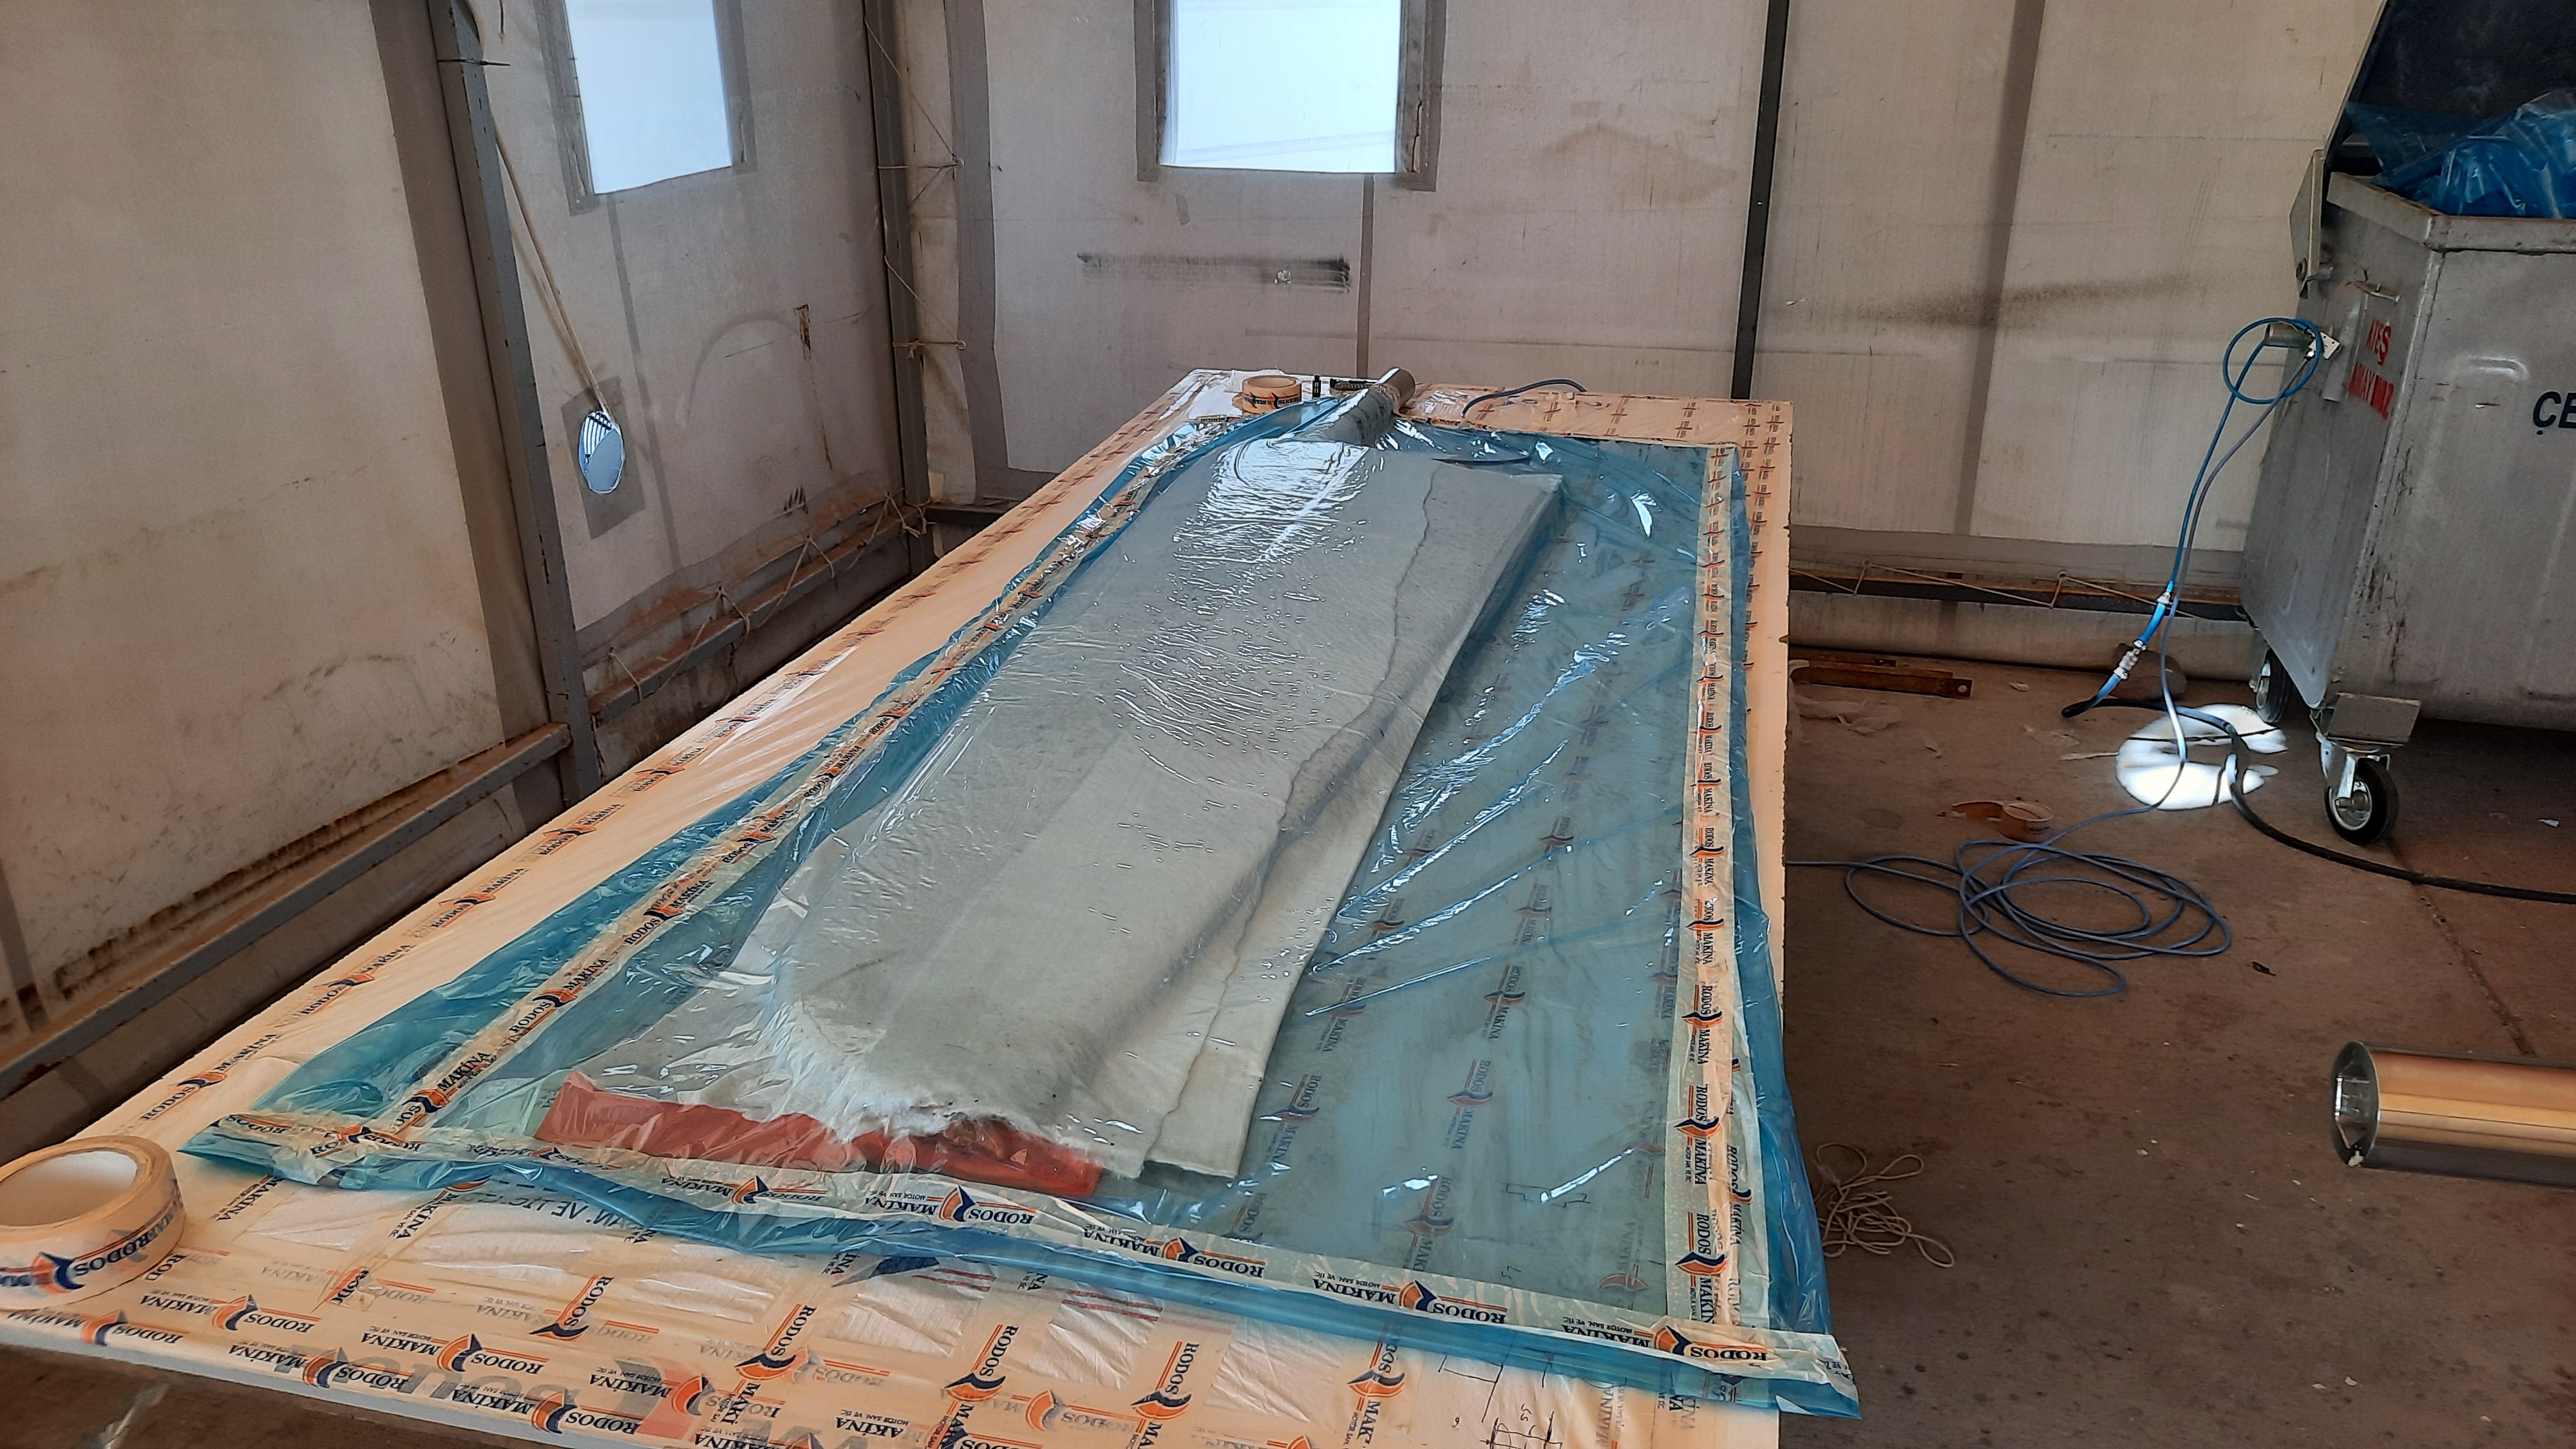
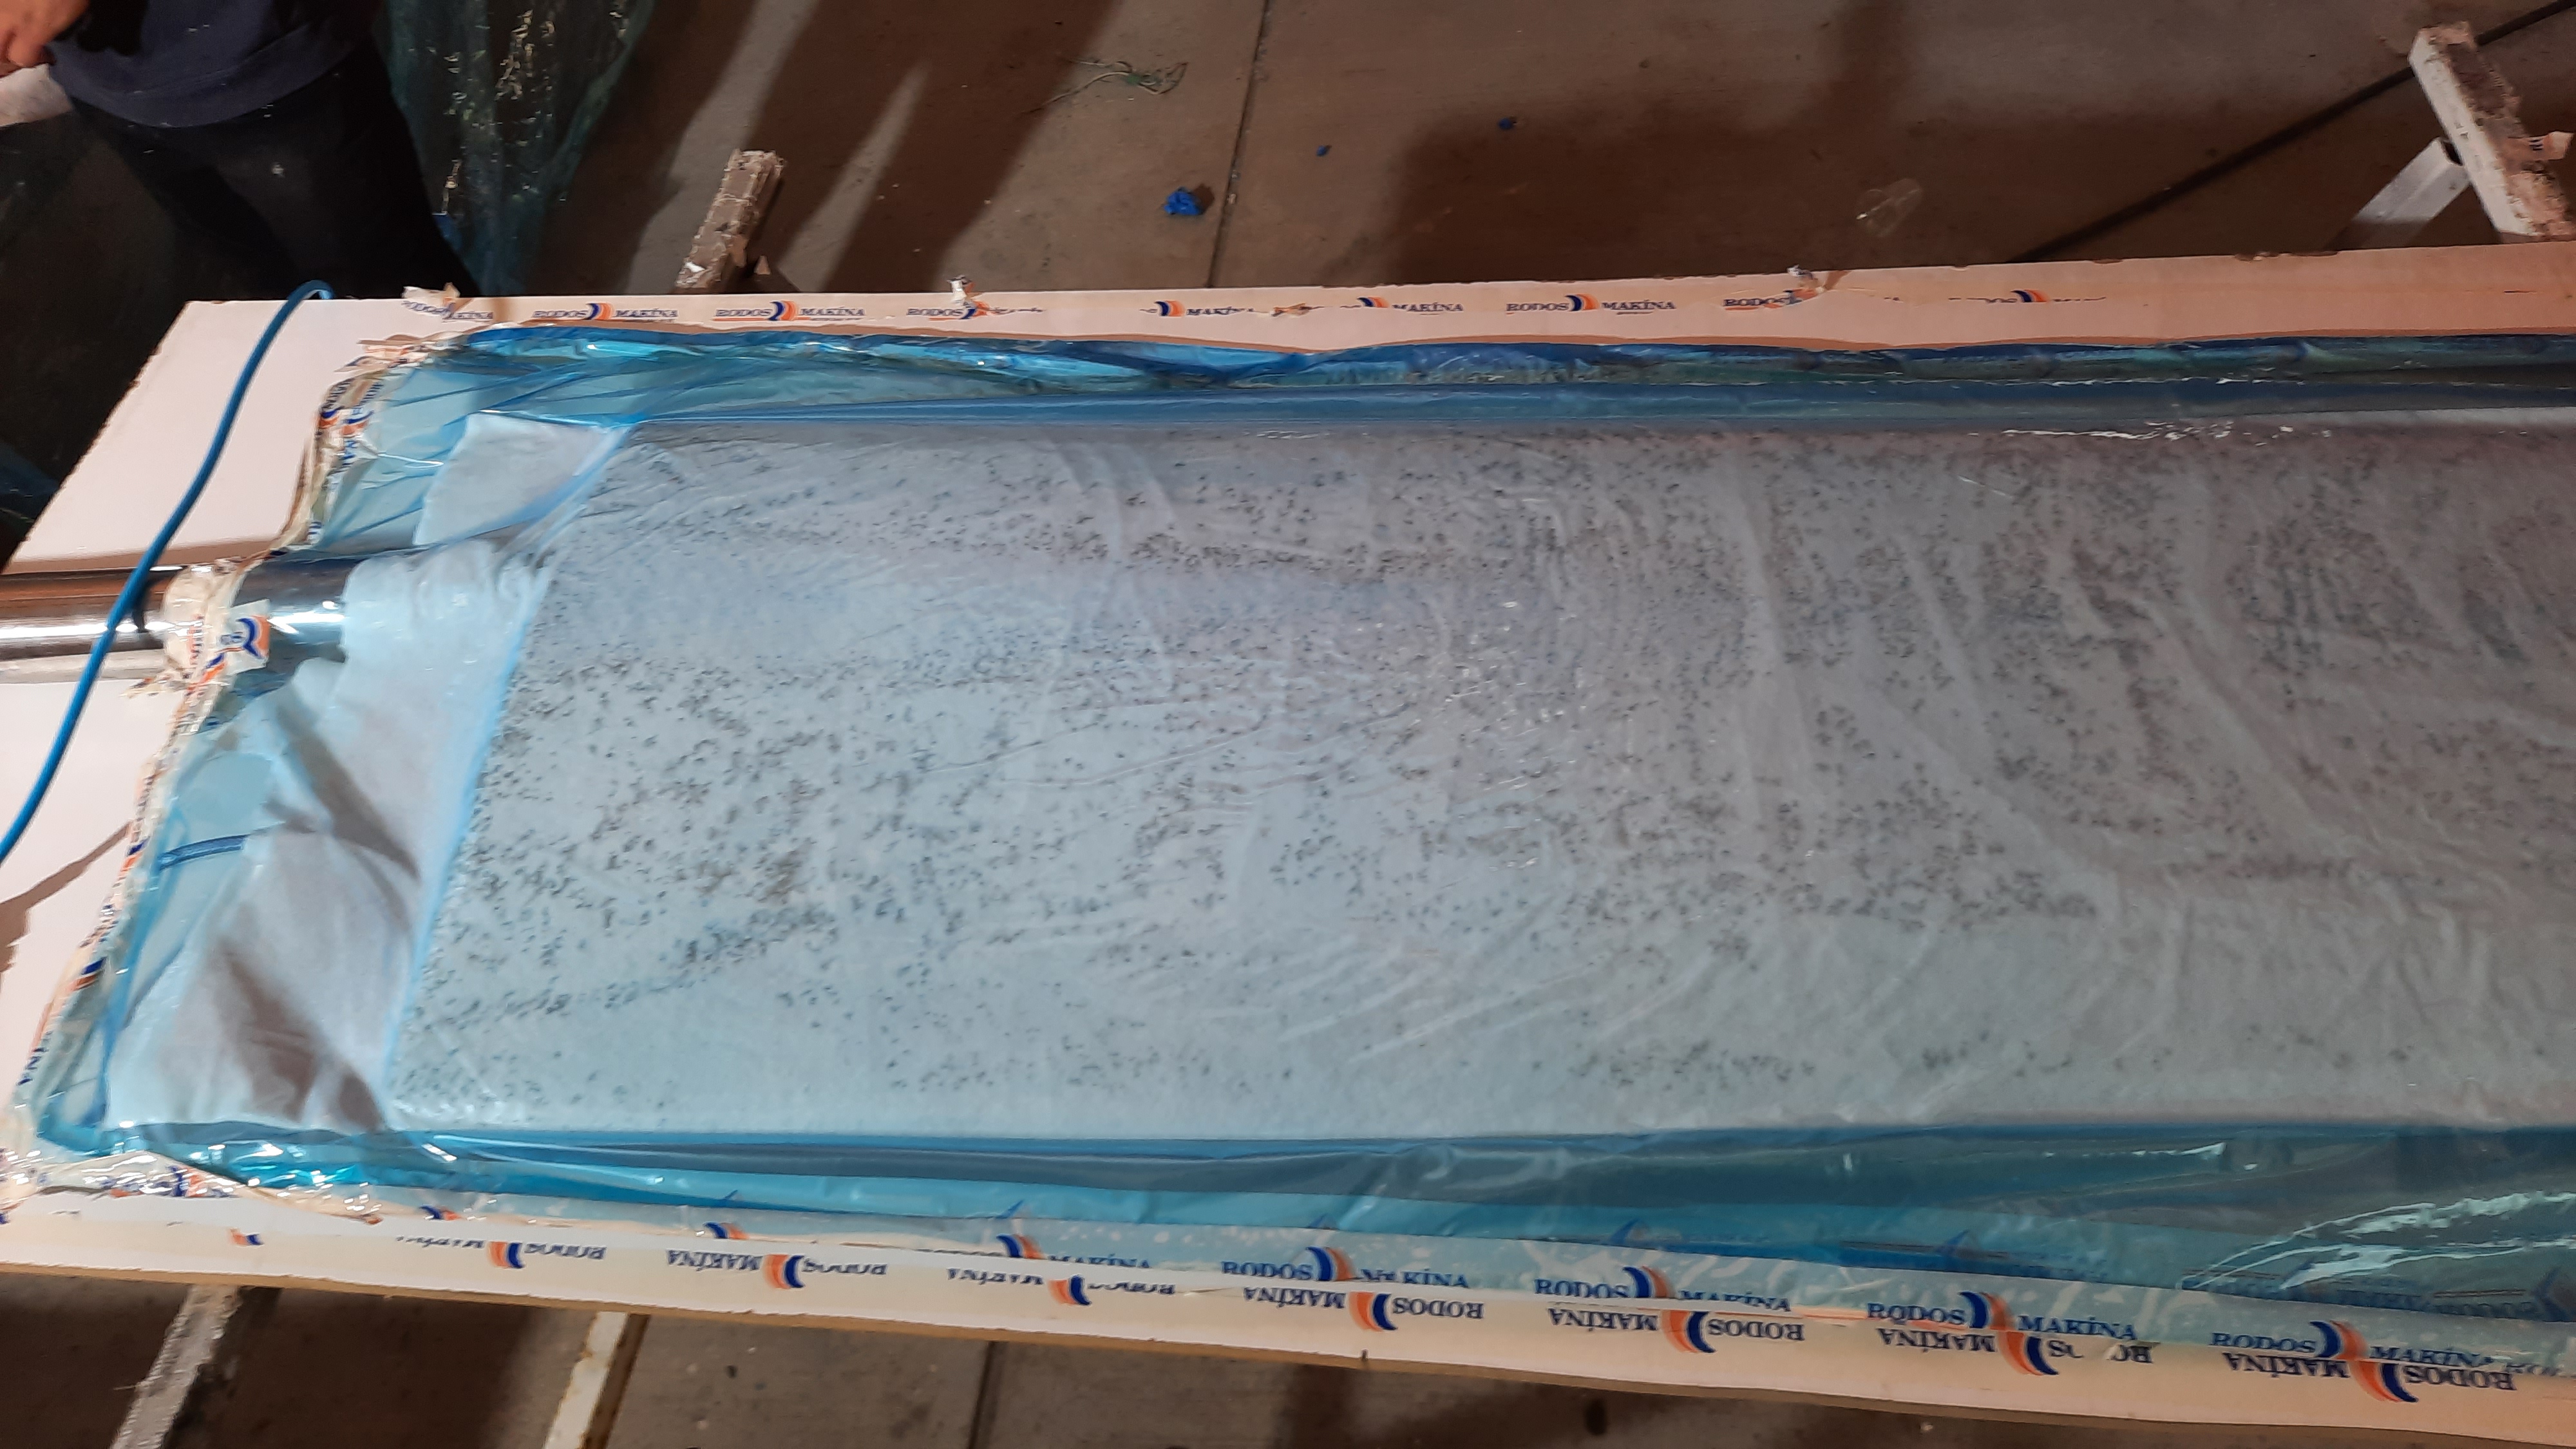
The next step was to cover the foam in the required layers of fibrelgass. The layers consisted of biaxial fibrelgass. For those of you not familiar with this term, it means the directions of the strands of fiberglass. And normally they are not woven, they are stitched together so the strands remain straight to prevent flex. These rudders called for 1000g weight unidirectional, 450g biaxial 45degrees x 45 degrees and we used a third layer of 450g 0degrees x 90degrees. These are some DAMN strong rudders.
The first attempt was done using the vacuum bagging method. Unfortunately, the vacuum was not strong enough resulting in the layers of glass not being squeezed and flattened to the foam. After realizing this, and before the resin set, we ripped the layers off and took the more simple approach of laying up the glass layer by layer.

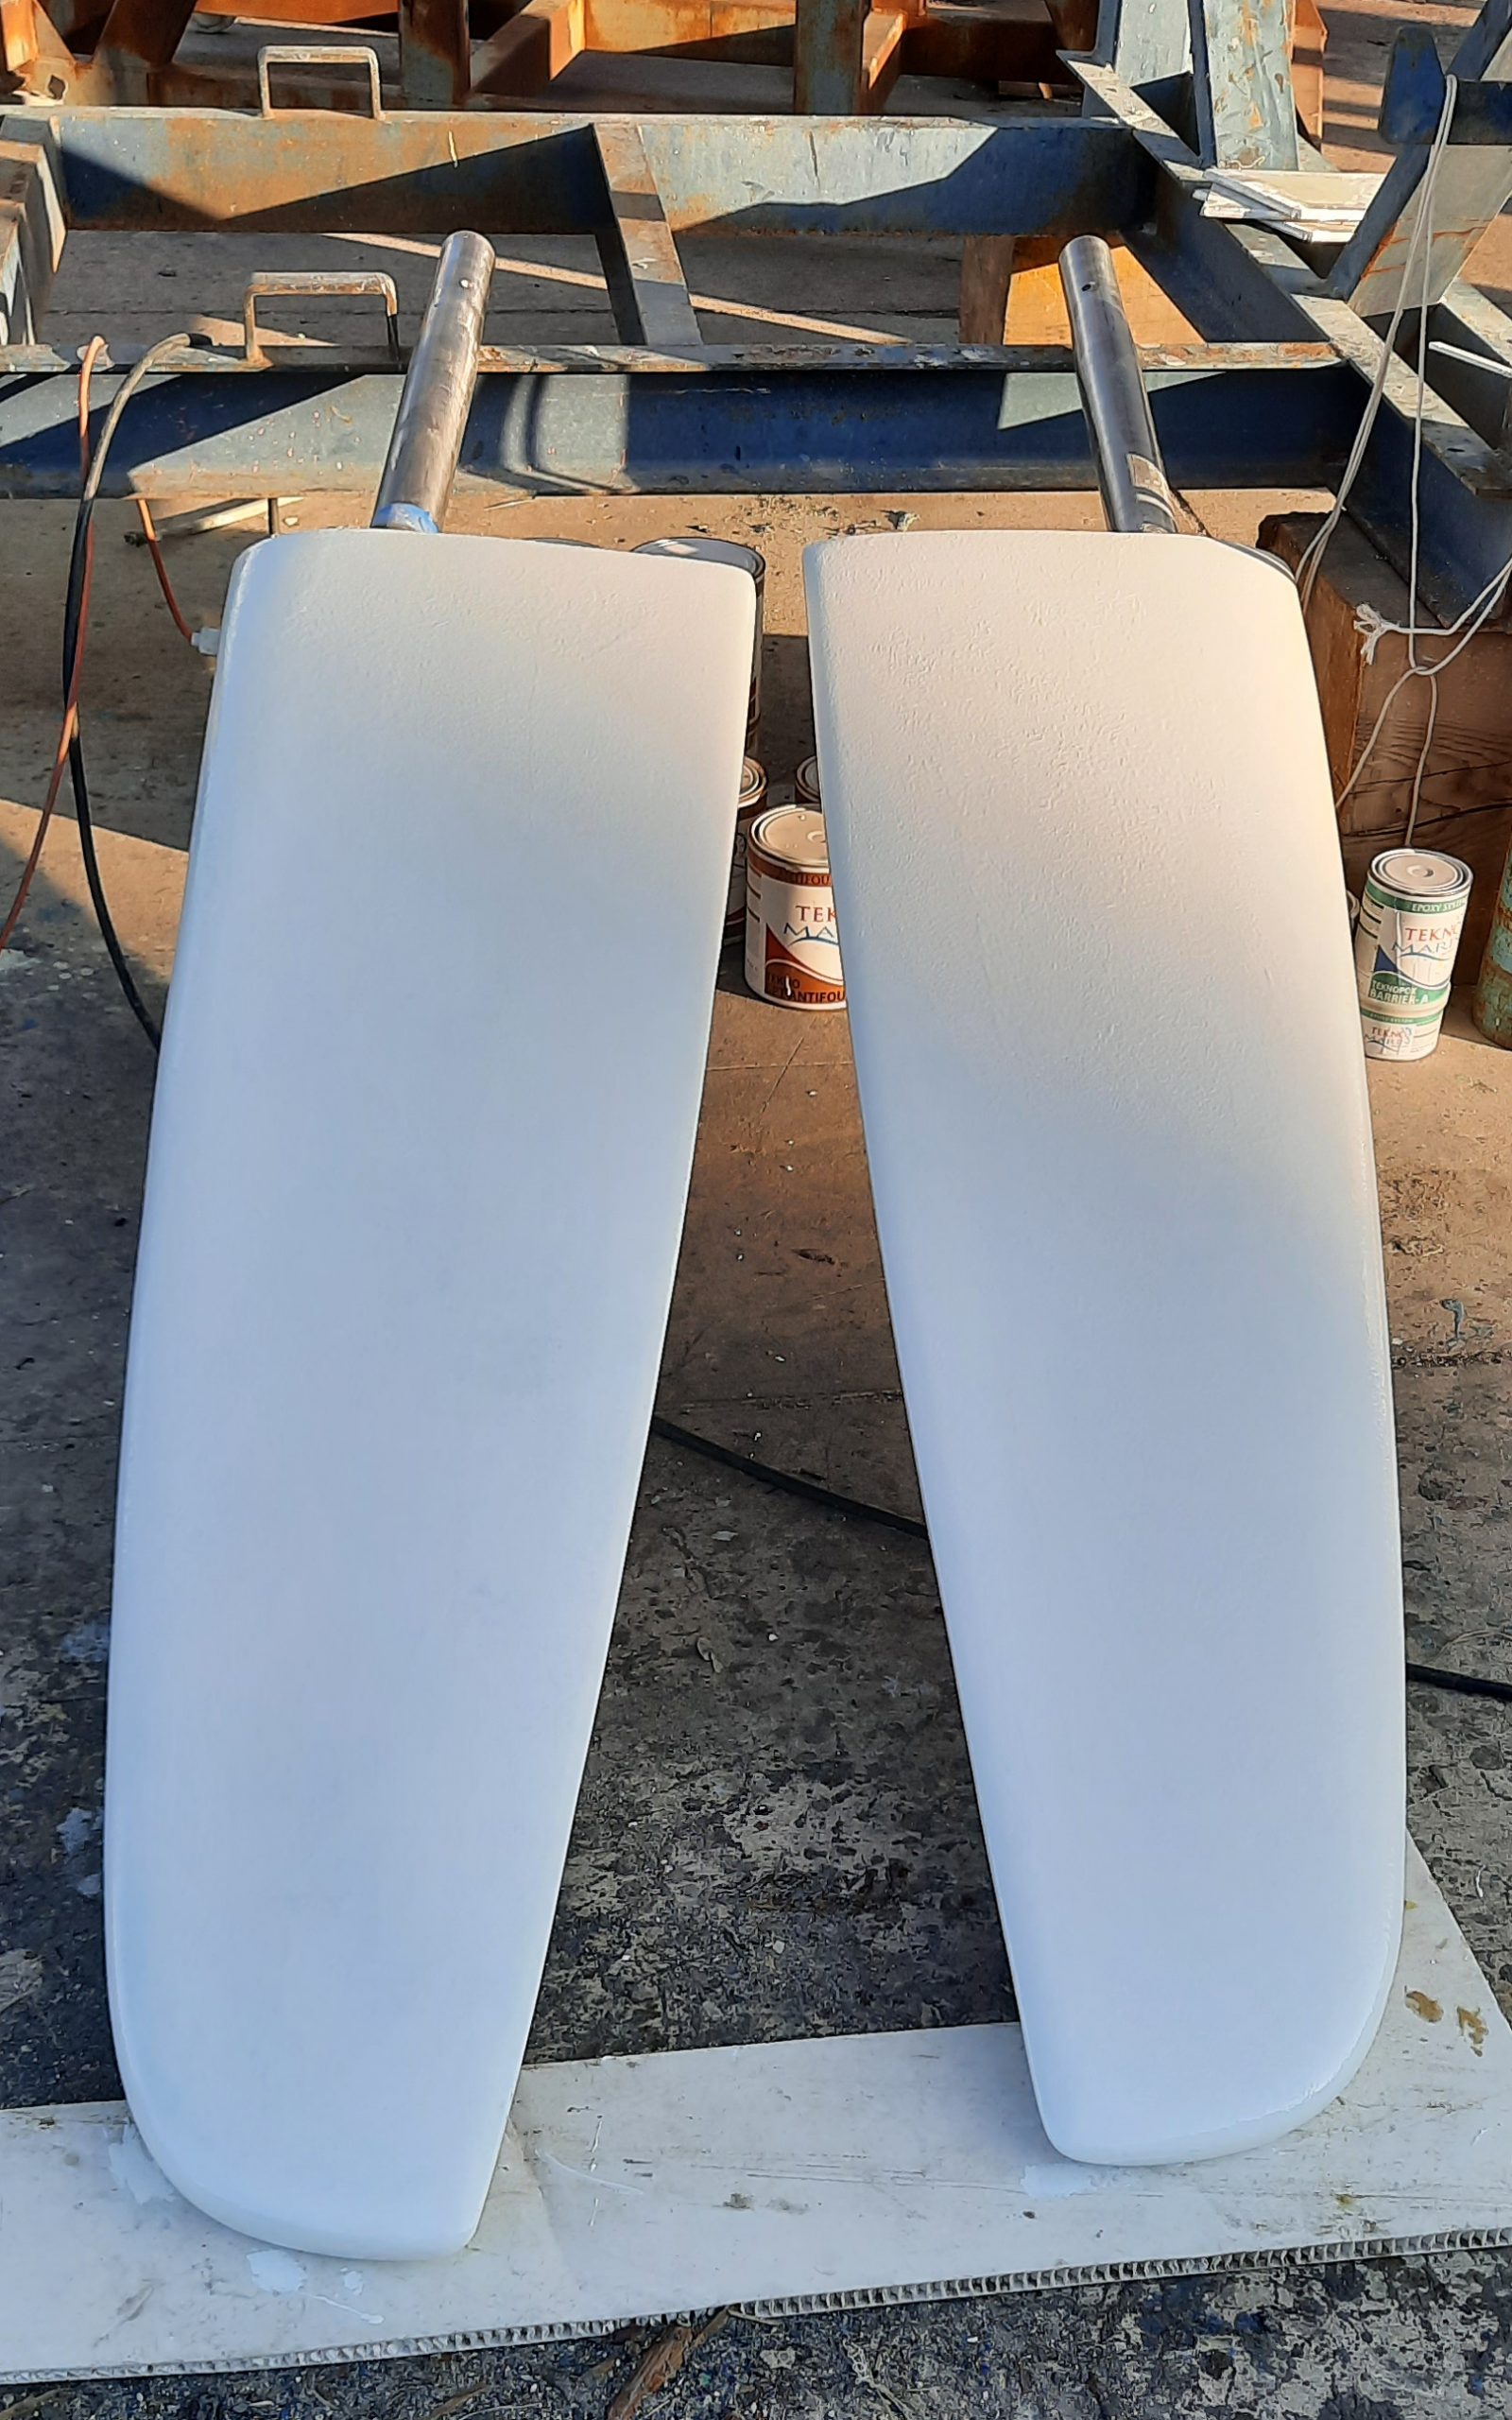
Fill, Prime & Paint
After the strength of the fibreglass layers were added, the next step is to fair the finished rudder. At this stage, INDININI was in the marina and some of this work was done by the engaged Rodos marine within the Marina. They used the epoxy filler that was supplied by Tecno Marin. A few layers of this with sanding between and the rudders were ready for the next step. The guys at Rodos asked where the gel coat was so they could add a few layers. As with anything in this project when dealing with others, the important part I found for myself is knowing when to start asking questions. Knowing what I know about this type of work, I knew that the gel coat is polyester based and we had just faired the rudders with an epoxy filler. This of course raised a concern and therefore a question. Just so I take myself out of the decision-making process, I sent a message directly back to Techo Marin and asked them about applying a polyester gel coat over epoxy. Caner from Techno Marin responded as I expected and said NO!!! It would cause adhesion problems and said don’t do that. Tecno Marin has their process and products. I sent this message directly to Rodos. They said, “But we always use gel coat”. This is fine, you can use it later on other rudders, but for mine, you will follow the instructions of the vendor, please!
Layers
It is really quite the process to make rudders for a sailboat using this method. The breakdown of foam, glass and layers of filler and ‘paint’ is seen in the list here.
- PVC foam
- fibreglass 250g 45×45
- fibreglass 1000g uni lengthwise
- fibreglass 250g 0x90
- epoxy filler & sand x 3
- epoxy finishing primer
- x3 coats of epoxy thick
- x2 coats of antifoul
Install
And of course, after all the hurdles and steps in the creation of the rudders, the main purpose is to install them and steer INDININI…. let’s prepare the next blog for the “exciting” installation process. It wouldn’t be building INDININI without drama!